
Squeezing a hand gripper seems simple, but choosing the wrong resistance or design can stall your fitness progress or lead to painful injuries. Whether you are a rock climber looking to conquer your next route, a gym-goer trying to improve your deadlift hold, or someone recovering from a wrist injury, finding the right tool is essential. In the Philippines, where high humidity and warm temperatures often lead to sweaty hands during workouts, selecting a gripper with the right handle material and tension level becomes even more critical. This guide provides a practical framework to help you assess your current strength, evaluate essential design features, and choose the ideal gripper to safely meet your training goals.
Assessing Your Current Grip Strength Before Buying
To avoid buying a gripper that is either too light to stimulate muscle growth or too heavy to close safely, you must first establish your baseline. While a handheld dynamometer provides the most accurate measurement of grip strength, most people do not have access to one at home. Fortunately, you can estimate your capacity using accessible, everyday physical tests.
One highly effective at-home method is the dead hang test. Find a sturdy pull-up bar at a local gym or outdoor park. Grip the bar with an overhand grip (palms facing away) at shoulder-width, lift your feet, and hang for as long as you can. If you can hold the hang for less than 30 seconds, your grip strength is in the beginner range. A hang time of 30 to 60 seconds indicates intermediate strength, while holding on for more than 60 seconds demonstrates an advanced grip.
Products mentioned in this guide
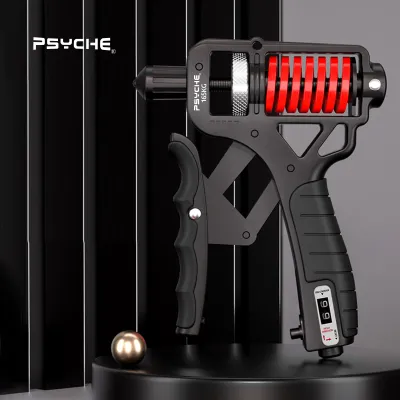
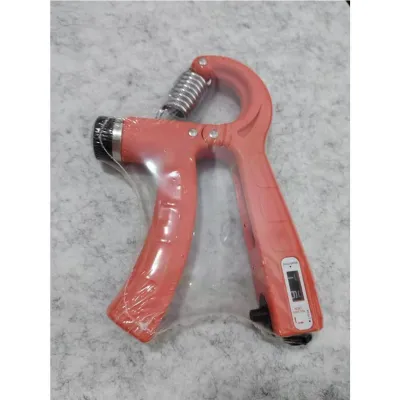
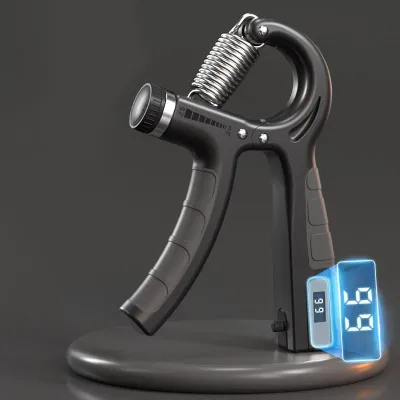
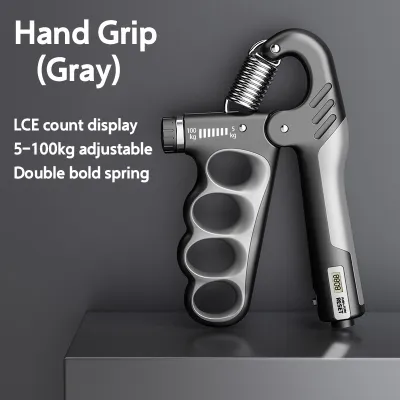
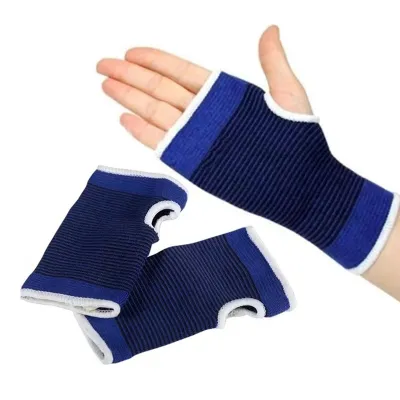
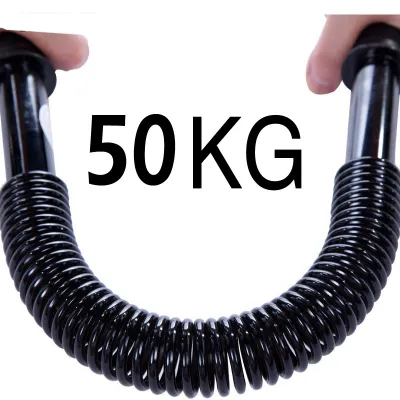
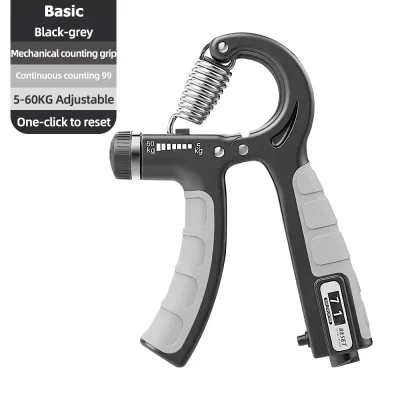
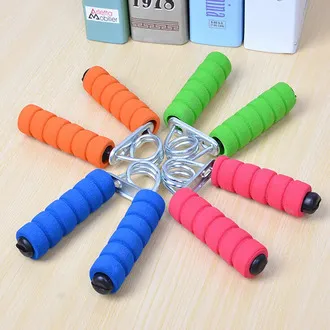
Prices are valid at publication and may change. Please refer to the product page for the latest price.
Another practical test involves carrying heavy objects over a set distance, a movement known as the farmer’s walk. In Philippine households, a common benchmark is the standard 5-gallon blue water container, which weighs approximately 19 kilograms (about 42 pounds) when full. If you can carry one of these containers in each hand for 30 meters without feeling your fingers slip or your forearms burn intensely, you possess solid intermediate grip strength. Struggling to hold a single container for more than a few seconds points to a beginner level, while carrying two containers easily for longer distances indicates advanced crushing and holding power.
You can also observe how your hands perform during daily activities and workouts. A weak grip often manifests as difficulty opening tight jar lids, forearm fatigue when carrying heavy groceries, or a slipping grip during pulling exercises like deadlifts, rows, or pull-ups. Conversely, a strong grip allows you to hold heavy barbells securely without straps, perform daily manual tasks effortlessly, and maintain a firm hold on handrails during bumpy daily commutes on public transit.
Matching your initial gripper resistance to these baseline observations is critical for tissue adaptation. Squeezing a gripper that is far too heavy forces you to use poor form, placing excessive shear stress on the delicate tendons and ligaments of your fingers and wrists. Because tendons have a limited blood supply compared to muscles, they adapt much slower to resistance training. Starting with an appropriate tension level allows these connective tissues to thicken and strengthen gradually, preventing painful overuse injuries like tendonitis while ensuring a clear path for progressive overload.
Essential Features to Evaluate Beyond Resistance
While selecting the correct resistance is vital, the physical construction of the hand gripper determines its durability, comfort, and safety. Evaluating these features ensures you invest in a tool that can withstand regular use under challenging environmental conditions.

Handle Materials The material of the handles directly impacts your control and skin comfort. Molded plastic or foam-padded handles are common in entry-level, budget-friendly grippers. Foam handles provide a soft, comfortable cushion that prevents calluses, making them appealing to beginners or those undergoing rehabilitation. However, in the warm, humid climate of the Philippines, foam handles quickly absorb sweat, dirt, and oils from your hands, which can lead to unpleasant odors and rapid material degradation. Plastic handles are easier to clean but can become incredibly slippery when your hands sweat. For a more secure and durable option, knurled metal handles made of aluminum or steel are highly recommended. The textured pattern, known as knurling, cuts through sweat to provide a non-slip grip, though it can feel abrasive on unconditioned skin.
Spring Quality and Mechanism The spring is the heart of the hand gripper. High-quality grippers utilize high-tensile steel or heavy-duty alloy springs that provide a smooth, consistent resistance curve throughout the entire closing motion. Inferior springs often exhibit a “sticky” or uneven resistance, sometimes squeaking, binding, or grinding during the squeeze. This uneven tension can disrupt your form and put uneven stress on your finger joints. When shopping, look for rust-resistant coatings on the springs, as the salty, humid air in coastal or tropical regions can accelerate corrosion, leading to premature spring failure.
Adjustability vs. Fixed Resistance Choosing between adjustable and fixed-resistance grippers is a major decision point. Adjustable dial grippers feature a built-in tension spring that can be tightened or loosened by turning a knob, typically offering a range from 5 kilograms to 60 kilograms (11 to 132 pounds). These are highly versatile, cost-effective, and convenient for gradual progression or travel, as one tool covers multiple strength levels. However, they often feature plastic frames that may flex under heavy loads, and the tension calibration is rarely precise. Fixed-resistance grippers, on the other hand, consist of a single torsion spring connected to two solid metal handles. They are incredibly durable, precisely calibrated, and offer a much more consistent resistance profile, making them the preferred choice for serious strength athletes, despite requiring you to purchase new grippers as you get stronger.
Ergonomic Fit The physical dimensions of the gripper must match your hand size. Standard fixed-resistance grippers have a set handle spread (the distance between the handles when open) and handle diameter. If your hands are relatively small, a wide handle spread can make it difficult to position the gripper correctly in your palm, forcing you to initiate the squeeze from a mechanically disadvantaged position. Adjustable grippers sometimes allow you to adjust the handle width along with the resistance, providing a more customized fit. Always check the manufacturer’s dimensions to ensure the tool fits comfortably in your hand before purchasing.
Choosing the Right Resistance Level for Your Goals
To structure your training effectively, you must align your gripper’s resistance with your current physical capacity and specific fitness objectives. Grippers are generally categorized into three primary levels, each serving a distinct user group and training purpose.
Beginner and Rehabilitation: Low Resistance
Low-resistance grippers typically offer tension levels ranging from 5 kilograms to 20 kilograms (approximately 11 to 44 pounds). This range is ideal for individuals who are completely new to grip training, older adults looking to maintain hand dexterity, or those recovering from hand, wrist, or forearm injuries. If you are using a gripper for rehabilitation, it is absolutely essential to obtain medical clearance from a physical therapist or physician before starting, and always check the manufacturer’s safety instructions.
For this level, look for grippers with comfortable, non-abrasive handles—such as smooth plastic or light foam padding—to protect sensitive skin. The spring action must be exceptionally smooth to prevent sudden jarring movements that could re-injure healing tissues. At this stage, the primary training goal is not building massive muscle mass, but rather improving local blood circulation, joint mobility, and muscular endurance.
To progress safely, begin with high-repetition sets, aiming for 15 to 20 controlled repetitions per set. This high-volume, low-intensity approach stimulates blood flow to the tendons and ligaments, promoting healing and building a solid foundation of endurance. Once you can easily complete 3 sets of 20 repetitions with perfect form and no discomfort, you can gradually transition to a slightly higher resistance, slowly lowering the repetition range to 10 to 12 reps to begin building functional strength.
Intermediate Fitness: Medium Resistance
Medium-resistance grippers generally span from 20 kilograms to 50 kilograms (approximately 44 to 110 pounds). This range is the sweet spot for regular gym-goers, rock climbers, martial artists (such as practitioners of Brazilian Jiu-Jitsu or Arnis), and recreational athletes who want to build functional crushing strength. A strong grip at this level directly translates to better performance in pulling movements, allowing you to lift heavier weights without your hands giving out first.
When selecting an intermediate gripper, look for a balance between durability and handle comfort. Lightly knurled aluminum handles or high-quality hard plastic handles are ideal. The resistance should be challenging enough that you can only complete 8 to 12 clean, full-range-of-motion repetitions before your muscles reach fatigue.
At this stage, your training focus should shift from pure endurance to building maximal crushing strength and forearm hypertrophy (muscle growth). Incorporate these exercises into your routine 2 to 3 times per week, performing 3 to 4 sets per hand. Ensure you are squeezing the gripper completely until the handles touch, and control the opening phase for a count of two seconds to maximize muscle engagement.
Advanced Strength: High Resistance
High-resistance grippers range from 50 kilograms to 150 kilograms or more (approximately 110 to 330+ pounds). These specialized tools are designed exclusively for elite strength athletes, including powerlifters, strongman competitors, professional arm wrestlers, and dedicated grip enthusiasts. Closing a gripper at this level requires immense neural drive and highly conditioned connective tissues.
Advanced grippers must feature heavy-duty, aircraft-grade aluminum or steel handles with aggressive, diamond-pattern knurling. This sharp texture is necessary to prevent the gripper from slipping out of your hand under extreme tension, though it will inevitably build thick calluses. The springs must be made of premium, high-tensile spring steel, precisely calibrated to ensure standardized resistance levels.
Training at this level carries a higher risk of injury, making strict safety protocols mandatory. Always perform a thorough warm-up before attempting to squeeze a high-resistance gripper. Keep your training volume low, focusing on high-intensity sets of 1 to 5 repetitions to build absolute, maximal crushing power. Because of the extreme load placed on the joints and tendons, allow at least 48 to 72 hours of rest between dedicated grip sessions, and never train to failure every day.
Safe Usage and Injury Prevention Techniques
Grip training is highly demanding on the small muscles, tendons, and joints of the hand and wrist. To enjoy the benefits of improved strength without suffering from painful overuse injuries, you must follow structured safety guidelines.
Proper Form Always prioritize a full range of motion over the amount of weight you are squeezing. A complete repetition involves placing the gripper correctly in your palm, wrapping your fingers around the handle, and squeezing until the two handles physically touch or nearly touch. Performing rapid, partial repetitions (often called “half-reps”) does not fully activate the muscles and can place uneven stress on your finger joints. Control the return movement as well; letting the gripper snap open violently reduces the effectiveness of the exercise and increases injury risk.
Warm-Up Protocols Never jump straight into your heaviest gripper. Before starting your working sets, spend 5 to 10 minutes warming up your hands and forearms. Begin by rubbing your hands together to generate warmth, followed by gentle wrist circles and finger stretches. Next, perform 1 to 2 warm-up sets of 10 to 15 repetitions using a very light, easy-to-close gripper or a soft squeeze ball. This increases blood flow, lubricates the joints, and prepares your nervous system for the heavier loads to come.
Recovery and Frequency Because your hands are constantly active in daily life—from typing on keyboards to carrying household items—their muscles and tendons require adequate recovery time to rebuild. Limit your dedicated hand gripper workouts to 2 or 3 times per week, ensuring at least 48 hours of rest between sessions. Training your grip to failure every single day is a direct path to chronic fatigue and tendonitis, as the connective tissues will not have sufficient time to repair.
Pain vs. Fatigue It is vital to learn how to distinguish between normal muscle fatigue and harmful joint or tendon pain. Muscle fatigue feels like a warm, dull burn in the meat of your forearm or palm, which quickly subsides after you stop squeezing. In contrast, sharp, shooting, or localized pain near your finger joints, wrists, or the elbows (indicative of tennis or golfer’s elbow) points to tendon strain or joint irritation. If you experience any sharp or persistent pain, stop training immediately. Rest the affected hand, and if the pain persists, consult a medical professional or physical therapist.
Frequently Asked Questions (FAQ)
How often should I train with a hand gripper?
For optimal results and safety, you should train with a hand gripper 2 to 3 times per week. The muscles in your forearms and hands are anatomically similar to other skeletal muscles and require adequate rest to recover and grow stronger. Always allow at least 48 hours of rest between intense grip training sessions. Overtraining your hands can lead to chronic fatigue, decreased grip strength, and painful overuse injuries like tendonitis.
Can hand grippers help with carpal tunnel syndrome?
While hand grippers can help strengthen the muscles surrounding the wrist, using them incorrectly or with too much resistance can actually aggravate carpal tunnel symptoms by increasing pressure on the median nerve. If you are experiencing symptoms of carpal tunnel syndrome, such as numbness, tingling, or weakness in your hand, you must consult a physical therapist or healthcare professional before starting any grip training. They can guide you on safe, low-impact exercises specifically designed for nerve decompression.
Are adjustable hand grippers as effective as fixed-resistance ones?
Adjustable hand grippers are highly effective for beginners, casual fitness enthusiasts, and travelers because they offer convenience, cost savings, and a wide range of resistance in a single tool. However, for advanced strength athletes, fixed-resistance grippers are generally superior. Fixed grippers feature solid metal construction, highly precise calibration, and aggressive knurled handles that do not flex under heavy loads, providing a more stable and reliable training experience for building elite-level crushing power.
Community discussion
Share your experience or ask a question. Comments are reviewed before publication.