
Flying a kite—locally known as a saranggola—is a classic outdoor activity that brings immense joy to children, but choosing the wrong design can quickly lead to frustration. The easiest kite for beginners is a single-line delta or diamond kite, as these shapes offer the greatest stability and require very little wind to stay aloft. However, finding the right saranggola for kids depends on matching the kite’s physical demands to your child’s age, motor skills, and attention span.
Selecting a kite that is too large or complex can result in a tug-of-war that a young child cannot win, while a kite that is too small might fail to capture their interest. By understanding how different designs behave in the air and aligning them with your child’s developmental stage, you can ensure their first flying experience is filled with successful launches rather than tangled lines and crashes.
Quick Guide to Choosing a Kite by Age
When introducing a child to kite flying, their age is the most critical factor in determining the required kite size, line length, and design complexity. Very young children lack the hand-eye coordination and physical strength to manage heavy pull or rapid movements, whereas older children will quickly lose interest in basic, slow-moving toys.
Products mentioned in this guide
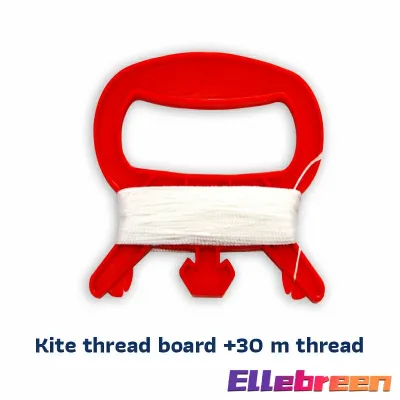
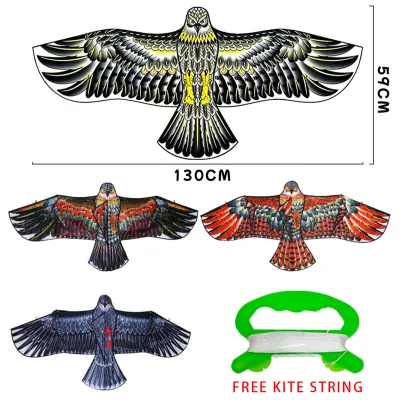
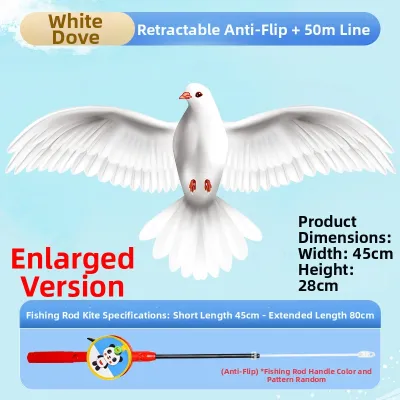
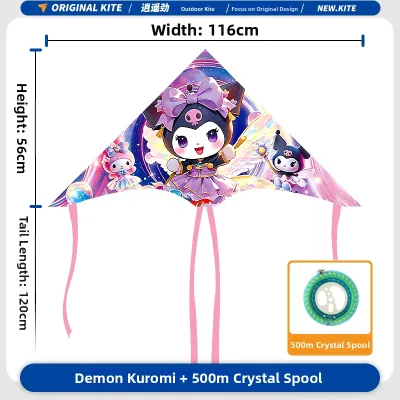
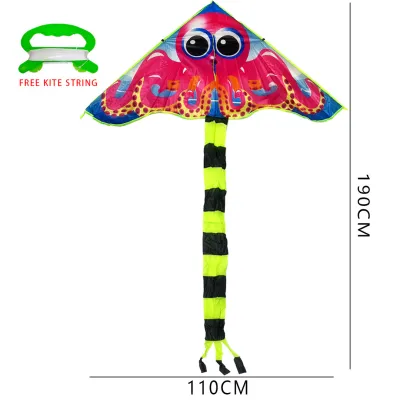
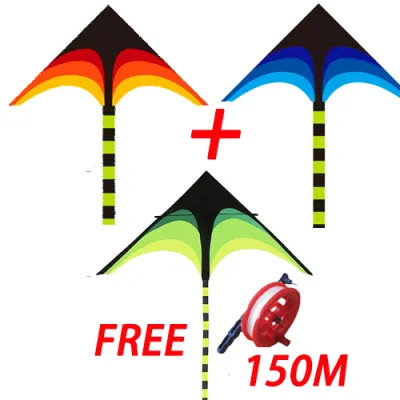
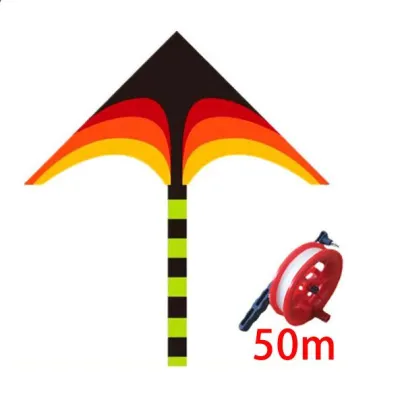

Prices are valid at publication and may change. Please refer to the product page for the latest price.
Single-line delta or diamond kites are generally the most forgiving designs for beginners of any age. These shapes naturally catch light breezes and remain stable in the air without constant manual adjustments. Selecting the right kite means finding a balance between the physical pull of the wind and the child’s ability to maintain control.
For a quick reference, consider these general recommendations based on age groups:
- Ages 3–5: Small, lightweight diamond or delta kites under 24 inches in wingspan, flown on short lines under 50 feet with heavy adult assistance.
- Ages 6–8: Medium-sized delta or diamond kites between 24 and 36 inches, flown on 50 to 100 feet of line, allowing the child to take active control under supervision.
- Ages 9–12: Larger deltas, soft parafoils, or introductory single-line kites over 36 inches, flown on 100 to 200 feet of line to explore higher altitudes and stronger winds.
Which Kite Designs Are Easiest to Fly?
Understanding the basic aerodynamics of different kite shapes helps you choose a model that will fly reliably rather than plunge to the ground. Different designs handle wind currents in unique ways, making some highly forgiving for novices and others incredibly difficult to master.

Delta Kites
Delta kites feature a distinct triangular shape resembling a stealth glider. This design is widely considered the easiest for beginners because of its wide wind range and high lift capacity. The triangular sail catches even faint breezes, and the built-in keel helps the kite automatically adjust to shifting wind directions. Delta kites are incredibly easy to launch from the ground, often rising steadily into the air with a simple, gentle tug on the line.
Diamond Kites
Diamond kites represent the classic, traditional shape that most people picture when they think of a saranggola. While highly recognizable, diamond kites rely heavily on a tail to maintain balance and prevent spinning. They perform exceptionally well in light to moderate winds, offering a steady, predictable flight path. Because they are lightweight, they require very little effort to hold, making them excellent choices for younger children who want to feel the gentle tug of the wind.
Parafoil (Soft) Kites
Parafoil kites are completely frameless, relying on the wind to inflate internal pockets or cells to create an airfoil shape. The primary advantage of a parafoil is its extreme durability; because there are no fiberglass or wooden rods to snap, these kites can crash repeatedly onto hard surfaces without sustaining damage. They are also highly packable, folding down into a small pouch that fits easily into a beach bag or backpack. However, they do require a slightly more consistent, steady breeze to keep the cells inflated and stable in the air.
Designs to Avoid for First-Timers
While advanced kites look exciting, they often lead to immediate frustration for beginners. Dual-line stunt kites require rapid, coordinated hand movements to steer and can crash at high speeds if a child overcorrects. Complex 3D or box kites are heavy and have high drag, requiring very strong winds and experienced handling to stay aloft. Traditional paper-and-bamboo kites, though culturally significant, are highly fragile and easily damaged during the inevitable crashes that accompany a child’s first few attempts.
Matching the Right Kite to Your Child's Age and Skill
To ensure a positive experience, the physical specifications of the kite must match your child’s physical strength, coordination, and cognitive development. Choosing a kite that fits their specific age group prevents physical strain and keeps the activity engaging.
Toddlers and Preschoolers (Ages 3–5)
At this developmental stage, children are primarily observers and active chasers rather than independent flyers. Their hand-eye coordination is still developing, and their attention spans are relatively short. Kites for this age group should be small, colorful, and extremely lightweight.
- Kite Size: Keep the wingspan under 24 inches to minimize the physical pull generated by the wind.
- Line Length: Use a short line, ideally under 50 feet (15 meters). This keeps the kite close to the ground and well within the child's immediate field of vision, helping them connect their hand movements with the kite's behavior.
- Adult Involvement: Parents should handle the assembly, launching, and line management. The child's role is to hold the spool under close supervision, feeling the gentle vibration and pull of the wind, or chasing the shadow of the kite on the grass.
- Visual Appeal: Prioritize bright, high-contrast colors and simple, recognizable graphics, such as animal shapes or cartoon faces, to keep young minds engaged.
Early Elementary (Ages 6–8)
Children in early elementary school are developing the motor skills and patience required to play a more active role in flying. They can understand basic instructions about line tension and are physically capable of holding a spool against a moderate breeze.
- Kite Size: Medium-sized delta or diamond kites between 24 and 36 inches are ideal. These sizes provide enough surface area to fly stably without generating overwhelming pull.
- Line Length: A line length of 50 to 100 feet (15 to 30 meters) allows the kite to reach steadier air currents above ground-level turbulence.
- Independent Flying: Children at this age can transition to launching the kite with minimal assistance. They can learn to release line slowly when they feel a strong pull and reel it in when the line goes slack.
- Spool Design: Look for ergonomic, easy-grip hoop spools or winding handles. These designs prevent the line from tangling and protect small hands from friction burns if the wind suddenly gusts.
Older Kids and Preteens (Ages 9–12)
Older children and preteens possess the coordination, strength, and problem-solving skills to handle larger kites and more challenging wind conditions. They are ready to manage longer lines and learn the basics of aerodynamic adjustment.
- Kite Size: Large deltas, frameless parafoils, or introductory single-line kites measuring 36 inches or larger are suitable. These kites generate a satisfying, strong pull that feels exciting to manage.
- Line Length: Lines can extend from 100 to 200 feet (30 to 60 meters), allowing the kite to soar high into the sky where the wind is much more consistent.
- Advanced Concepts: Preteens can learn to adjust the kite's tow point or bridle to account for different wind speeds. They can also practice advanced launching techniques, such as launching the kite entirely on their own without a helper.
- Durability and Materials: This is the ideal time to upgrade to high-quality materials. Older kids will fly more frequently and in stronger winds, making durable ripstop fabric and sturdy fiberglass frames a worthwhile investment.
Essential Features for a Kid-Friendly Saranggola
When shopping for a saranggola for kids, focusing on build quality and design features will save you from buying a disposable toy that breaks on its first outing. High-quality construction ensures the kite can survive multiple crashes and remain a staple of your family’s outdoor adventures.
Frame Materials
The frame, or spars, provides the structural support for the kite’s sail.
- Fiberglass Rods: This is the gold standard for beginner kites. Fiberglass is highly flexible, lightweight, and can bend significantly during a rough crash without snapping.
- Wood or Bamboo: While traditional, cheap wooden dowels or thin bamboo splints are brittle. They are prone to splintering or snapping when the kite nose-dives into hard ground.
- Cheap Plastic: Many low-cost kites use thin, rigid plastic frames that warp permanently under the heat of the sun or crack under moderate wind pressure.
Sail Materials
The sail must withstand high wind pressure, UV exposure, and abrasive contact with the ground.
- Ripstop Nylon or Polyester: These synthetic fabrics feature a reinforced grid pattern that prevents small punctures from turning into large tears. They are highly durable, water-resistant, and retain their bright colors even after long hours in the tropical sun.
- Thin Plastic Films: Many budget-friendly kites utilize cheap plastic sheeting similar to trash bags. These sails puncture easily on dry grass, twigs, or sand, rendering the kite useless after a single flight.
Line and Spool
The connection between the flyer and the kite is critical for safety and control.
- Braided Line: Look for braided polyester or nylon line. Braided line is smoother, stronger, and far less likely to tangle into knots compared to cheap, twisted cotton string.
- Ergonomic Spools: Avoid simple flat cardboard or plastic winders that require tedious hand-over-hand winding. Opt for circular hoop spools or mechanical reel handles that allow quick, smooth retrieval of the line while keeping fingers safe from tangles.
Tails and Stability
Tails are not just decorative; they serve a vital aerodynamic purpose. A tail adds drag to the rear of the kite, which naturally keeps the nose pointed upward and prevents the kite from spinning out of control. For diamond kites, a long ribbon tail or a series of bow tails is absolutely essential. Delta and parafoil kites are more stable by design, but adding a tail or a wind drogue (a small wind cone) can provide extra stability in gusty or unpredictable wind conditions.
Tips for a Successful First Kite Flying Experience
Even the best kite will struggle to fly if the environmental conditions are poor or the launching technique is incorrect. Preparing for your outing ensures a fun, safe, and frustration-free experience for the whole family.
Wind Assessment
Before heading out, perform a simple visual check to determine if the wind is suitable for flying. The ideal wind range for beginner kites is a light to moderate breeze, roughly 5 to 15 mph (8 to 24 km/h).
- Too Light: If leaves on the trees are completely still, there is not enough wind to lift the kite.
- Perfect Breeze: If leaves are rustling, small twigs are moving, and flags are gently extending, the conditions are ideal.
- Too Strong: If large tree branches are swaying, or if it is difficult to walk against the wind, the conditions are too turbulent. Strong winds can easily overpower a child, snap the kite line, or damage the frame.
Location Selection
Always choose a wide-open space free of physical obstructions. Excellent locations include flat sandy beaches, open public parks, school playing fields, or grassy clearings.
Strictly avoid areas with trees, tall buildings, busy roads, and overhead power lines. In dense urban areas in the Philippines, overhead utility cables are common and present a severe electrocution hazard. Keep a safe distance of at least several hundred feet from any power lines or roads.
Launching Technique
Many parents instruct their children to run as fast as they can while dragging the kite behind them. This “run and release” method often causes the kite to unstablely bounce along the ground, leading to broken frames and torn sails. Instead, use the much more reliable “long line” launch method:
- Positioning: Stand with your back to the wind.
- The Helper: Have a helper (usually an adult) hold the kite and walk downwind about 30 to 50 feet, facing you.
- Tension: Hold the spool and pull the line taut.
- The Release: When a gentle gust of wind comes, have the helper release the kite straight up into the air.
- Lift: Gently tug the line toward you to help the kite catch the wind and climb steadily. This method keeps the flyer stationary and in complete control.
Safety Boundaries
Establish clear safety rules before launching the kite. Teach children to never run backward while watching the kite, as they can easily trip over obstacles or holes in the ground.
If the kite gets caught in a tree, on a roof, or near a utility pole, instruct the child to let go of the line immediately and seek adult help. Emphasize that they must never attempt to climb trees or retrieve a kite from electrical infrastructure, as no toy is worth risking personal safety.
Frequently Asked Questions (FAQ)
What wind speed is best for flying a kid's kite?
The ideal wind speed for a beginner kid’s kite is between 5 and 15 mph (8 to 24 km/h). You can easily judge this without special equipment by observing your surroundings. Look for leaves rustling and small branches moving gently. If the wind is too light, the kite will refuse to stay up; if it is too strong, the kite can pull too hard, become unstable, or damage its frame.
How do I fix a kite that keeps spinning in circles?
Spinning is usually caused by a lack of aerodynamic stability or uneven wind pressure. The quickest fix is to add a tail or lengthen the existing one, which increases drag at the bottom of the kite and keeps the nose pointed up. Additionally, inspect the kite to ensure the frame is perfectly symmetrical, the sail is balanced, and the bridle (the string connecting the line to the kite) is centered.
Can kids fly kites without a tail?
Whether a kite needs a tail depends entirely on its design. Delta and parafoil kites are aerodynamically stable and can fly perfectly well without a tail, though adding one can help in gusty winds. Traditional diamond kites, however, almost always require a tail to provide the necessary drag to prevent them from spinning and crashing.
Community discussion
Share your experience or ask a question. Comments are reviewed before publication.