
When planning a family day outdoors in the Philippines, few activities match the classic, screen-free joy of flying a sarangola. Whether you are gathering on the windy shores of a coastal beach or setting up camp in a spacious public park, watching a colorful kite catch the breeze is a deeply satisfying experience. However, not all kites are created equal, and choosing the wrong model can quickly turn a fun family outing into a frustrating afternoon of tangled lines, broken frames, and tears.
To ensure your outdoor adventure is a success, selecting a kite that matches the skill level of your family members and the prevailing wind conditions is essential. For most beginners and family outings, the ideal choice is either a Delta kite or a Parafoil kite. These designs offer the perfect balance of easy launching, stable flight, and structural durability, making them highly forgiving for novice flyers of all ages.
Key Features to Look for in a Beginner Sarangola
Selecting a beginner-friendly kite requires looking past eye-catching graphics and focusing on the structural and aerodynamic features that make a kite easy to fly. A well-designed beginner sarangola should practically fly itself once it reaches the air, allowing children and novices to focus on the joy of controlling it rather than struggling to keep it aloft.
Products mentioned in this guide
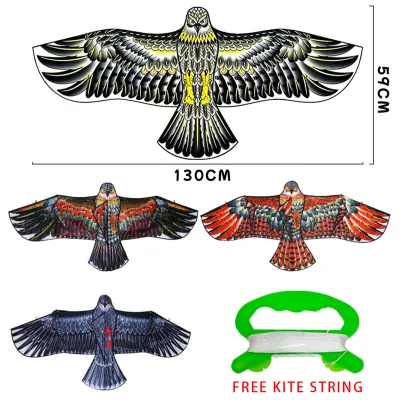
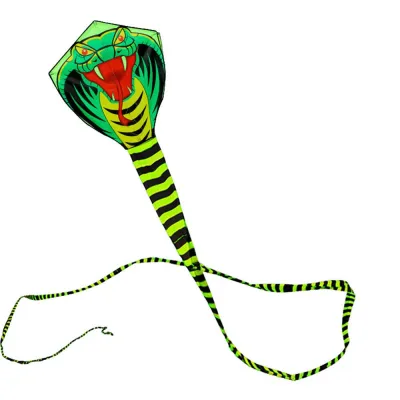
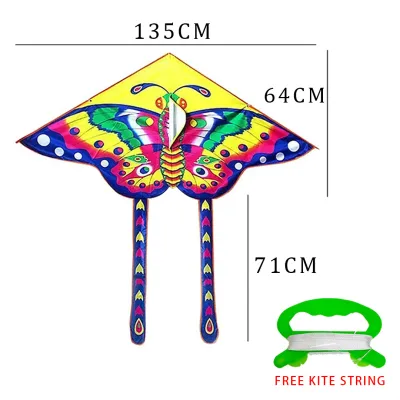
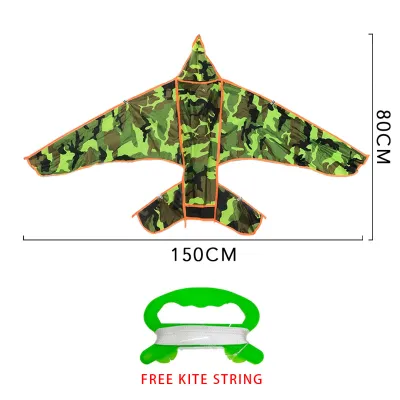
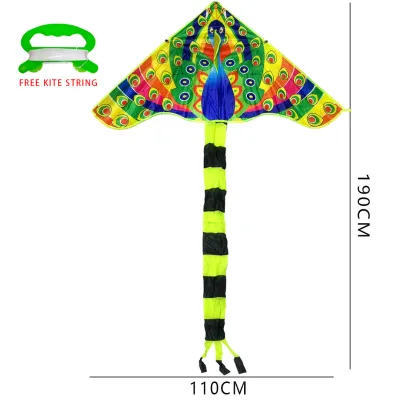
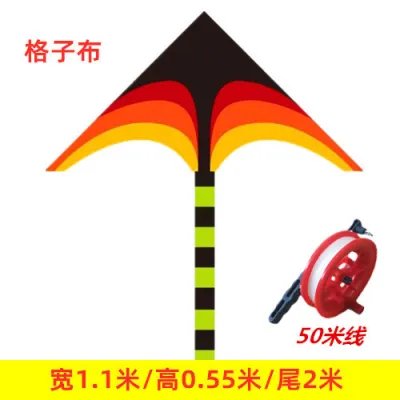
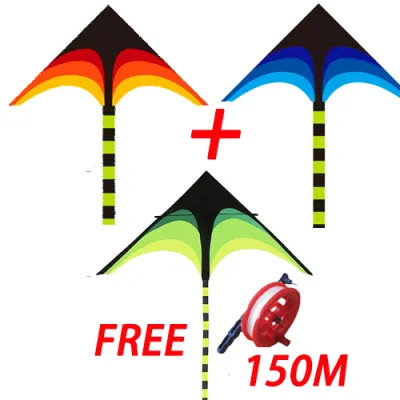

Prices are valid at publication and may change. Please refer to the product page for the latest price.
Stability and Wind Range
Beginners require a kite that performs reliably in light to moderate breezes, typically ranging from 5 to 15 miles per hour (roughly 8 to 24 kilometers per hour). In many local parks, open fields, and coastal areas across the Philippines, wind conditions can be highly variable, often starting as a gentle whisper before turning into a steady breeze. A high-quality beginner kite must have a wide wind range, meaning it can generate enough lift to fly in light air without folding or spinning out of control when a sudden gust hits. Avoid specialized high-performance kites that require incredibly strong, steady gales to stay airborne, as these are difficult to launch and control for inexperienced flyers.
Ease of Assembly
When you arrive at your flying destination, the last thing you want to do is spend an hour deciphering complicated instruction manuals or searching for tools. A family-friendly sarangola should feature a simple, intuitive, and tool-free assembly process. Look for designs that utilize snap-together joints, pre-threaded tension rods, and clear connection points. Many modern beginner kites can be fully assembled in under two minutes, allowing your family to maximize their time in the air and minimize setup frustration.
Durability and Crash Resistance
It is a certainty that a beginner will crash their kite multiple times during their first few attempts. Whether it is a sudden drop in the wind, an over-correction on the line, or an accidental nose-dive into the ground, your sarangola must be built to withstand high-impact landings. Traditional paper and thin plastic kites tear easily and are often ruined after a single rough landing. For long-term family use, prioritize kites constructed with flexible, impact-absorbing frames and heavy-duty, tear-resistant fabrics. These materials bend on impact rather than snapping, ensuring your kite survives countless crashes onto grass, sand, or dirt.
Safe Handling and Ergonomics
Line control is the primary point of interaction between the flyer and the kite, making safe handling features incredibly important. Cheap, poorly made kites often come with thin, razor-sharp nylon string wrapped around a tiny plastic hoop that can easily cut or burn small hands under tension. Look for kite packages that include smooth, ergonomic spools or hoop winders that are appropriately sized for children’s hands. The line itself should be a durable, braided polyester string that is thick enough to be easily visible and comfortable to hold, reducing the risk of friction burns and making tangles much easier to untangle.
Recommended Sarangola Types for Family Outings
Different kite designs possess unique flight characteristics, assembly requirements, and structural limitations. Understanding these distinctions will help you choose the perfect design for your family’s specific needs, venue, and target age group.

Delta Kites: The Most Stable Choice for Beginners
Delta kites, named for their triangular shape resembling the Greek letter delta, are widely considered by flight enthusiasts to be the absolute best starting point for novices and young children.
- Aerodynamic Advantage: The wide wingspan and built-in fabric keel (the triangular flap beneath the kite) of a delta kite provide exceptional natural stability. When a shifting gust of wind hits a delta kite, the keel acts like a ship's rudder, automatically self-correcting the kite's position to keep its nose pointed directly into the wind.
- Easy Launching: Because of their high lift-to-drag ratio, delta kites can easily launch in very light winds. Unlike traditional designs that require the flyer to run exhaustively to generate lift, a delta kite can often be launched simply by holding it up to the breeze and letting out the line.
- Limitations: While delta kites are incredibly stable, very large models (wingspans exceeding 60 inches or 150 centimeters) can generate a surprising amount of pull. For families with young children, it is best to stick to small-to-medium delta kites to ensure the line tension remains perfectly manageable for smaller hands.
Diamond Kites: Classic and Easy to Assemble
The diamond kite, often referred to as the traditional Eddy design, is the iconic shape most people picture when they think of a sarangola. It offers a nostalgic, classic flying experience that appeals to all generations.
- Simplicity: The classic diamond design relies on a straightforward two-stick cross-frame. This simple structure makes them incredibly easy to assemble, disassemble, and pack flat. If a spar is ever damaged, it can easily be repaired or replaced with a basic wooden dowel or fiberglass rod.
- Flight Characteristics: While diamond kites are iconic, they generally require slightly stronger and more consistent wind to stay aloft compared to delta kites. To maintain stability and prevent the kite from spinning in circles, diamond kites almost always require a long tail, which adds necessary drag and balances the kite in flight.
- Best For: Diamond kites are an excellent choice for older children (ages 8 and up) and adults who want a traditional flying experience. They perform beautifully in open beach areas or lakeside parks where the wind is steady and reliable.
Parafoil Kites: Frameless and Travel-Friendly
Parafoil kites represent a modern advancement in kite design, utilizing a completely frameless structure that relies entirely on wind inflation to take shape.
- Zero Breakage Risk: Because parafoil kites contain absolutely no rigid spars, sticks, or rods, there is physically nothing to snap or break when the kite crashes. You can nose-dive a parafoil into the ground at high speeds repeatedly, and it will remain completely undamaged. This makes them the single most durable option for rough handling by toddlers and excited children.
- Portability: Lacking a rigid frame, a parafoil kite can be rolled up or stuffed into a tiny, pocket-sized pouch. This extreme portability makes them the ultimate travel-friendly option, easily fitting into a family beach bag, a backpack, or holiday luggage without taking up valuable space.
- Limitations: Parafoil kites require a solid, steady breeze to inflate their air pockets and maintain their aerodynamic wing shape. In very light or turbulent inland winds, they can collapse and fall. Additionally, because they act like small parachutes, larger parafoils can generate a remarkably strong pull, requiring close adult supervision.
How to Choose the Right Size and Material
Once you have decided on the style of sarangola that best suits your family, you must select the appropriate size and material composition. Matching these specifications to the age, physical strength, and experience level of the primary flyer will ensure a safe and enjoyable experience.
Wingspan Guidelines
To prevent a child from being overwhelmed by the physical pull of a kite, use the following wingspan guidelines based on age and physical capability:
- Toddlers and Young Children (Ages 3 to 7): Stick to small kites with a wingspan between 20 and 40 inches (50 to 100 centimeters). These lightweight kites generate very little pull, making them easy for young children to hold and control without assistance.
- Older Children and Beginners (Ages 8 and up): Opt for medium-sized kites with a wingspan of 40 to 60 inches (100 to 150 centimeters). This size range offers the ideal balance, providing enough surface area to fly stably in light winds while remaining highly visible in the sky.
- Adults and Experienced Flyers: Large kites with wingspans exceeding 60 inches (150+ centimeters) are suitable for adults. These kites can fly at impressive altitudes and handle stronger winds, but they generate significant line tension that requires physical strength to manage safely.
Fabric Selection
When browsing online marketplaces or local hobby shops, you will encounter kites made from various materials. The fabric of the kite sail directly impacts its weight, flight performance, and lifespan:
- Single-Use Plastics (PVC/PE): Often found on very cheap, mass-produced kites (typically priced under ₱300). While highly affordable, these plastics tear easily on dry grass, twigs, or sand, and they degrade rapidly when exposed to the intense heat and UV rays of the Philippine sun. They are generally best avoided if you want a kite that lasts.
- Ripstop Nylon or Polyester: This is the gold standard for durable, high-quality family kites (typically priced from ₱500 to ₱1,500). Ripstop fabrics feature a special reinforcing grid pattern woven into the material, which prevents small punctures or snags from spreading into large, ruinous tears. They are lightweight, water-resistant, and highly resistant to UV degradation, ensuring your sarangola lasts for multiple seasons.
Frame Materials
For kites that utilize a rigid structure (such as deltas and diamonds), the material of the support rods (spars) determines how well the kite handles crashes and wind pressure:
- Bamboo or Wood: Traditional bamboo is lightweight and culturally authentic, but it is highly susceptible to warping when exposed to tropical humidity or moisture. Bamboo can also splinter upon high-impact crashes, creating sharp edges that pose a safety risk.
- Fiberglass Rods: Modern fiberglass is the ideal frame material for family kites. It is incredibly flexible, allowing the frame to bend and absorb the shock of a hard crash before springing back into its original shape. Fiberglass is also completely immune to moisture, making it perfect for humid coastal environments.
- Carbon Fiber: This premium material is exceptionally light and rigid, used primarily in high-end, dual-line stunt kites or giant show kites. For casual family use, carbon fiber is generally unnecessary and adds significant cost to the purchase price.
Line and Spool Quality
A high-quality line and winder are just as important as the kite itself. Many standard kite packages include cheap, thin cotton thread that tangles easily and breaks under sudden tension. Consider upgrading to a braided polyester line with a rated strength of at least 50 pounds (22 kilograms) for small-to-medium kites. Pair this line with a smooth-turning hoop winder or a wheel winder featuring an integrated brake, which allows you to let out and reel in the line quickly and safely without risking painful tangles.
Safety Rules and Flying Tips for a Successful Launch
Kite flying is a low-risk outdoor activity, but basic safety protocols must be followed to prevent injuries, property damage, or lost equipment. Prioritizing safety ensures that your family outing remains a joyful and stress-free experience.
Location Selection
Always choose wide-open, flat spaces with clear pathways and no overhead obstructions. Ideal locations include expansive public parks, empty sports fields, and wide, sandy beaches.
- Strict Warnings: Never fly a sarangola near overhead power lines, busy roads, highways, airports, or railway tracks. If your kite ever becomes tangled in a power line, do not attempt to retrieve it yourself. Leave the kite immediately and contact your local electrical utility provider to handle the situation safely.
- Obstacle Awareness: Be mindful of trees, buildings, and light poles, which can create turbulent wind patterns (known as wind shadows) that make launching difficult. Additionally, ensure you are flying far away from crowded pedestrian areas to prevent your line from accidentally tangling with bystanders.
Weather and Wind Checks
Before heading out, perform a quick visual assessment of the local weather and wind conditions. You can easily gauge the wind speed by observing nearby trees and flags:
- Ideal Conditions: If leaves are rustling gently and flags are extended but not flapping violently, the wind is perfect for flying (5 to 15 mph).
- Stop Conditions: Never fly a kite during a thunderstorm, when rain is approaching, or when lightning is present in the area. Wet kite lines can conduct electricity, posing a severe electrocution hazard. Additionally, if tree branches are swaying heavily or umbrellas are turning inside out, the wind is too strong; pack up your gear and wait for calmer weather.
Launching Technique: The Two-Person High-Start Method
Running blindly while looking backward is the most common cause of trips, falls, and crashed kites. Instead of running, use the highly effective, two-person “high-start” launch method:
- Positioning: The flyer stands with their back to the wind, holding the spool. The helper holds the kite and walks directly downwind, away from the flyer, for about 50 to 75 feet (15 to 23 meters).
- Preparation: The helper holds the kite by its frame or edges, pointing the nose of the kite straight up toward the sky. The flyer takes up the slack in the line until it is straight and taut.
- The Launch: The flyer waits for a gentle gust of wind to blow. Once the breeze catches, the flyer signals the helper to release the kite. The helper should simply let go of the kite, releasing it upward rather than throwing it.
- Gaining Altitude: As the kite rises, the flyer gently pulls back on the line in a smooth, hand-over-hand motion to help the kite climb into steadier, higher-altitude winds. Once the kite is stable, the flyer can gradually release more line from the spool.
Line Safety and Supervision
High-tension kite lines can act like a saw if pulled quickly across bare skin. To prevent friction burns and cuts, instruct children never to grab a moving kite line with their bare hands. For larger kites or windier days, wearing lightweight, rubber-palmed gardening gloves provides excellent hand protection. Always keep the flying line clear of your face, neck, and legs, and ensure that an adult closely supervises young children at all times during the flight.
Frequently Asked Questions (FAQ)
How much wind is needed to fly a sarangola?
Most beginner-friendly kites require a light to moderate breeze of roughly 5 to 15 miles per hour (8 to 24 kilometers per hour) to fly successfully. A practical, visual way to check this is to look at your surroundings: if you can feel a steady breeze on your face, see leaves rustling gently in the trees, or observe flags extending from their poles, the wind conditions are ideal for launching your kite.
Can I fly a kite when it is raining?
No, you should never fly a kite when it is raining or when a storm is approaching. Wet kite lines can conduct atmospheric electricity directly to your hands, posing a severe lightning strike and electrocution hazard. Furthermore, moisture can damage non-waterproof fabrics, add excessive weight to the sail, and cause traditional wooden or cheap metal frames to warp, rust, or degrade.
Community discussion
Share your experience or ask a question. Comments are reviewed before publication.