
Maintaining your bicycle pedals is one of the most effective ways to ensure a smooth, efficient ride and prevent premature wear on your drivetrain. Over time, road grime, dust, and moisture penetrate the pedal bearings, degrading the lubricant and causing friction, squeaks, or grinding. By establishing a regular cleaning and lubrication routine, you can preserve the spinning efficiency of your pedals, protect the internal spindles from corrosion, and avoid costly replacements of both the pedals and the crank arms. Whether you ride a mountain bike on muddy trails or a commuter bike through city streets, taking care of this critical contact point keeps your power transfer seamless and your rides quiet.
Tools and Materials for Bike Pedal Maintenance
Before starting, gather the correct tools to prevent stripping the threads or damaging the pedal flats. You will typically need a dedicated 15mm pedal wrench or a set of high-quality hex keys (usually 6mm or 8mm, depending on your pedal model). A standard 15mm open-ended wrench is often too thick to fit into the narrow gap between the pedal body and the crank arm, making a thin-profile pedal wrench a highly useful investment. These specialized wrenches generally cost between ₱350 and ₱900 at local bike shops or online marketplaces. A reliable hex key set can range from ₱200 to ₱600.
For cleaning and lubrication, prepare a bicycle-specific degreaser (typically ₱250 to ₱700 per bottle) and a high-quality, waterproof bicycle grease (ranging from ₱300 to ₱800). Avoid using general household lubricants or penetrating oils, as they lack the viscosity and water resistance required to protect bearings under heavy loads. You will also need clean rags, an old toothbrush for scrubbing, and potentially a small flathead screwdriver or pick to remove dust caps. Always check your pedal manufacturer’s technical manual to verify specific tool sizes, especially for the internal locknuts, which may require small socket wrenches.
Products mentioned in this guide
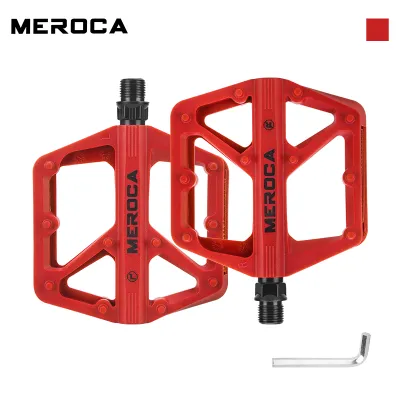
3 Lazada user ratings
Solid product! Nice moisture!
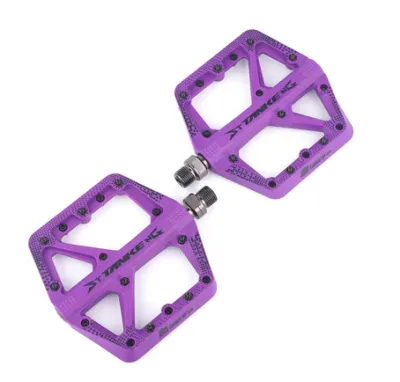
60 Lazada user ratings
Non-slip surface improves safety,
🔨Durability:10 👐Grip:10
Malaki pla to😥
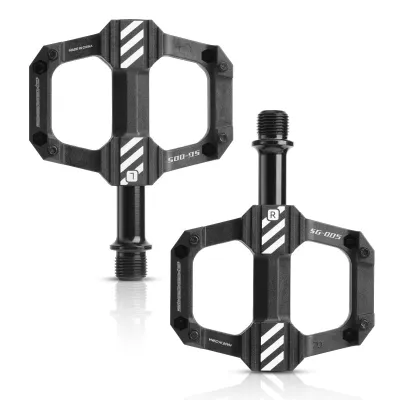
3 Lazada user ratings
legit product from seller ... goods quality guys I already used this one and I am satisfied and happy will buy again if needed and recommend…Read full reviewShow less
legit product from seller ... goods quality guys I already used this one and I am satisfied and happy will buy again if needed and recommend it to others 👍
🔨Durability:100 ⚖️Weight:100 👐Grip:100
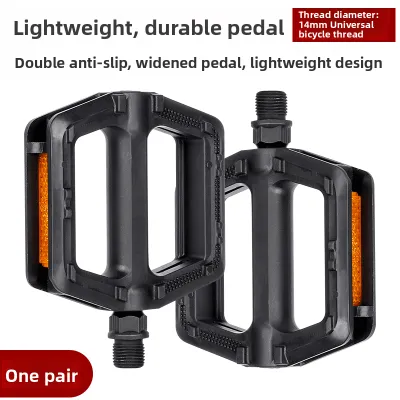
64 Lazada user ratings
The service was excellent, I had picked the wrong size before and contacted customer service for a return and exchange, and the footrest is …Read full reviewShow less
The service was excellent, I had picked the wrong size before and contacted customer service for a return and exchange, and the footrest is also really great.
The delivery took a bit longer than expected, but the package arrived at my door promptly after reaching out to customer service.
🔨Durability: 10/10 Maganda siya at mukang matibay.. Fast delivery, thanks to seller and to the delivery man..
Much better than the original, and I'll replace it with an even better one once it wears out.
👐Grip:ok ⚖️Weight:ok 🔨Durability:ok
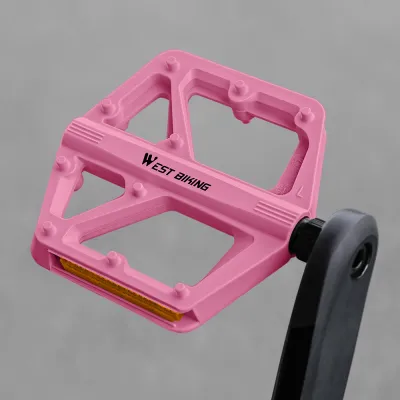
45 Lazada user ratings
It's okay, fits well for the price.
Secure grip, Reflective safety,
🔨Durability:good items
Safe night ride,
Great review!
Prices are valid at publication and may change. Please refer to the product page for the latest price.
How to Remove Bike Pedals Safely
Removing pedals requires careful attention to thread direction to avoid cross-threading or stripping the soft aluminum threads of your crank arms. The most critical rule to remember is that bicycle pedals are threaded differently on each side. The right-side pedal (the drive side, where the chain is located) has standard right-hand threads. To loosen it, turn the wrench counter-clockwise. The left-side pedal (the non-drive side) has reverse, left-hand threads. To loosen the left pedal, you must turn the wrench clockwise. A helpful memory aid is that both pedals loosen by turning the wrench toward the rear of the bicycle when the tool is positioned above the spindle.

To gain maximum leverage and prevent painful slips, position the bike securely on the ground or in a work stand. Rotate the crank arm so that it points toward the front wheel, parallel to the ground. Place your wrench on the pedal flats or insert the hex key into the back of the spindle so that the tool points upward and slightly toward the rear. Grasp the opposite crank arm with one hand to stabilize the drivetrain, then press down firmly on the wrench. This downward force utilizes your body weight safely, reducing the risk of your hand slipping into the sharp teeth of the chainrings.
If a pedal is seized and does not budge under moderate pressure, stop immediately. Applying excessive force or using improvised extension bars can easily strip the threads inside the crank arm, leading to an expensive crankset replacement. Instead, apply a penetrating oil to the threads from both sides of the crank arm and let it sit for several hours. If the pedal remains stuck after this treatment, take the bicycle to a professional mechanic who has specialized extraction tools and experience handling stubborn components.
Step-by-Step Cleaning and Degreasing Process
Once the pedals are removed, begin by wiping down the exterior surfaces with a clean rag sprayed with degreaser. For clipless pedals, pay close attention to the spring mechanisms, retention claws, and adjustment screws. Use an old toothbrush to scrub away packed mud, road grit, and old grease from these external moving parts. This initial external cleaning prevents dirt from falling into the internal bearing chambers during disassembly.
Next, proceed to disassemble the spindle and bearing system. The exact process depends on your pedal design. Many platform and clipless pedals feature an outer dust cap that must be pried off or unscrewed to reveal the internal locknut, washer, and cone. Carefully unscrew the locknut while holding the spindle steady. As you slide the spindle out of the pedal body, be prepared to catch the loose bearing balls if your pedals use a traditional cup-and-cone system. Some modern pedals use sealed cartridge bearings, which slide out as a single unit. Keep all small parts organized on a clean paper towel in the exact order they were removed.
Place the spindle, bearings, locknuts, and washers into a small container filled with bicycle degreaser. Let them soak for a few minutes to break down hardened grease and accumulated grime. Use a small brush to scrub the spindle threads and the bearing races inside the pedal body. After scrubbing, rinse the parts thoroughly with water if specified by the degreaser instructions, or wipe them completely dry with a lint-free microfiber cloth. Ensure there is no residual moisture or degreaser left on any component, as remaining degreaser will break down the fresh grease you apply during reassembly.
Repacking Bearings and Reassembling Pedals
Before reassembling, perform a detailed visual inspection of all internal components. Examine the bearing balls and the races inside the pedal body for signs of pitting, dullness, uneven wear, or rust. If you notice flat spots on the bearings or deep grooves in the races, the components must be replaced to restore smooth rotation. If the bearings are in good condition, you can proceed with repacking.
Apply a generous layer of waterproof bicycle grease directly into the bearing races inside the pedal body. If your pedals use loose ball bearings, use the stickiness of the fresh grease to hold each individual bearing ball in place as you reinstall them. Once the bearings are seated, slide the spindle carefully back into the pedal body, taking care not to displace any loose balls. Apply a thin coat of grease along the length of the spindle shaft to protect it from moisture and ease future disassembly.
Thread the inner cone, washer, and outer locknut back onto the spindle. Adjusting the bearing tension is a delicate balance: the spindle must spin freely without any gritty feeling, but there should be no noticeable play or side-to-side movement when you wiggle the spindle. Tighten the locknut securely while holding the cone in place with a thin wrench or needle-nose pliers. Spin the spindle by hand to verify smooth rotation, then reinstall the outer dust cap to seal the system from the elements.
Adjusting Your Maintenance Schedule for the Philippines
Riding conditions in the Philippines present unique challenges for bicycle components due to high humidity, intense tropical downpours, and coastal salt air. These environmental factors accelerate moisture ingress, which can quickly turn fresh grease into an ineffective, watery emulsion. If you frequently ride during the monsoon season or traverse muddy off-road trails, your pedals will require more frequent attention than they would in drier climates.
Watch for early warning signs of moisture ingress, such as a faint squeaking sound, a gritty sensation when spinning the pedals by hand, or visible rust staining near the spindle seals. After riding through deep puddles, flooded streets, or heavy rain, it is highly recommended to perform a quick tactile check. Lift your bike’s rear wheel, spin the pedals individually, and feel for any resistance or rough spots. If the rotation feels dry or rough, schedule a full teardown and re-greasing session promptly.
For casual road riders and commuters, a thorough pedal service once every six months is generally sufficient to prevent wear. However, active mountain bikers or those who commute daily through wet conditions should inspect and service their pedals every two to three months. Regularly applying a small drop of light wet-weather chain lube to the external spring pivots of clipless pedals will also keep the entry and release mechanisms working smoothly in humid conditions.
Troubleshooting Common Pedal Issues
If you experience issues after reassembling your pedals or during a ride, a few targeted checks can help identify the cause. A common problem is pedal play, where the pedal body wobbles slightly on the spindle. This is usually caused by a loose locknut or incorrect bearing cone adjustment. To fix this, remove the dust cap, loosen the locknut, slightly tighten the bearing cone, and retighten the locknut. Check the play again; repeat this adjustment in small increments until the wobble disappears while maintaining smooth rotation.
Stiff rotation or a grinding noise during pedaling indicates either overtightened bearing cones or contaminated grease. If the spindle is difficult to turn by hand, back off the bearing cone slightly. If the grinding persists even when the cone is loose, dirt has likely bypassed the seals, requiring you to clean, degrease, and repack the bearings again.
In some cases, maintenance cannot save a damaged pedal. If you observe deep cracks in the pedal body, severely bent spindles, or stripped threads on the spindle itself, the entire pedal unit must be replaced immediately for safety. Attempting to ride on structurally compromised pedals can lead to sudden failure, potentially causing a loss of control and serious injury.
Community discussion
Share your experience or ask a question. Comments are reviewed before publication.