
When shopping for a bicycle for kids 8 years old, finding the correct fit is the most critical step to ensure a safe and enjoyable ride. While age is a helpful starting point, children at this stage grow at wildly different rates. An average eight-year-old typically rides a bike with either 20-inch or 24-inch wheels. To determine which of these sizes will offer the best control, stability, and comfort, you must measure your child’s physical dimensions and match them to the bike’s geometry.
Selecting the wrong size can make riding difficult and increase the risk of falls. A bike that is too large prevents the rider from touching the ground easily, while a bike that is too small can cause their knees to strike the handlebars. By taking a few precise measurements before you shop, you can confidently choose a bicycle that matches your child’s current size and skill level.
Choosing a Bicycle for Kids 8 Years Old: Wheel Size vs. Height
Children’s bicycles are categorized by wheel diameter rather than frame size, which is how adult bikes are measured. For an eight-year-old, the choice almost always comes down to a 20-inch or a 24-inch wheel. Understanding how these wheel sizes align with your child’s physical height is the first step in narrowing down your options.
Products mentioned in this guide
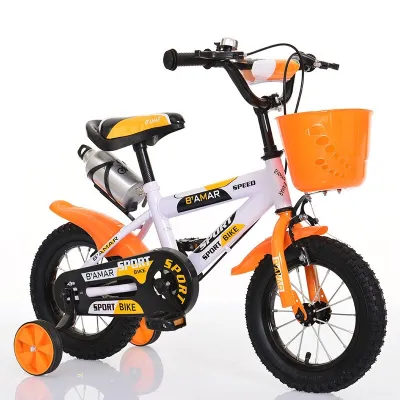
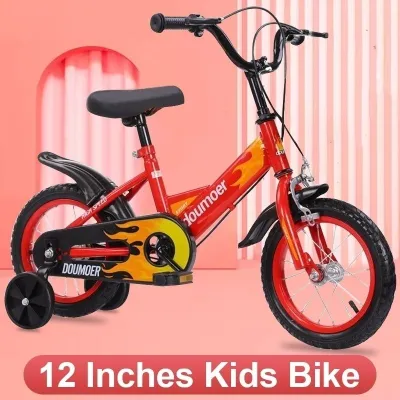
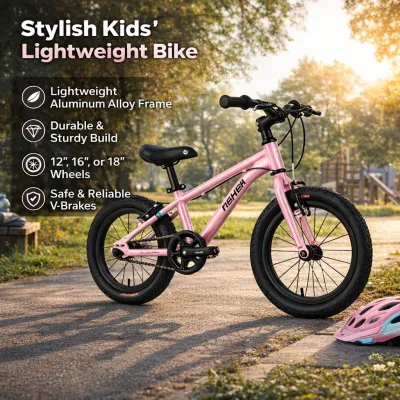
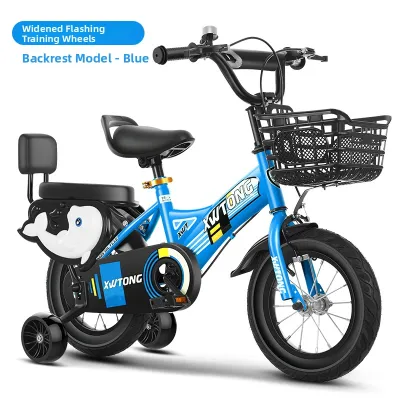
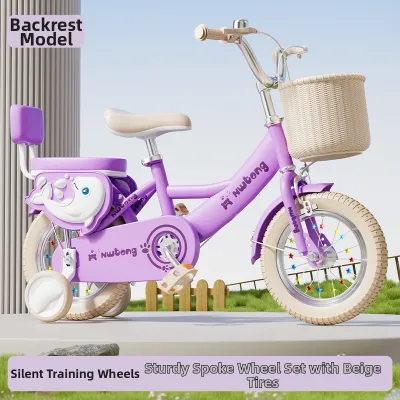
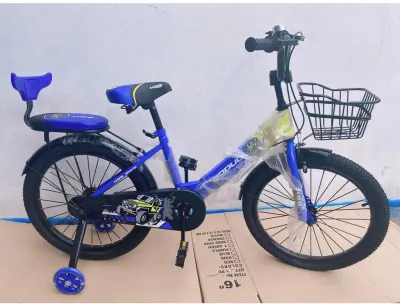
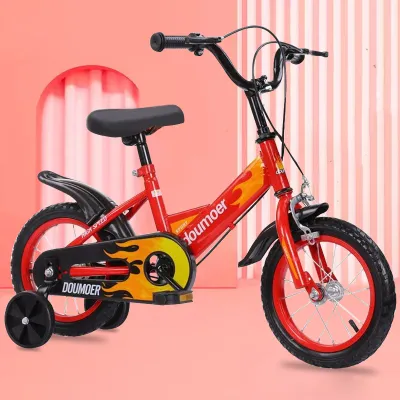
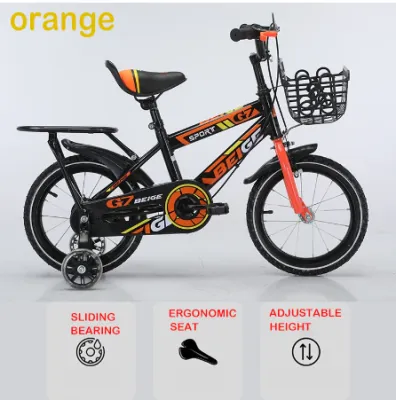
Prices are valid at publication and may change. Please refer to the product page for the latest price.
To establish a baseline, you can use general height-to-wheel-size guidelines. A bike with 20-inch wheels typically fits riders who are between 115 and 135 centimeters (roughly 45 to 54 inches) tall. A bike with 24-inch wheels is generally designed for taller children between 125 and 145 centimeters (roughly 50 to 58 inches) tall. Because these ranges overlap, a child who is around 130 centimeters tall could physically fit both sizes, depending on their leg length and riding confidence.
Age alone is an unreliable metric for purchasing a bicycle. Leg span, torso length, and overall height vary significantly among children of the same age. Always treat age recommendations as a loose starting point and rely on physical measurements to make your final decision.
Before making a purchase, verify these baseline measurements against the manufacturer’s specific size chart. Frame geometry, bottom bracket height, and seat post adjustment ranges differ from brand to brand. A 20-inch bike from one manufacturer may feel noticeably taller or longer than a 20-inch bike from another.
How to Measure Your Child for a Bike
To find a bicycle that fits perfectly, you need two primary measurements: your child’s total height and their inseam. Gathering these numbers takes only a few minutes but saves hours of trial and error at the bike shop.

Measuring Total Height Have your child stand barefoot with their heels, buttocks, and upper back flat against a straight wall. Ensure they are looking straight ahead and keeping their shoulders relaxed. Place a flat book or ruler on top of their head, parallel to the floor, and make a light pencil mark on the wall. Measure the distance from the floor to the mark using a tape measure.
Measuring the Inseam The inseam is the most critical metric because it determines whether your child can safely stand over the bike’s frame and reach the ground from the saddle. Have your child stand barefoot with their feet shoulder-width apart on a flat floor. Place a hardcover book between their legs with the spine facing upward. Slide the book up snugly until it mimics the pressure of a bicycle saddle. Measure the distance from the top spine of the book straight down to the floor.
Taking these measurements right before you shop is highly recommended. Children can undergo rapid growth spurts in a matter of weeks, especially during active outdoor seasons. Using outdated measurements can result in buying a bike that is already too small by the time they first ride it.
Matching Measurements to Bike Specifications
Once you have your child’s height and inseam, you can match these numbers to specific bicycle dimensions. This step ensures that the bike’s physical setup supports proper riding posture and safe stopping habits.
Seat Height and Inseam How your child’s feet interact with the ground depends on their riding experience. For beginners or less confident riders, set the saddle height equal to their inseam. This allows them to plant both feet flat on the ground when stopped, which builds confidence and prevents tipping. For experienced riders who have mastered balancing and stopping, raise the saddle slightly so only the balls of their feet touch the ground. This higher position allows for better leg extension and more efficient pedaling.
Standover Height Standover height is the clearance between the ground and the top tube of the bicycle frame. When your child stands straddling the frame with both feet flat on the ground, there should be at least 1 to 2 inches of clear space between their inseam and the top tube. If the frame is too tall, they risk painful impacts against the metal tube during sudden stops or emergency dismounts.
Reach and Handlebar Position Your child should be able to sit comfortably on the saddle, grip the handlebars, and operate the brake levers without overextretching their arms or sitting completely upright. A slight bend in the elbows is ideal. If their arms are locked straight, the reach is too long, which reduces steering control. If their knees hit the handlebars or their hands while pedaling, the frame is too short.
Bike Weight vs. Rider Weight Heavy bikes are incredibly difficult for young riders to maneuver, lift, and balance. As a safety guideline, a child’s bicycle should ideally weigh no more than 30% to 40% of their total body weight. Lightweight aluminum frames are generally much easier for an eight-year-old to control than heavy steel frames, especially when riding up inclines or navigating tight turns.
Terrain and Riding Venue Consider where your child will ride. For smooth, paved neighborhood streets, slick tires offer the least rolling resistance. If they will be riding on loose gravel, dirt paths, or damp grass, look for tires with wider, knobbier treads to ensure adequate grip. Under wet or humid conditions, reliable braking becomes even more critical; ensure the braking system matches the environment.
The Test Ride: Verifying the Fit and Safety
Even if a bicycle looks perfect on paper, a physical test ride is the ultimate way to verify safety and comfort. Before allowing your child to ride on public pathways, conduct these quick checks in a flat, traffic-free area.
Brake Reach Check Have your child sit on the bike and place their hands on the grips. Verify that they can comfortably reach the hand brake levers with their fingers and squeeze them with enough force to stop the wheels. Many quality youth bicycles feature adjustable-reach brake levers, which can be dialed closer to the grips for smaller hands. If they have to shift their entire hand grip forward just to touch the brakes, the levers are unsafe.
Steering Clearance Instruct your child to turn the handlebars fully to the left and then to the right. Watch their knees and thighs during these turns. The handlebar grips should clear their body completely without pinching their fingers against their legs or forcing them to twist their posture.
Riding Posture Observe your child from the side as they pedal slowly. Look for signs of discomfort or poor alignment. If their hips rock side-to-side, the seat is too high. If their knees rise up high toward their chest, the seat is too low. Their back should have a comfortable, natural forward lean rather than being hunched over or stiffly upright.
Safety Boundary If your child expresses fear, struggles to keep the bike balanced, or cannot easily manage the physical weight of the machine, do not force the fit. Safety must always override the desire to buy a bike they will “grow into.” Sizing down to a manageable 20-inch bike builds confidence, coordination, and handling skills much faster than struggling on an oversized 24-inch model.
Frequently Asked Questions (FAQ)
Can an 8-year-old ride a 16-inch bike?
While a 16-inch bike is typically outgrown by age six or seven, it may still be the correct fit for an eight-year-old who falls into a lower height percentile. If your child’s inseam and total height align perfectly with a 16-inch frame, prioritize their safety and control over standard age recommendations.
Should I buy a bigger bike so my child can grow into it?
No, you should never buy an oversized bicycle for a child. A bike that is too large is heavier, harder to balance, and makes reaching the ground and the brakes difficult. This significantly increases the risk of accidents and can discourage your child from riding altogether. Always select a bike that fits their current physical measurements.
Community discussion
Share your experience or ask a question. Comments are reviewed before publication.