
Night diving in the Philippines reveals a spectacular, hidden world. From the bioluminescent waters of Puerto Galera to the hunting pelagics of Malapascua, diving after dark is an unparalleled adventure. However, entering the ocean at night requires specialized equipment, with a high-quality, heavy-duty diving flashlight being your most critical tool. A reliable diving flashlight heavy duty model is not merely an accessory for spotting marine life; it is a vital piece of safety gear that ensures navigation, communication, and orientation in the pitch-black depths.
Why Night Diving in the Philippines Demands Heavy-Duty Flashlights
The Philippine archipelago sits at the heart of the Coral Triangle, boasting some of the richest marine biodiversity on Earth. While daytime dives showcase vibrant coral gardens, night diving exposes a completely different ecosystem where nocturnal predators hunt and macro life emerges. However, these tropical waters present unique environmental challenges. High salinity levels, elevated water temperatures, and strong tidal currents—such as those found in the Verde Island Passage—can rapidly degrade low-quality equipment.
Standard waterproof flashlights, even those rated for heavy rain or outdoor recreation, are entirely inadequate for the demands of scuba diving. As a diver descends, hydrostatic pressure increases by one atmosphere for every 10 meters of depth. A standard flashlight casing will quickly buckle or leak under this intense pressure. True heavy-duty dive lights are engineered with thick-walled bodies, reinforced lenses, and specialized sealing systems designed to withstand these crushing forces without structural failure.
Products mentioned in this guide
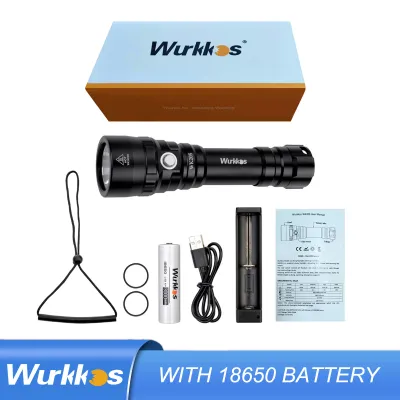
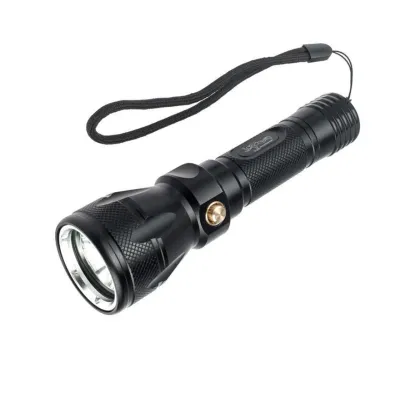
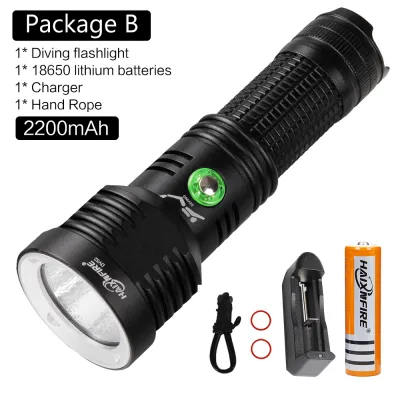
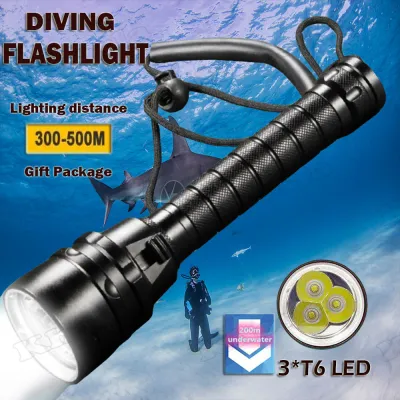
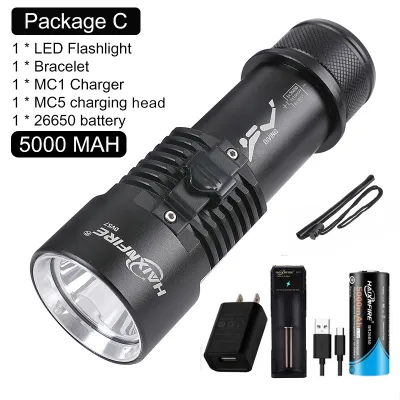
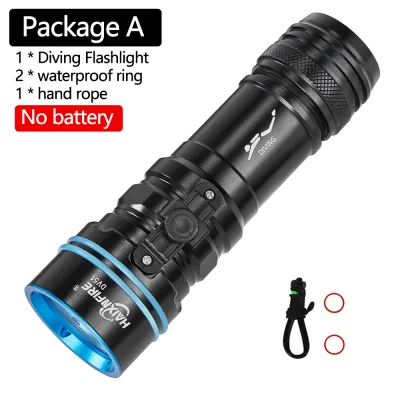
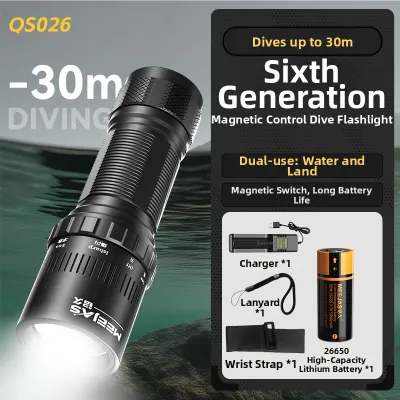
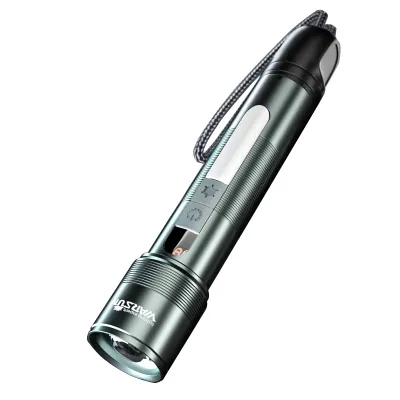
Prices are valid at publication and may change. Please refer to the product page for the latest price.
The primary defense against water ingress is the sealing mechanism, which typically utilizes double or triple O-rings seated in precision-machined grooves. These elastomeric seals are compressed under pressure, creating an impenetrable barrier against highly corrosive saltwater. If a seal fails, saltwater will instantly flood the electronics, causing immediate short circuits, battery destruction, and a complete loss of light.
Structural durability is another crucial factor. Divers frequently navigate tight swim-throughs, rocky reef crevices, and historical shipwrecks, such as the Japanese wrecks of Coron Bay. In these environments, your gear is highly susceptible to accidental impacts against hard surfaces. A heavy-duty light must feature an impact-resistant housing that can survive being bumped against steel hulls or volcanic rock without cracking the lens or damaging the internal circuitry.
Ultimately, your primary dive light is a critical life-support and navigation instrument. In the absolute darkness of a night dive, losing your light means losing your sense of direction, your ability to monitor your pressure gauge, and your connection to your dive buddy. Relying on a robust, heavy-duty light is a non-negotiable safety standard that ensures you can always navigate back to the boat or shore safely.
Critical Specifications to Evaluate Before Buying
Selecting the right heavy-duty dive light requires a clear understanding of key technical specifications. Rather than simply purchasing the brightest light available, you must evaluate how different features perform in specific underwater conditions.

Beam Angle, Lumens, and Color Rendering
The beam angle of your flashlight determines how the light is distributed underwater. A wide beam angle (typically between 60 and 120 degrees) provides a broad, even flood of light, which is ideal for illuminating large reef structures and maintaining peripheral awareness of your surroundings. Conversely, a tight spot beam (usually between 8 and 15 degrees) concentrates the light into a focused column. This spot beam is essential for cutting through murky water, illuminating distant objects, and signaling your buddy.
Color temperature and the Color Rendering Index (CRI) are critical for appreciating the true beauty of the marine environment. Water naturally absorbs red, orange, and yellow wavelengths of light, leaving underwater scenes looking dull and blue. A dive light with a high CRI rating (ideally 90 or above) and a warm color temperature replicates natural sunlight, restoring the brilliant, natural colors of corals, nudibranchs, and sleeping reef fish.
While manufacturers often emphasize high lumen ratings, more power is not always better. In waters with high particulate matter or during muck dives where sandy silt is easily kicked up, an excessively bright light will reflect off suspended particles. This phenomenon, known as backscatter, creates a blinding glare that severely reduces visibility. Matching your light’s output to the water clarity is far more effective than chasing maximum brightness.
Depth Ratings, Materials, and Switch Mechanisms
Every reputable dive light carries a maximum depth rating specified by the manufacturer. It is vital to verify that this rating comfortably exceeds your planned maximum dive depth. For recreational diving, which has a limit of 40 meters, a light rated to 100 meters or more provides an important safety margin. This margin accounts for the dynamic pressure spikes that can occur when moving through the water or during sudden descents.
The materials used in the construction of a heavy-duty dive light determine its resistance to corrosion and physical wear. Hard-anodized aerospace-grade aluminum (Type III) is the industry standard, offering exceptional strength, excellent heat dissipation, and high resistance to saltwater corrosion. Titanium is another premium option that provides unmatched durability and corrosion resistance, though at a higher cost. High-grade engineered polymers are lightweight and entirely immune to corrosion, but they may not offer the same level of impact resistance as metal housings.
Switch mechanisms must be highly reliable and easy to operate while wearing thick neoprene dive gloves. Magnetic switches, including rotary collars and sliding toggles, are highly preferred because they do not require a physical hole through the light’s body, eliminating a primary point of potential water leakage. Push-button switches are also common but must feature robust internal seals to withstand depth pressure.
To prevent accidental activation, a reliable switch must include a physical lock or a recessed design. Dive lights generate significant heat when operated out of the water; if a high-powered light turns on accidentally inside your gear bag, it can melt nearby equipment, drain the battery, or even pose a fire hazard.
Recommended Flashlight Configurations for Night Dive Scenarios
Different diving environments require specific light configurations to maximize safety and enjoyment. Understanding these scenarios helps you select the most appropriate tool for your specific dive profile.
Primary Lights for Reef and Muck Diving
Reef and muck diving, popular in destinations like Dauin and Anilao, focus on observing small, intricate marine life close to the substrate. For these dives, your primary light should feature a wide, soft flood beam with a high CRI. This setup allows you to illuminate a broad area uniformly, making it easier to spot camouflaged critters like frogfish or blue-ringed octopuses without casting harsh, distracting shadows.
Adjustable power settings are highly beneficial in these environments. Many nocturnal species are highly sensitive to bright light and will flee or hide if blasted with high lumens. Being able to dim your light to a lower setting allows you to observe these creatures in their natural state while minimizing backscatter from sandy or silty bottoms.
Primary Lights for Wreck and Deep Wall Diving
Wreck penetration and deep wall diving, such as exploring the drop-offs of Tubbataha Reefs or the shipwrecks of Coron, present more demanding conditions. In these deep, dark environments, you need a primary light with a tight, penetrating spot beam and a high lumen output. This configuration allows you to cut through the dark water column, peer deep into wreck compartments, and project a clear signal across long distances.
The physical demands of these environments require extreme structural durability. Your light must be housed in a rugged, hard-anodized aluminum casing capable of surviving accidental scrapes against sharp metal edges or abrasive volcanic rock walls. A secure hand mount, such as a Goodman handle, is highly recommended to keep your hands free for managing lines, holding onto structures in strong currents, or adjusting other gear.
The Non-Negotiable Backup Light Setup
A backup light is an essential safety requirement for any night dive, regardless of the environment. If your primary light fails, your backup is your lifeline to complete the dive safely and perform a controlled ascent. This secondary light should be compact, streamlined, and easily stowed in a BCD pocket or clipped to a secure D-ring where it can be retrieved and turned on with one hand.
To ensure true redundancy, your backup light must operate on an independent power source. This means using a separate battery that is completely isolated from your primary light’s power system. If your primary light fails due to a battery short circuit or a depleted charge, your backup light remains completely unaffected and ready for immediate use.
Your backup light should be equipped with a secure, quick-release lanyard and a heavy-duty bolt snap. Anti-roll body designs are also valuable, preventing the light from rolling off a flat surface if you need to set it down temporarily. Always verify that your backup light is easily accessible and that you can deploy it quickly in complete darkness.
Essential Pre-Dive Checks and Underwater Handling
Proper pre-dive preparation is the key to ensuring your heavy-duty dive light performs flawlessly underwater. Establishing a consistent inspection routine helps identify potential issues before they lead to equipment failure or a flooded light.
Before every dive, perform a thorough inspection of the light’s O-rings. Remove the O-rings carefully using a plastic tool—never use sharp metal objects that can scratch the delicate sealing grooves. Inspect the rubber for any signs of cracking, dry rot, flattening, or trapped debris such as sand, hair, or salt crystals. Clean the O-rings and the grooves with a lint-free microfiber cloth.
Apply a thin, even layer of manufacturer-approved silicone grease to the O-rings before reassembling. The grease is not a sealant itself; rather, it keeps the rubber supple and allows it to slide smoothly into place without twisting or pinching. Over-lubricating can actually attract sand and hair, which can compromise the seal, so use only enough grease to give the O-rings a slight sheen.
Check the battery contacts for any signs of corrosion, which often appears as a green or white powdery residue. Clean the contacts if necessary, and ensure that the threads on the light body are clean and properly aligned. When screwing the light together, do not force the threads; if you encounter resistance, back off and re-align to avoid cross-threading, which can ruin the watertight seal.
In the high-humidity environment of the Philippines, trapping moist air inside your dive light during a battery change can lead to internal condensation when the light hits the cold water at depth. To prevent this, change your batteries in a dry, air-conditioned room whenever possible, or place a small, fresh silica gel packet inside the battery compartment to absorb any residual moisture.
Once in the water, practicing proper light etiquette is essential for safety and environmental protection. Never shine your high-powered beam directly into your dive buddy’s face, as this can cause instant, temporary blindness and disorientation. Instead, keep your beam pointed downward or slightly to the side when communicating.
Use your light beam as a clear communication tool. To signal “OK” to your buddy, move your light beam in a slow, steady circle on the seabed or reef in front of them. To get their attention quickly, move the beam in a rapid horizontal line. Avoid erratic, fast movements of your light, as this can signal panic or distress to other divers.
Post-Dive Maintenance for Tropical and High-Salinity Conditions
The warm, highly saline waters of the Philippines are exceptionally corrosive to dive equipment. Diligent post-dive maintenance is essential to preserve the integrity of your heavy-duty light and prevent premature failure of its mechanical and electronic components.
Immediately after exiting the water, submerge your closed dive light in a tub of clean, fresh water. Allow it to soak for at least 15 to 30 minutes to dissolve any salt crystals that have accumulated in the threads, around the switch, or in the O-ring tracks.
While the light is submerged in the rinse tank, do not operate any buttons, switches, or rotary heads. Pressing a button underwater can temporarily deform the seal, allowing a small amount of saltwater to bypass the O-ring and enter the housing. Instead, gently agitate the light in the water to help flush out trapped salt.
After soaking, dry the exterior of the light thoroughly with a clean towel before opening any compartments. This prevents any residual water droplets from entering the dry battery compartment or falling onto the sensitive circuit boards. Once open, inspect the interior for any signs of moisture.
Periodically remove the O-rings for a deep clean, wiping away old grease and applying a fresh layer of silicone lubricant. If you plan to store the light for an extended period, store the O-rings in a small, sealed plastic bag to prevent them from drying out or taking a permanent set.
Always remove the batteries from your flashlight before storing it for more than a few days. Alkaline and lithium batteries can slow-discharge over time, and in worst-case scenarios, they can leak highly corrosive chemicals that will permanently destroy the light’s internal components.
Store your diving flashlight in a cool, dry place away from direct tropical sunlight. High temperatures and UV exposure can degrade rubber seals, weaken plastic components, and shorten the overall lifespan of your rechargeable batteries. Keeping your gear in a dedicated, padded gear case protects it from physical damage and dust between dive trips.
Frequently Asked Questions (FAQ)
Can I use a regular heavy-duty tactical flashlight for scuba diving?
No, you should never use a standard tactical flashlight for scuba diving. While tactical lights are often marketed as heavy-duty and water-resistant, they are not designed to withstand the sustained hydrostatic pressure of deep water. Standard seals and thin glass lenses can easily implode or flood at depth, leading to sudden light loss and potential battery short-circuits. Furthermore, their switch mechanisms are not pressure-compensated, meaning the increasing water pressure can lock the switch in the off position or force it to fail entirely.
How do I safely travel with dive flashlight lithium batteries on flights?
When traveling by air to dive destinations in the Philippines, you must carry your dive light’s lithium-ion batteries in your carry-on luggage rather than checked baggage. Ensure the batteries are removed from the flashlight body to prevent accidental activation during the flight. Protect the battery terminals by placing each battery in an individual plastic sleeve, a dedicated battery case, or by taping over the exposed contacts. Always verify the current capacity limits (typically measured in Watt-hours) with your specific airline and the local aviation authorities before your trip.
What should I do if my dive light floods underwater?
If your dive light floods underwater, immediately switch to your backup light, signal your dive buddy, and safely abort the dive if your primary navigation or signaling capability is compromised. Do not attempt to open or adjust the light while submerged. Once you are back on land or the boat, immediately rinse the closed light with fresh water, dry the exterior, and then carefully open the compartment. Remove the battery immediately, rinse the internal components with fresh water if they were exposed to saltwater, and dry them thoroughly. Contact the manufacturer for professional repair options, and never attempt to reuse a battery that has been exposed to saltwater, as it poses a severe fire and chemical hazard.
Community discussion
Share your experience or ask a question. Comments are reviewed before publication.