
Finding the right bike for kids 18 inches in wheel size is a major milestone for young riders. In the Philippines, where children navigate a mix of smooth subdivision pavements, bumpy barangay roads, and shared park paths, selecting the right bicycle requires balancing physical fit, material durability, and local riding conditions. An 18-inch bike serves as a crucial bridge between small toddler models and larger youth bicycles, offering the stability needed for developing skills while accommodating rapid growth spurts.
Evaluating these bikes requires looking beyond aesthetics to focus on mechanical safety, weight, and frame geometry. Because children at this stage are developing greater speed and confidence, the bike must be robust enough to handle daily outdoor adventures while remaining light enough for them to control easily. By understanding what to look for in terms of sizing, components, and local availability, you can make an informed investment that keeps your child riding safely for years.
Core Criteria for Choosing an 18-Inch Kids Bike
An 18-inch bike is typically designed for children between the ages of 5 and 8, standing approximately 110 cm to 125 cm tall. However, age is only a rough guideline; physical development and riding confidence are the true indicators of readiness. If your child has outgrown their 14-inch or 16-inch bike but is not yet tall enough to safely mount a 20-inch model, the 18-inch size provides the ideal middle ground for continuous skill development.
Products mentioned in this guide
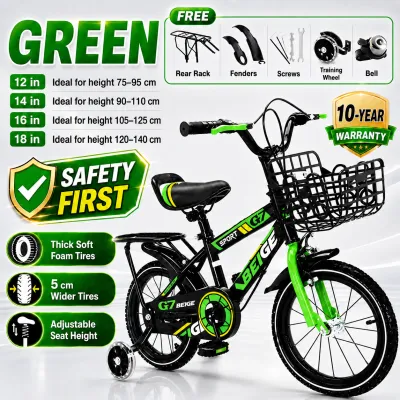
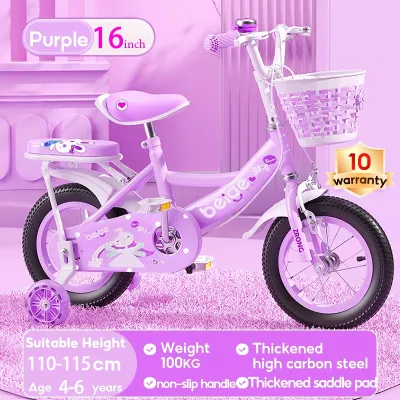
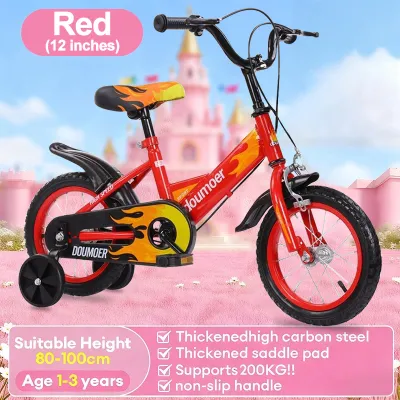
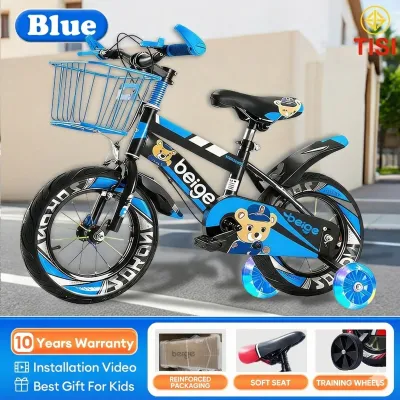
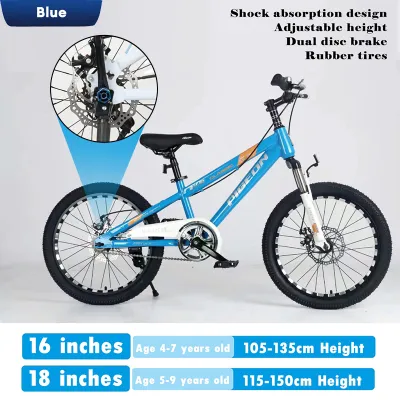
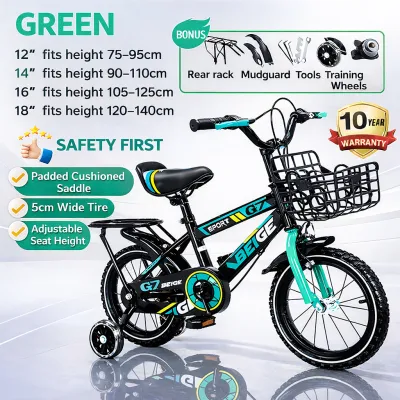
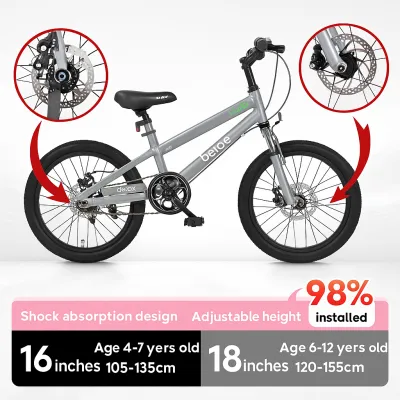
Prices are valid at publication and may change. Please refer to the product page for the latest price.
Local riding environments in the Philippines heavily dictate the type of bike you should choose. Subdivision streets, concrete basketball courts, and public parks often feature uneven surfaces, drainage grates, or loose gravel. For these conditions, look for bikes equipped with wider, multi-surface tires that offer reliable traction and shock absorption. Slick road tires may slip on dusty concrete, while excessively knobby off-road tires can add unnecessary rolling resistance on flat pavement.
Establishing a realistic budget framework in Philippine Pesos (₱) helps narrow down your options. Entry-level 18-inch kids’ bikes generally range from ₱3,000 to ₱5,000, often featuring high-tensile steel frames and basic coaster brakes. Mid-tier options, ranging from ₱6,000 to ₱12,000 or more, typically offer lightweight aluminum frames, superior hand brakes, and smoother bearings. Investing in a mid-tier model often yields better longevity, higher resale value, and a significantly easier riding experience for your child.
Checking the Fit: Height, Inseam, and Riding Posture
To ensure a safe and comfortable ride, you must measure your child’s inseam rather than relying solely on their overall height. Have your child stand against a wall wearing their typical riding shoes. Place a hardcover book between their legs, snug against their crotch, and measure the distance from the top of the book straight down to the floor. Compare this measurement directly to the bike’s minimum seat height specification to ensure they can comfortably mount and dismount.

Correct riding posture varies depending on your child’s experience level. For beginners who are still building confidence or transitioning away from training wheels, the saddle should be positioned low enough that they can place both feet flat on the ground while seated. For experienced riders who have mastered balancing and stopping, raise the saddle slightly so that there is a slight bend in the knee (approximately 15 to 20 degrees) at the lowest point of the pedal stroke, with only the balls of their feet touching the ground when stopped.
Standover height and handlebar reach are equally critical for maintaining steering control and preventing fatigue. When standing astride the top tube of the frame with both feet flat on the ground, there should be at least one to two inches of clearance between the frame and the child’s crotch. Additionally, the handlebar reach should allow the child to grip the handlebars comfortably with a slight bend in their elbows, ensuring they do not have to lean excessively forward, which can strain their wrists and limit their steering range.
Essential Features and Safety Checks
When comparing different 18-inch bike models, a systematic evaluation of mechanical components is essential for safety and performance.
- Braking Systems: Many kids' bikes feature a combination of a rear coaster brake (engaged by pedaling backward) and a front hand brake, or dual hand brakes (front and rear caliper or V-brakes). Coaster brakes are highly intuitive for younger children but can make starting from a standstill difficult. Hand brakes prepare children for adult bicycles, but you must verify that the brake levers are specifically designed for small hands, allowing easy reach and sufficient leverage to stop the bike without straining.
- Frame Materials: High-tensile steel frames are incredibly durable and cost-effective, but they add significant weight, making the bike harder for a child to maneuver or pedal uphill. In the humid, tropical climate of the Philippines, steel is also prone to rust if the paint becomes chipped. Aluminum alloy frames are much lighter, rust-resistant, and easier to handle, though they come at a higher price point.
- Drivetrain and Freewheel: Most 18-inch bikes utilize a simple single-speed drivetrain, which eliminates the complexity of shifting gears. Ensure the freewheel mechanism operates smoothly, allowing the child to coast without the pedals spinning automatically. If you plan to remove training wheels, a smooth freewheel allows the child to position the pedals optimally for starting.
- Safety Accessories: Look for models that include a fully enclosed chain guard to prevent clothing, shoelaces, or fingers from getting caught in the drivetrain. High-visibility reflectors on the front, rear, spokes, and pedals are crucial for safety on shared neighborhood roads. A loud, easy-to-operate bell is also highly recommended for alerting pedestrians on busy pathways.
Buying Channels and Post-Purchase Setup
Purchasing from a specialized local bike shop offers distinct advantages over buying online. A local shop provides professional assembly, ensuring that the steering, brakes, and drivetrain are perfectly aligned and tightened. They can also assist with personalized fitting adjustments and handle future warranty claims directly. While purchasing from online marketplaces or e-commerce platforms may offer a wider selection and lower initial prices, the bike will arrive partially assembled in a box, requiring you to perform the final setup yourself.
If you choose to assemble the bike at home, perform a comprehensive pre-ride safety check before letting your child ride.
- Tire Pressure: Inflate the tires to the recommended PSI range printed on the tire sidewall. Under-inflated tires make pedaling difficult and increase the risk of pinch flats on rough concrete.
- Brake Cable Tension: Squeeze the brake levers to ensure they do not pull all the way back to the handlebar grips. The brake pads must align perfectly with the metal wheel rims, avoiding any contact with the tire rubber.
- Bolt Tightness: Use a wrench to verify that the handlebar stem, seat post clamp, pedals, and wheel nuts are securely tightened.
- Quick-Release Levers: If the bike features quick-release clamps on the seat post or wheels, ensure they are firmly closed and pointing backward or upward to avoid catching on obstacles.
Regular maintenance is key to preserving the bike’s performance, especially during the wet season. Clean the bike regularly to remove mud and road grit, and apply a bicycle-specific wet chain lubricant to protect the drivetrain from humidity and rust. Periodically inspect the brake pads for wear and check for loose spokes. If you notice persistent squeaking, loose steering, or misaligned brakes that you cannot easily adjust, take the bike to a qualified local mechanic for professional tuning.
Frequently Asked Questions (FAQ)
When should a child transition from a 16-inch to an 18-inch bike?
A child should transition to an 18-inch bike when their physical measurements outgrow their current 16-inch model, typically when they reach a height of 110 cm or an inseam of 50 cm. Relying solely on age can be misleading due to varying growth rates. Observable signs that your child is ready for a larger size include their knees bending at a sharp, uncomfortable angle at the top of the pedal stroke, or their knees hitting the handlebars while steering. Increased riding confidence and a desire to ride faster or cover longer distances also indicate they are ready for the larger, more efficient 18-inch wheels.
Are training wheels necessary for an 18-inch bike?
Training wheels are not strictly necessary for an 18-inch bike, especially if your child has already mastered balancing on a smaller balance bike or a 16-inch bicycle. On an 18-inch frame, training wheels add significant weight and can make the bike unstable on uneven subdivision roads or when cornering. If your child is struggling with balance, a highly effective alternative is to temporarily remove the pedals and lower the saddle so they can use the 18-inch bike as a large balance bike. Once they can confidently glide and balance with their feet off the ground, you can reinstall the pedals to transition them to independent riding.
Community discussion
Share your experience or ask a question. Comments are reviewed before publication.