
Starting a jump rope routine is one of the most effective ways to improve cardiovascular fitness, coordination, and footwork. However, walking into a sports store or browsing an online marketplace can quickly become overwhelming due to the sheer variety of materials, weights, and handle designs available. For a beginner, the ideal jumping rope is one that provides clear physical feedback, allows for easy length adjustment, and rotates at a controlled, predictable speed. A moderate-weight PVC rope or a segmented beaded rope is generally the best starting point, as these styles help you feel the position of the cord as it spins, making it much easier to master timing and rhythm.
Core Dimensions to Evaluate Before Buying
Before purchasing your first jumping rope, it is essential to understand the physical attributes that dictate how a rope behaves during a workout. The way a rope swings, cuts through the air, and responds to your wrist movements depends entirely on its construction. By evaluating these core dimensions, you can avoid the frustration of using a tool that is either too fast to control or too light to feel.
The cord material and thickness are the primary factors determining the rope’s weight and air resistance. Thicker cords, such as 5mm PVC or beaded nylon, create more drag as they move through the air. This drag is highly beneficial for beginners because it slows down the rotation, giving your brain and feet more time to coordinate each jump. Conversely, thin metal cables cut through the air with minimal resistance, rotating at speeds that are often too fast for someone still learning basic footwork. Additionally, different materials offer varying levels of durability; while solid plastic cords can withstand moderate outdoor use, bare metal cables can fray quickly on abrasive surfaces.
Products mentioned in this guide
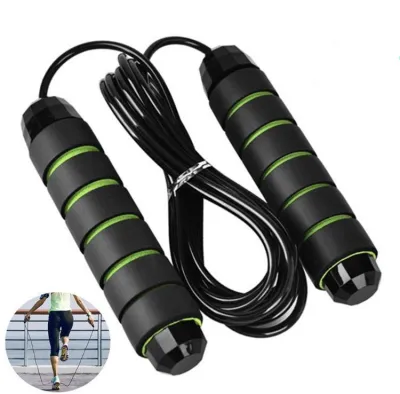
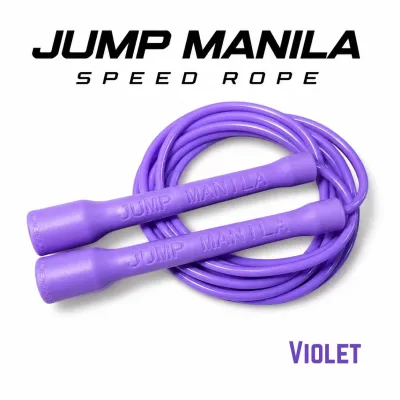
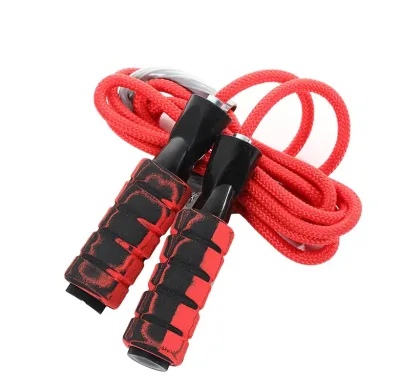
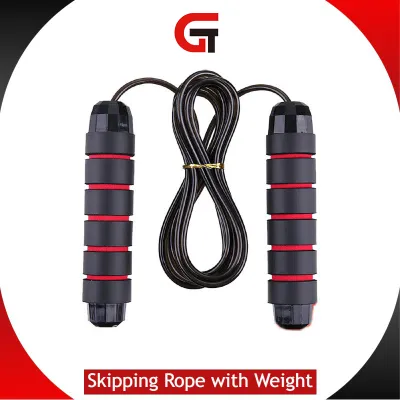
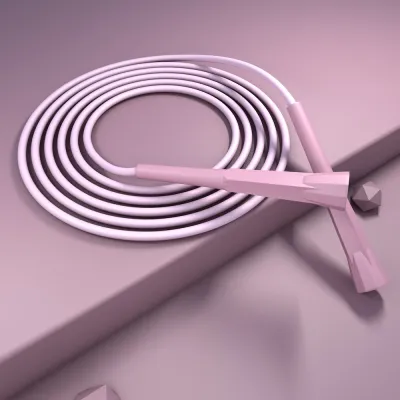
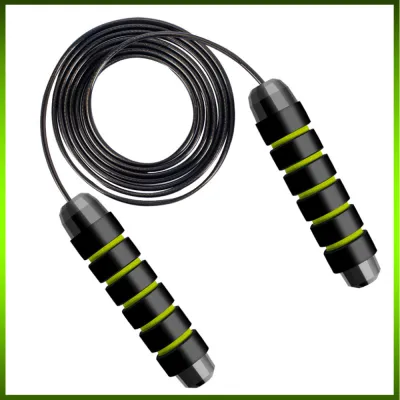
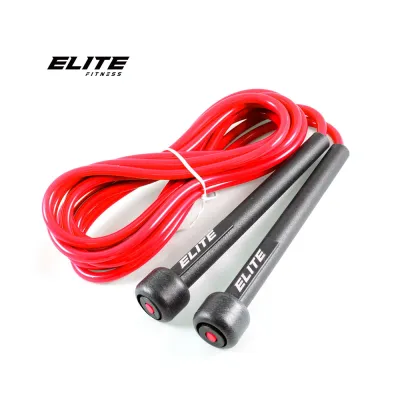
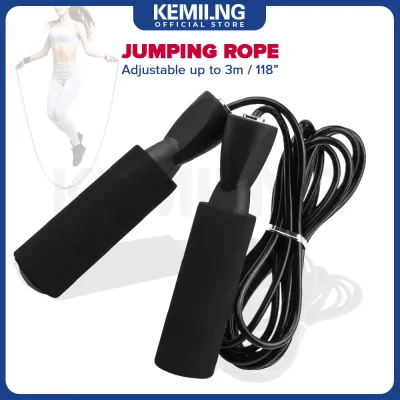
Prices are valid at publication and may change. Please refer to the product page for the latest price.
Weight distribution is another critical factor that influences your learning curve. A jumping rope can be cord-heavy, where the majority of the weight resides in the rope itself, or handle-heavy, where weighted inserts are placed inside the grips. For beginners, a cord-heavy design is vastly superior. When the weight is concentrated in the cord, the centrifugal force generated during rotation pulls on your hands, providing tactile feedback that tells you exactly where the rope is without you having to look down. Handle-heavy ropes, on the other hand, often strain the wrists and forearms prematurely without offering any useful feedback regarding the rope’s position.
Finally, the connection mechanism between the cord and the handles determines how smoothly the rope rotates. High-quality ropes utilize ball bearing or swivel mechanisms that allow the cord to spin independently of the handles. This design prevents the rope from twisting, kinking, or tangling during use, which is a common source of frustration for novices. Simple peg-and-hole connections, often found on budget ropes, tend to bind up and cause the cord to twist, leading to frequent trips and interrupted workouts.
Matching Rope Categories to Your Training Goals
Not all jumping ropes are designed for the same purpose, and selecting the wrong category can severely hinder your progress. Beginners should focus on ropes that prioritize control and feedback over sheer speed or heavy resistance. By matching the rope’s characteristics to your current skill level, you can build a solid foundation of footwork and timing before moving on to more specialized training tools.

High-Feedback Ropes for Learning Timing
Segmented or beaded ropes are widely considered an excellent option for absolute beginners who struggle with timing and rhythm. These ropes consist of a strong inner nylon cord threaded with hard plastic beads. The added mass of the beads gives the rope a substantial feel, making it highly responsive to every wrist movement.
The primary advantage of a beaded rope is the auditory and tactile feedback it provides. Every time the rope passes under your feet and strikes the ground, it makes a distinct clicking sound. This sound acts as a metronome, helping you establish a consistent jumping rhythm and correct mid-air mistakes in real time. If you jump too early or too late, the break in the clicking pattern immediately alerts you to the error, allowing you to adjust your timing on the next repetition.
However, beaded ropes do have limitations as your skills progress. Because of their bulk and air resistance, they are inherently slower than solid plastic or wire ropes. They require more physical effort to keep in motion, which can limit your ability to perform rapid transitions or advanced tricks like double-unders. For the initial stages of learning, though, the benefits of clear feedback far outweigh the limitations in speed.
Lightweight and Fast Ropes for Endurance
Once you have mastered the basic bounce and can maintain a continuous rhythm for several minutes, transitioning to a lightweight PVC rope is an excellent way to build cardiovascular endurance. These ropes feature a solid, flexible synthetic cord that is typically 4mm to 5mm in diameter. They are lighter than beaded ropes, allowing for faster rotation speeds with less upper-body fatigue.
A quality PVC rope offers a balanced middle ground for progressing beginners. It retains enough weight to provide decent tactile feedback while allowing you to increase your jumping tempo. This makes it ideal for longer cardio sessions where the goal is to maintain a steady heart rate over an extended period. The flexibility of the PVC also ensures that the rope retains its shape well, provided it is stored correctly.
The main drawback of lightweight PVC ropes for absolute novices is the reduced feedback. Because the cord is lighter and thinner, it does not pull as noticeably on the wrists during rotation. This can lead to a higher frequency of tripping if your timing is not yet consistent. Additionally, very cheap PVC ropes can become stiff in cold environments or overly floppy in extreme heat, though they generally perform consistently in moderate to warm tropical climates.
Weighted Ropes for Strength and Resistance
Weighted jumping ropes are designed to add physical resistance to your workouts, turning a primarily cardiovascular exercise into a challenging upper-body strength session. These ropes typically range in weight from half a pound to several pounds. For beginners, it is crucial to understand how this weight is distributed before incorporating one into your routine.
True weighted ropes feature a heavy cord, which forces your shoulders, back, and forearms to work harder to keep the rope spinning. This added resistance can actually help beginners feel the rope’s path more clearly, slowing down the rotation and making timing easier to grasp. However, the physical demands of swinging a heavy cord can lead to rapid fatigue and wrist strain if your grip strength and shoulder stability are not yet developed.
To prevent injury, beginners should limit their use of weighted ropes to short intervals rather than full workouts. They should be used as a complementary tool to build upper-body endurance, rather than a complete replacement for a standard lightweight rope. If you experience joint pain or excessive fatigue in your wrists, it is a clear sign to switch back to a lighter cord until your conditioning improves.
Sizing and Adjusting the Rope for Your Height
Using a jumping rope of the incorrect length is one of the most common reasons beginners struggle and eventually give up. A rope that is too long will drag excessively on the ground, causing it to tangle and slow down, while a rope that is too short will force you to hunch over or constantly trip on your feet. Properly sizing your rope ensures efficient energy transfer and promotes good posture.
To find the correct starting length, use the classic step-on measurement method. Stand flat-footed on the exact center of the rope with one foot. Pull both handles straight up along the sides of your body, ensuring the cord is taut. For a beginner, the tips of the handles—where the cord connects to the handle—should reach your armpits or the crease of your shoulders. As your form improves and your jumps become more compact, you can gradually shorten the rope so that the handles align with your lower chest.
When purchasing a rope, look for models that feature user-friendly adjustment mechanisms. Many modern ropes use adjustable screws or internal plastic clips that allow you to slide the cord through the handle and lock it at the desired length. This is highly preferable to fixed-length ropes, which cannot be customized. When adjusting your rope, it is wise to leave a few inches of excess cord inside the handles or secured with clips before cutting it off permanently, allowing you to make minor adjustments as your jumping style evolves.
Pay close attention to how the rope behaves during your workouts to determine if further adjustments are needed. If you find yourself constantly flaring your elbows outward to keep the rope from hitting the ground, the rope is likely too long. Conversely, if you have to jump excessively high or if the rope clips the back of your head or feet, it is too short. Correcting the length will immediately improve your posture, keeping your hands close to your hips and your spine neutral.
Handle Design and Grip Selection
The handles of a jumping rope are your only point of contact with the tool, making their design and material composition critical to your comfort and performance. A poor grip can lead to hand fatigue, blisters, and dropped ropes, especially during intense or humid workouts.
Handles come in various lengths, diameters, and materials, each offering distinct advantages. For beginners, medium-length handles (around 5 to 6 inches) made of lightweight plastic or aluminum are generally the most versatile. They provide enough leverage to control the rope without adding unnecessary weight to your hands. Extremely short handles require very precise hand placement, which can be difficult to maintain when you are still focusing on your footwork.
In tropical climates where humidity is high, sweat management is a major consideration. Foam handles, while comfortable initially, tend to absorb sweat, oils, and dirt over time, making them heavy, difficult to clean, and prone to slipping. Textured plastic, rubberized grips, or handles wrapped in absorbent grip tape (similar to tennis racket grips) are far more practical. These materials provide a secure, non-slip surface even when your hands are wet, and they can be easily wiped clean after each session.
The alignment of the connection point where the cord meets the handle also plays a role in reducing wrist fatigue. Ropes that connect at a 90-degree angle via a swivel joint or ball bearing allow for a more natural wrist motion. This alignment ensures that the force of the spinning rope is transferred smoothly, minimizing the rotational strain on your wrists and allowing you to jump longer with less discomfort.
Pre-Purchase Checklist and Common Pitfalls
When you are ready to purchase your first jumping rope, navigating the options on e-commerce platforms or in local sports stores requires a discerning eye. It is easy to be swayed by flashy marketing or unnecessary features that do not contribute to a better workout experience. Keeping a simple checklist in mind will help you make a practical and cost-effective choice.
First, always verify the adjustability limits of the rope before buying. Ensure the product description explicitly states that the length can be adjusted without specialized tools, and check if replacement parts, such as spare screws or end caps, are included. It is also wise to review the return policy of the seller, especially if you are unsure about the cord’s thickness or flexibility.
Second, consider where you will be doing most of your training. If you plan to jump on concrete driveways, outdoor parks, or rough tiled surfaces, standard PVC cords will wear down quickly. In such cases, look for ropes that offer replaceable cords or consider purchasing a dedicated jump rope mat to protect both your joints and your equipment. Spending a small amount on a protective mat can save you from having to replace your rope every few months.
Finally, learn to identify common red flags that indicate an unsuitable product. Avoid ropes with fixed, non-adjustable lengths unless you are absolutely certain of your measurements. Be skeptical of cheap ropes that feature complex digital counters or smart tracking features built into the handles; these components often add unnecessary weight, are prone to calibration errors, and frequently break after a few drops. Instead, prioritize a simple, durable design with smooth ball bearings and a high-quality cord, which will provide a far better learning experience for a reasonable price, typically ranging from ₱300 to ₱800.
Frequently Asked Questions (FAQ)
Can I use a jumping rope on concrete or rough outdoor surfaces?
Using a jumping rope directly on concrete, asphalt, or other abrasive outdoor surfaces will significantly accelerate the wear and tear on the cord. The friction from rough ground scrapes away the protective outer layer of PVC or nylon, eventually causing the cord to thin and snap. To protect your equipment, it is highly recommended to jump on smooth surfaces such as wooden gym floors, interlocking rubber tiles, or a dedicated jump rope mat. If you must jump outdoors on concrete, look for ropes with easily replaceable cords or beaded ropes, as the individual plastic beads can be replaced individually when they wear down, saving you from buying an entirely new rope.
How often should a beginner replace their jumping rope?
There is no fixed calendar timeline for replacing a jumping rope, as lifespan depends entirely on your usage frequency, jumping surface, and storage habits. Instead, you should regularly inspect your rope for visible signs of wear. Check the center of the cord—the area that makes contact with the ground—for thinning, deep scratches, or exposed inner wires. Inspect the handles for cracks and test the rotation to ensure the ball bearings are still spinning smoothly without grinding. If you notice the cord is becoming stiff, kinked, or visibly frayed, or if the handles no longer rotate freely, it is time to replace the worn components to maintain safety and performance.
Is a smart or digital-counting rope necessary for tracking workouts?
A smart or digital-counting rope is not necessary for a beginner and can often be more of a distraction than a help. Budget-friendly digital ropes frequently suffer from accuracy issues, either missing jumps or double-counting when the rope wobbles. Furthermore, the electronic components in the handles add extra weight and can break easily if dropped on hard surfaces. For tracking your workouts, simple manual counting, using a free interval timer app on your phone, or relying on a standard wearable fitness tracker will provide more reliable data without compromising the balance, weight, and durability of your jumping rope.
Community discussion
Share your experience or ask a question. Comments are reviewed before publication.