
Upgrading or replacing your e-bike battery is one of the most significant investments you will make for your electric utility vehicle or commuter bike. To ensure your new ebike battery 48v 20ah functions safely and delivers the expected performance, you must verify physical dimensions, connector compatibility, electrical controller matching, and charger safety. Neglecting any of these details can lead to a battery that does not fit your frame, fails to power your motor, or causes catastrophic electrical damage.
E-bikes operate on precise electrical tolerances and physical mounting standards that vary widely across brands. Taking accurate measurements and cross-referencing your bike’s existing specifications will save you time, money, and potential safety hazards on the road.
Understanding 48V 20Ah Specifications
The “48V” rating represents the nominal voltage of the battery pack. This voltage must match the design voltage of your e-bike’s motor and controller system. Running a battery with a voltage higher or lower than what your system is rated for can trigger immediate safety shutdowns or permanently fry the sensitive electronics in your motor controller.
Products mentioned in this guide
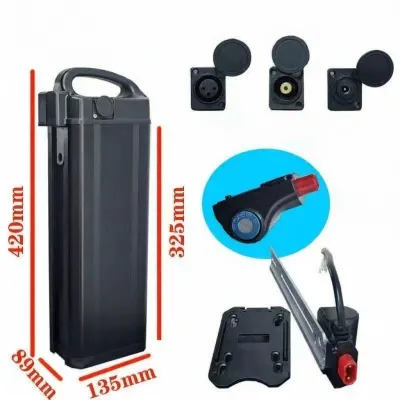
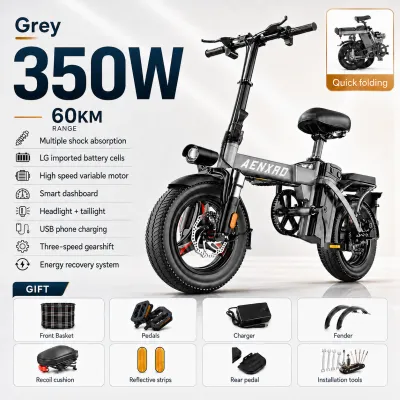

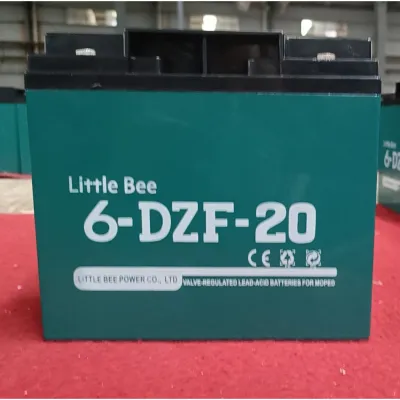
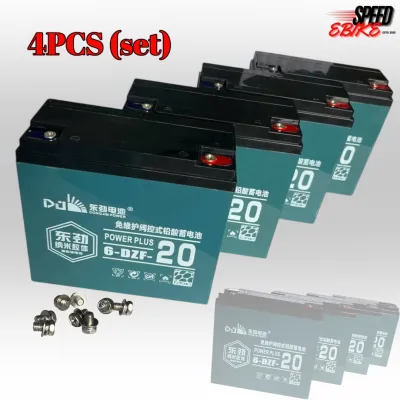
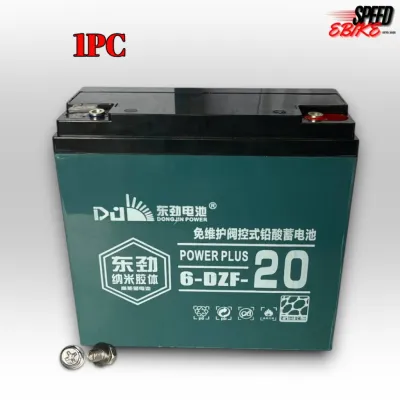
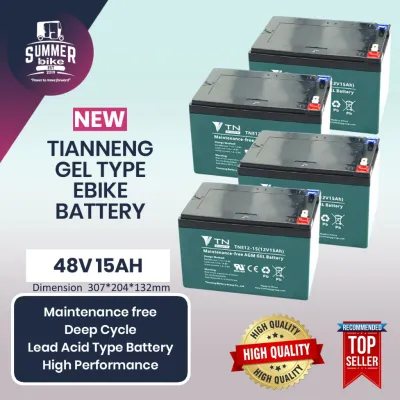
Prices are valid at publication and may change. Please refer to the product page for the latest price.
The “20Ah” (Amp-hour) rating measures the battery’s total energy capacity, which directly dictates your riding range on a single charge. Think of Amp-hours as the size of your fuel tank; a 20Ah battery holds twice the energy of a 10Ah battery of the same voltage, allowing you to travel roughly double the distance. It is important to note that a higher capacity does not automatically increase your top speed or motor power, which are instead governed by the voltage and the controller’s current limits.
To establish your baseline requirements, locate the specification label on your original battery or consult your e-bike’s user manual. This label typically lists the nominal voltage, capacity, maximum continuous discharge current, and charging limits. If the label has faded due to tropical humidity or wear, contact the manufacturer or check the technical specifications of your specific e-bike model online before purchasing a replacement.
Physical Fit: Mount Dimensions and Connectors
An electrical match is useless if the battery cannot physically mount to your e-bike frame or connect to the wiring harness. Because battery shapes are standardized for specific frame types but vary between manufacturers, physical compatibility requires precise physical verification.

Measuring Mount Dimensions and Bracket Alignment
To ensure the new battery fits securely, use a digital caliper or a precise measuring tape to record the length, width, and height of your current battery compartment or mounting rail. You must also measure the clearance space within your bike frame, especially if you are upgrading to a higher-capacity 20Ah pack, which is often physically larger and heavier than standard 10Ah or 12Ah batteries. Ensure the battery can slide in and out of its bracket smoothly without contacting the top tube, rear shocks, or your knees while pedaling.
E-bike batteries generally fall into three distinct physical styles: frame-mounted (downtube), rear-rack, and seat-post designs. Cross-compatibility between these configurations is virtually non-existent without extensive, custom-fabricated brackets, which can compromise the bike’s structural integrity or weight distribution. Putting a heavy 20Ah battery on a rear rack designed for a 10Ah unit can significantly alter your center of gravity, making the bike unstable during sharp turns or sudden stops on wet roads.
Additionally, pay close attention to the mounting hole distances on your frame’s water bottle bosses or dedicated battery plate. Many manufacturers use proprietary mounting brackets and lock mechanisms that restrict you to their specific replacement parts. If you are buying an aftermarket battery that includes its own mounting cradle, verify that the cradle’s bolt patterns align with your frame’s existing mounting points to avoid drilling new holes into your aluminum or steel frame.
Identifying Connector Types and Pinouts
The discharge connector is the physical bridge that delivers power from the battery to your e-bike’s motor controller. Common standard connectors include XT60, XT90, Anderson Powerpoles, and various multi-pin circular plugs. You must visually inspect your current battery’s discharge port and the matching receptacle on the bike’s wiring harness to identify the exact connector style needed.
Beyond matching the physical shape of the connector, you must verify the pinout configuration, which determines which pin is positive (+) and which is negative (-). Reversing the polarity—even for a split second when plugging in a new battery—will cause an immediate short circuit, often accompanied by sparks, melted connectors, and the instant destruction of your motor controller. Never assume that a matching connector shape guarantees the correct wiring layout.
If you are purchasing a universal battery with bare wire leads or an unverified pin configuration, consult the manufacturer’s wiring diagram or use a digital multimeter to test the polarity of both the battery output and the controller input. If you are uncomfortable with electrical wiring, seek assistance from a professional e-bike technician at a local bike shop to safely splice and solder the correct connectors.
Electrical Match: Controller and BMS Requirements
Your e-bike’s motor controller and the battery’s internal Battery Management System (BMS) must act as a coordinated team. If their electrical limits are mismatched, your e-bike will suffer from poor performance, frequent power cut-offs, or premature component failure.
Verifying Controller Voltage and Discharge Limits
To ensure a safe electrical match, locate your motor controller, which is typically housed in a metal casing near the bottom bracket, inside the frame, or integrated into the battery mount. Read the specification label on the controller to find its rated voltage (which must be 48V) and its maximum current limit, expressed in Amps (A). Common controller limits for 48V systems range from 15A to 30A depending on the motor’s wattage.
Your replacement battery’s continuous discharge rating—determined by its internal cells and BMS—must meet or exceed the controller’s maximum current draw. For example, if your controller has a maximum current limit of 25A, your new 48V 20Ah battery should have a continuous discharge rating of at least 25A, though 30A or higher is preferred to provide a safe operating margin.
If you pair a high-draw controller (such as one rated for 30A) with a battery that has a low continuous discharge limit (such as 15A), the battery will struggle to supply the required current. Under heavy loads, such as climbing steep hills or carrying heavy cargo, the battery’s voltage will sag rapidly, triggering the internal protection circuits to shut down power completely to prevent overheating.
Checking BMS Protections and Cut-off Thresholds
The Battery Management System (BMS) is the electronic brain inside the battery pack that monitors individual cell voltages, balances the cells during charging, and protects the pack from dangerous operating conditions. A high-quality BMS protects against over-current, short circuits, over-charging, and over-discharging. When selecting a replacement battery, review the manufacturer’s specification sheet to confirm the presence of these essential safety features.
One critical specification to verify is the low-voltage cut-off (LVC) threshold of both the controller and the battery BMS. The controller’s LVC is designed to stop the motor when the battery is nearly empty to protect the cells from draining to a dangerously low voltage. Ideally, the controller’s LVC should trigger slightly before the battery’s internal BMS cut-off.
If the battery’s BMS cut-off threshold is higher than the controller’s LVC, the battery will abruptly shut down its power output while you are riding, which can disable your lights and display without warning. Conversely, if the controller’s threshold is too low and the BMS fails to cut power, the lithium-ion cells can drain past their safe limit, permanently reducing the battery’s overall lifespan and capacity.
Charger Compatibility and Charging Safety
Charging a high-capacity lithium-ion battery requires strict adherence to safety protocols to prevent premature degradation or thermal runaway. You cannot assume that your existing e-bike charger is safe to use with a new battery pack, even if the plug fits.
A nominal 48V Lithium-ion battery pack consists of 13 cells in series, requiring a maximum charger output voltage of exactly 54.6V. Using a charger designed for a 36V or 52V system will either fail to charge the battery or overcharge it dangerously. Additionally, Lithium Iron Phosphate (LiFePO4) and standard Lithium-ion (Li-ion) batteries require entirely different charging profiles and termination voltages, making chemistry verification critical.
Most 48V 20Ah batteries can safely handle a charge current of 2A to 5A. Exceeding the manufacturer’s recommended charging amperage can overheat the cells, degrade the internal chemistry, and void your warranty. Always ensure the charger’s output plug matches the battery’s charging port (such as 3-pin XLR, DC coaxial, or Lotus plugs) and that the positive and negative pins align correctly.
Never attempt to bypass the BMS to charge the cells directly, as this disables all overcharge and thermal protections. Always charge your battery in a well-ventilated, dry area away from flammable materials. In warm, humid tropical climates like the Philippines, avoid charging the battery in direct sunlight or inside a hot, enclosed vehicle. Finally, do not leave the battery charging unattended for extended periods, and unplug the charger once the indicator light signals a full charge.
Frequently Asked Questions (FAQ)
Can I upgrade from a 36V system to a 48V 20Ah battery?
No, you cannot directly plug a 48V battery into an e-bike designed for a 36V system. Doing so will immediately overvolt the motor controller, display, and internal sensors, likely destroying these components instantly. To safely upgrade your system to 48V, you must replace the controller, display, and sometimes the throttle or motor wiring with components specifically rated for 48V operation.
Will a 20Ah battery make my e-bike faster than a 10Ah battery?
No, upgrading from a 10Ah battery to a 20Ah battery of the same voltage will not increase your top speed or acceleration. The Amp-hour (Ah) rating represents capacity, which determines your total riding range. Your e-bike’s speed is determined by the system’s voltage, the motor’s design limits, and the controller’s maximum output current. However, a 20Ah battery may maintain your top speed for a longer duration of your ride because it experiences less voltage sag under load compared to a smaller 10Ah battery.
Community discussion
Share your experience or ask a question. Comments are reviewed before publication.