
To build a strong upper body at home, finding the right home gym pull up bar is one of the most effective investments you can make. However, the best type for your space is not a one-size-fits-all product. Your decision depends entirely on your home’s wall structure, available floor and ceiling space, rental agreement, and budget. Before purchasing any fitness equipment, you must evaluate these structural constraints to ensure your workouts are both safe and effective.
To help you make an immediate decision, you can use this conditional framework based on your living situation:
- Choose a Doorway Bar if: You are currently renting your home, have extremely limited floor and wall space, and need a highly portable, drill-free solution that can be set up or stored away in seconds.
- Choose a Wall-Mounted Bar if: You own your home (or have explicit permission to drill), have solid concrete or brick walls, and want a permanent, heavy-duty training station that supports high-intensity workouts and multiple grip angles.
- Choose a Freestanding Bar (Power Tower) if: You have ample floor space, prefer not to drill into any walls or doorframes, and want a versatile, multi-functional workout station that supports dips, knee raises, and push-ups alongside pull-ups.
While budget and convenience are important, safety and structural integrity must always dictate your final choice. Hanging your entire body weight from a fixture requires absolute stability. Choosing a bar that is incompatible with your home’s architecture can lead to severe structural damage or serious physical injury.
Products mentioned in this guide
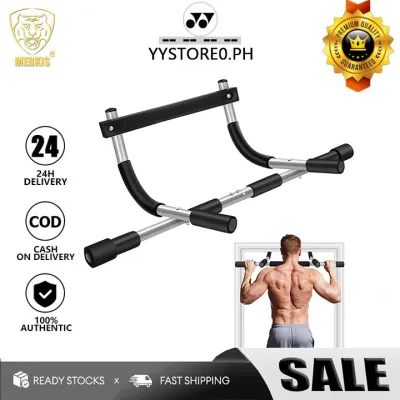
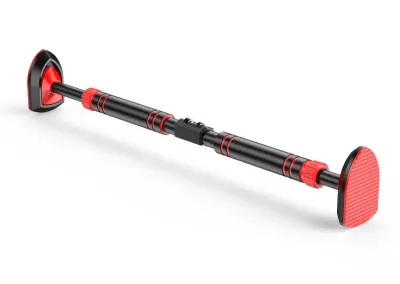
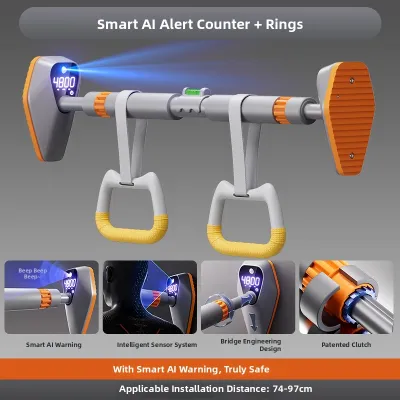
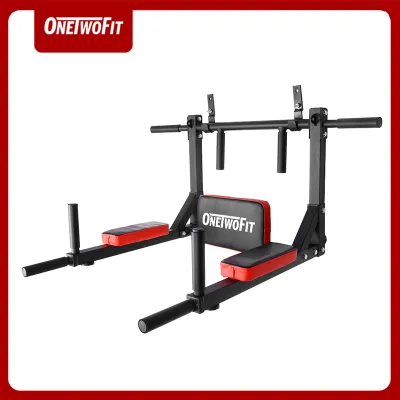
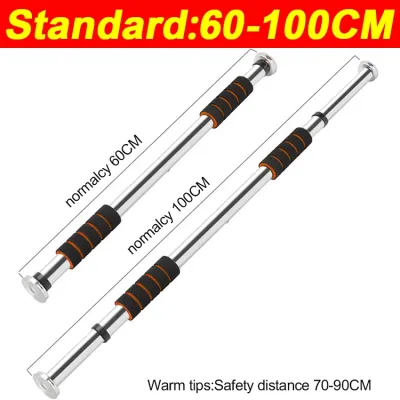
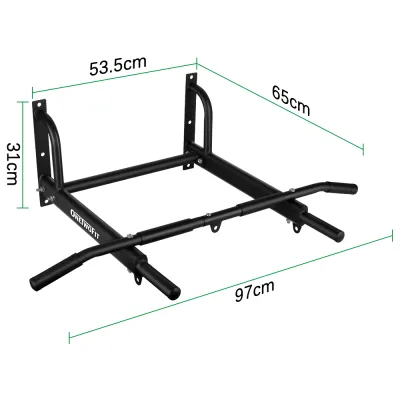
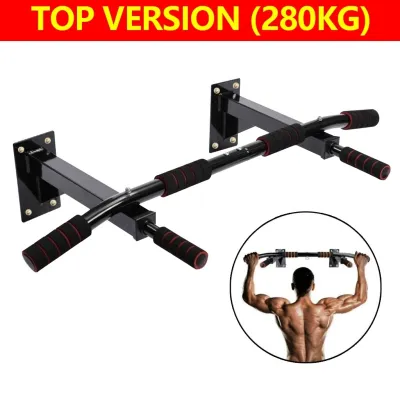
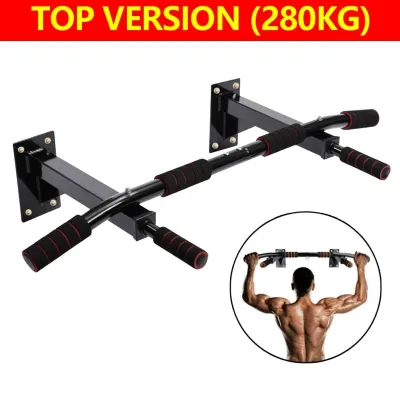
Prices are valid at publication and may change. Please refer to the product page for the latest price.
Doorway Pull-Up Bars: Space-Saving and Renter-Friendly
Doorway pull-up bars are the most common entry point for home fitness enthusiasts due to their affordability and ease of setup. They allow you to transform almost any standard passage into a functional training zone without the need for power tools. However, understanding the mechanical differences between these bars is crucial for safe operation.
Key Benefits and Limitations
The primary appeal of a doorway home gym pull up bar lies in its non-invasive installation. You do not need to drill holes, make permanent modifications, or commit a dedicated corner of your room to bulky equipment. They are highly portable, allowing you to take them down when guests arrive or even pack them in a bag when traveling. For renters who risk losing their security deposit for drilling into walls, these bars offer a viable way to perform pull-ups at home.
However, these space-saving benefits come with distinct limitations. Doorway bars severely restrict your range of motion and exercise variety; dynamic movements like kipping, chin-ups with leg raises, or wide-grip pull-ups are often restricted by the width of the door opening. Additionally, because the bar sits directly inside the doorway, it can become a physical obstruction in high-traffic areas of your home. Most importantly, the safety of the bar relies entirely on the structural strength of your doorframe, which is not always designed to bear dynamic human weight.
Doorframe and Safety Checks
Before installing any doorway bar, you must perform a rigorous inspection of your doorframe’s material and construction. Doorway bars generally fall into two categories: leverage-based and telescopic. Leverage bars hang over the top of the door trim, using your body weight to push against the wall above the door and pull against the trim itself. Telescopic bars, on the other hand, sit entirely inside the frame and use outward pressure (friction) against the side jambs to stay in place.
To ensure your setup is safe, follow these critical inspection steps:
- Inspect the Trim Material: Verify whether your door trim is made of solid wood or a weaker material like medium-density fiberboard (MDF), hollow plastic, or thin decorative plywood. Leverage bars require a solid, securely nailed wooden trim that is at least 1 to 2 centimeters thick to rest on safely.
- Check for Rot and Insect Damage: In humid climates, wooden doorframes are highly susceptible to moisture retention, wood rot, and termite damage. Press firmly along the frame to check for soft spots; if the wood yields or feels spongy, do not install a pull-up bar.
- Verify Frame Alignment: Use a spirit level to ensure the doorframe is perfectly square. An uneven frame prevents telescopic bars from establishing uniform contact, greatly increasing the risk of the bar slipping during a workout.
- Consult the Manufacturer's Specifications: Always check the product label for the exact maximum weight capacity and the required doorframe width. Never exceed these limits, and avoid using these bars on hollow-core doors or frames with loose, decorative-only trim.
Wall-Mounted Pull-Up Bars: Stable and Permanent
For fitness enthusiasts who want a dedicated, uncompromising workout space, a wall-mounted home gym pull up bar is often the gold standard. These heavy-duty steel fixtures are bolted directly into the structural elements of your home, providing a rigid platform that mimics commercial gym equipment.

Key Benefits and Limitations
The standout advantage of a wall-mounted pull-up bar is its exceptional stability. Because it is mechanically anchored to a solid wall, it eliminates the wobbling, flexing, and slipping associated with doorway models. This solid connection allows for significantly higher weight capacities, making them suitable for weighted pull-ups, calisthenics, and suspension trainer attachments. Furthermore, wall-mounted units typically feature extended brackets that position the bar far enough from the wall to allow a full, natural range of motion, including core exercises and back-arching movements. They also offer multiple grip options, such as wide, narrow, angled, and neutral grips, targeting different muscle groups effectively.
The primary drawback of this style is its permanent nature. Installing a wall-mounted bar requires heavy drilling into your walls, leaving large, deep holes that must be patched and painted if you ever decide to remove or relocate the unit. It also demands a dedicated wall space with sufficient clearance on all sides, which can be a luxury in smaller homes or shared apartments. Finally, the installation process is highly demanding and requires a clear understanding of your home’s structural composition.
Wall Structure and Hardware Requirements
The safety of a wall-mounted pull-up bar depends entirely on the wall material you anchor it to. You must match your mounting hardware specifically to the type of wall in your home:
- Solid Concrete and Brick Walls: These are the ideal surfaces for wall-mounted bars. They provide massive load-bearing capacity and can easily support the dynamic forces of pull-ups. For these walls, you must use heavy-duty steel expansion bolts (sleeve anchors).
- Drywall and Cavity Walls: Drywall alone has virtually zero load-bearing capacity for hanging weight. If you are mounting on a drywall partition, you must locate the internal wooden or metal structural studs using a stud finder. The mounting brackets must be bolted directly into the center of these studs using heavy-duty lag screws. Never attempt to mount a pull-up bar to drywall using plastic wall plugs or toggle bolts.
- Hollow Concrete Blocks: Common in many residential walls, hollow blocks require specialized mounting techniques. Standard expansion bolts can easily crack the thin outer shell of a hollow block or pull loose because there is no solid material inside to grip.
Always verify the structural integrity of your chosen wall before drilling. If you are unsure of your wall’s composition, or if you do not have experience operating a hammer drill and aligning heavy fixtures, strongly consider consulting a qualified local contractor or structural professional to perform the installation safely.
Freestanding Pull-Up Bars: Versatile and Drill-Free
If you want the stability and exercise variety of a permanent gym fixture but cannot drill into your walls or trust your doorframes, a freestanding pull-up bar—commonly known as a power tower—is an excellent alternative. These self-supporting steel frames sit directly on your floor, relying on a wide base and gravity to remain stable.
Key Benefits and Limitations
The major benefit of a freestanding tower is its incredible versatility. Most power towers are designed as multi-functional workout stations. In addition to a high pull-up bar, they typically feature integrated dip handles, push-up bars at the base, and padded armrests with back support for vertical knee raises. This allows you to perform a complete upper body and core workout using a single piece of equipment. Because they stand on their own, they require absolutely no drilling, wall modifications, or doorframe attachments, making them incredibly renter-friendly.
However, this versatility comes with a significant trade-off in terms of space. Power towers have a massive physical footprint, requiring a substantial amount of dedicated floor space and a high ceiling to accommodate both the frame and your head clearance at the top of the movement. They are also heavy and difficult to move once assembled. While they are highly stable for slow, controlled, strict pull-ups, they can wobble or tip during high-momentum dynamic exercises like kipping pull-ups or rapid leg raises unless the base is exceptionally heavy or bolted to the floor.
Footprint, Stability, and Floor Protection
To successfully integrate a freestanding tower into your home gym, careful spatial planning is required:
- Measure Ceiling and Hanging Clearance: Standard residential ceilings in urban apartments can be relatively low. You must measure the height of the tower and add at least 30 to 50 centimeters of clearance above the bar to ensure you do not strike your head against the ceiling during workouts.
- Check the Base Dimensions: Ensure you have enough floor space not just for the metal base itself, but also for your body to move safely around it. You need clear space in front of the tower for dips and knee raises, and behind it to prevent backing into furniture.
- Assess Base Design for Stability: Look for towers with an extended, H-shaped or U-shaped base. A wider and longer base distributes weight more effectively and minimizes the risk of tipping or rocking during use.
- Use Heavy-Duty Rubber Floor Mats: Placing thick rubber gym mats underneath the feet of your power tower is highly recommended. In humid environments, bare metal feet can slide on polished tile, hardwood, or vinyl flooring. Rubber mats provide essential grip, protect your floors from deep scratches and indentations, and help dampen vibrations and noise, which is especially important if you live in a multi-story building.
Head-to-Head Comparison: Space, Setup, and Budget
To help you synthesize this information, the table below compares the three primary home gym pull up bar categories across the most critical decision-making dimensions.
| Pull-Up Bar Type | Ideal User Profile | Space Required | Installation Effort | Wall/Floor Impact | Relative Budget Tier |
|---|---|---|---|---|---|
| Doorway Bar | Renters, beginners, or those with very tight living spaces | Minimal; fits within standard doorframes | Low; requires no tools or drilling | Potential scuffs or pressure marks on trim | Low (typically ₱500 to ₱1,500) |
| Wall-Mounted Bar | Homeowners or dedicated gym owners seeking maximum stability | Moderate; requires clear wall and head space | High; requires drilling and structural anchoring | Permanent holes in concrete or drywall studs | Medium to High (typically ₱1,500 to ₱4,000) |
| Freestanding Tower | Users wanting a multi-exercise station with zero wall damage | Large; requires significant floor and ceiling clearance | Medium; requires manual assembly of the frame | Floor contact only; easily mitigated with mats | Medium to High (typically ₱3,000 to ₱8,000+) |
Note: The price ranges provided above are broad market estimates in Philippine Pesos (₱) to help you plan your budget. Actual prices may vary depending on brand, material thickness, and retail source. Always verify the manufacturer’s official specifications, weight limits, and warranty details before finalizing your purchase.
Pre-Purchase Checklist: Measuring and Verifying Your Space
Before purchasing any home gym pull up bar, take ten minutes to run through this practical checklist. Verifying these details beforehand will save you the hassle of returning heavy equipment or, worse, damaging your home.
- Measure Your Clearances Accurately
For Doorway Bars:* Measure the inner width of your doorframe, the thickness of the wall, and the depth of the top door trim. Compare these to the bar's minimum and maximum adjustment ranges.
For Wall-Mounted Bars:* Measure the distance from the mounting wall to the ceiling, ensuring you have enough head space. Also, measure the distance from the bar to adjacent walls to allow a full arm span.
For Freestanding Towers:* Measure your floor space and ceiling height. Ensure you have at least 50 centimeters of clearance above your head when standing at the highest point of the pull-up. - Verify Your Wall and Frame Structural Integrity
* Tap your walls to identify if they are solid concrete, hollow block, or hollow drywall.
* Use a stud finder to locate and mark the studs if you plan to mount on drywall.
* Inspect your wooden doorframes for signs of cracking, loose nails, warping, or moisture damage. - Check the Product's Stated Specifications
* Locate the manufacturer's product label or official specification sheet.
* Cross-reference your body weight (plus any weighted vests or belts you plan to wear) with the bar's maximum weight rating.
* Ensure the product is rated for the specific installation method you intend to use. - Plan for Safe Workout Clearance
* Ensure there are no light fixtures, ceiling fans, or furniture pieces within your immediate kicking or swinging radius.
* Verify that you have a clear path to safely step down or drop from the bar at the end of a fatiguing set.
Frequently Asked Questions (FAQ)
Can I mount a pull-up bar on a hollow concrete block wall?
Yes, but you cannot use standard expansion bolts, as they require solid concrete to expand against and will quickly pull out or crack the hollow block shell. For hollow concrete blocks, you must use specialized fastening systems. These include heavy-duty toggle bolts designed for hollow masonry, chemical anchors that inject an epoxy resin to bond the bolt to the block’s interior, or long sleeve anchors placed specifically into the solid mortar joints rather than the center of the block. If possible, filling the specific cells of the hollow blocks with concrete grout during home construction or renovation provides the safest mounting point. Because hollow block walls vary greatly in quality and load capacity, you should strongly consult a qualified structural contractor before attempting this installation.
Will a telescopic doorway bar damage my door frame?
It can if the frame is weak or if the bar is installed incorrectly. Telescopic bars rely on high outward pressure to create the friction necessary to hold your body weight. When tightened, this outward force pushes directly against the side jambs of your doorframe. If your frame is made of soft wood, hollow MDF, or is poorly secured to the wall studs, this intense pressure can cause the wood to warp, crack, or bow outward, preventing the door from closing properly. Additionally, the rubber pads on the ends of the bar can leave dark scuffs or peel away paint over time. To minimize damage, ensure your doorframe is solid wood, avoid over-tightening the bar beyond the manufacturer’s recommended torque, and consider placing thin, firm rubber or cardboard shims between the bar pads and the frame to distribute the pressure.
Community discussion
Share your experience or ask a question. Comments are reviewed before publication.