
Choosing the right snorkel depends on your swimming experience, your comfort level in open water, and how you plan to explore the sea. If you prefer staying strictly on the surface to watch fish from above, a dry snorkel offers the most protection by keeping water out of your tube entirely. If you like to dive down to get a closer look at corals and marine life, a semi-dry or traditional snorkel will serve you better because they offer less buoyancy and drag under the surface. Matching your gear to your specific swimming style ensures you spend your time enjoying the water rather than constantly clearing your airway.
While all snorkels serve the same basic purpose of letting you breathe while face-down in the water, their designs handle waves, splashes, and submersions very differently. Understanding these mechanical differences is the first step toward finding a comfortable, reliable setup for your next coastal adventure.
Understanding the Three Main Snorkel Designs
The traditional snorkel, often called a J-style snorkel, is the classic design that has been used for decades. It consists of a simple, open plastic or silicone tube with a curved bottom and a mouthpiece. There are no valves, moving parts, or covers at either end. When you submerge, the tube fills completely with water, requiring you to forcefully blow the water out once you return to the surface.
Products mentioned in this guide
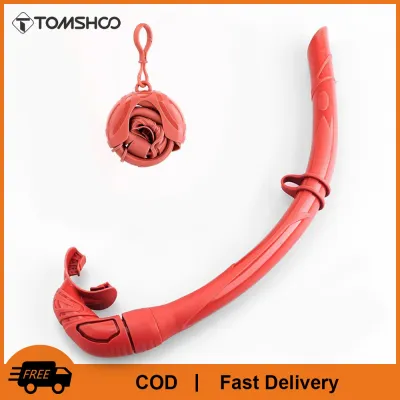
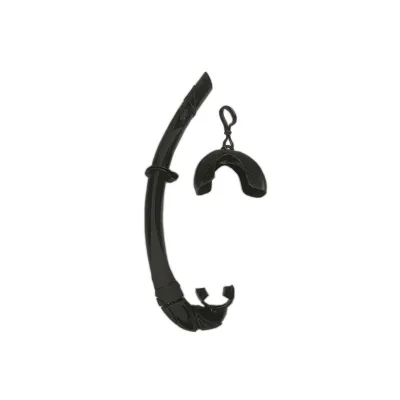
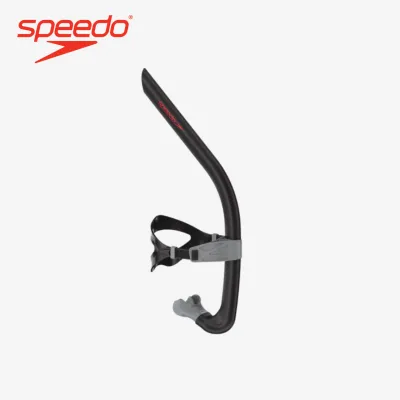
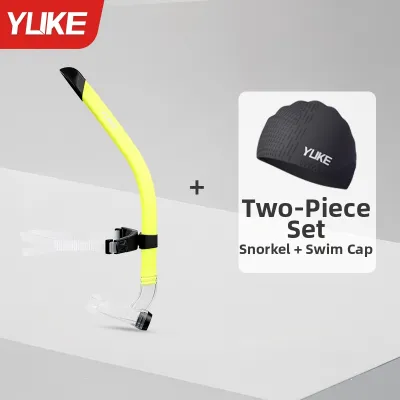
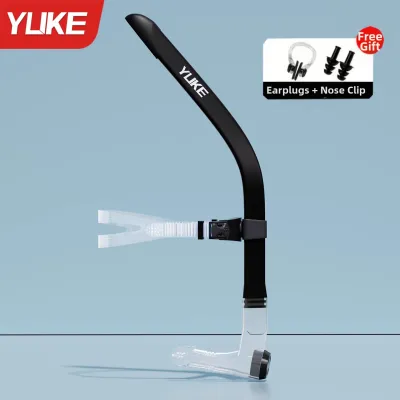
Prices are valid at publication and may change. Please refer to the product page for the latest price.
To address the challenge of water entering the tube, the semi-dry snorkel introduces a splash guard at the top. This guard uses angled vents or baffles to deflect wind-blown spray and choppy surface waves away from the tube opening. Additionally, semi-dry models feature a one-way purge valve at the bottom, positioned just below the mouthpiece, which allows water to drain out easily with a gentle exhale.
A dry snorkel takes water prevention a step further by incorporating a mechanical float valve at the very top of the tube. When you are on the surface, the valve remains open to let air flow freely. The moment you submerge or a large wave washes over you, a small float rises to seal the opening shut, preventing any water from entering the tube. Like the semi-dry design, it also includes a lower purge valve to clear any minor condensation or stray drops that might slip in while putting the mask on.
Key Comparison Dimensions for Your Snorkeling Style
When comparing these three designs, the primary trade-off lies between water exclusion and clearing effort. A dry snorkel excels at keeping water out, making it highly reassuring for beginners who want to avoid swallowing saltwater. However, if water does manage to bypass the top valve—such as when a grain of sand jams the mechanism open—clearing a dry snorkel can actually require more effort because you must push the water past the internal float assembly. Traditional and semi-dry models flood easily, but their open pathways make clearing them with a single, sharp breath incredibly simple and predictable.

Breathing resistance and airflow volume also vary significantly across these designs. Traditional J-snorkels offer the most direct, unobstructed airway, resulting in virtually zero breathing resistance and minimal dead air space where exhaled carbon dioxide can accumulate. Semi-dry and dry snorkels introduce bends, valves, and narrower chambers that slightly restrict airflow. While this resistance is barely noticeable during casual, slow-paced floating, it can become apparent during heavy swimming or when you are breathing heavily after a deep dive.
Hydrodynamics and buoyancy play a major role if you plan to dive below the surface. Because a dry snorkel seals shut when submerged, it traps a column of air inside the tube. This trapped air creates upward buoyancy, which pulls upward on your mask strap and can cause significant jaw fatigue as you fight to keep the mouthpiece in place. Traditional snorkels flood completely when you dive, eliminating this buoyancy and offering a highly streamlined profile that cuts through the water with minimal drag.
Finally, maintenance requirements differ greatly based on mechanical complexity. Traditional snorkels have no moving parts, meaning they are virtually indestructible and highly resistant to sand, salt crystals, and rough handling. Semi-dry and dry snorkels rely on delicate silicone purge membranes and sliding float mechanisms. If fine sand from the beach gets trapped in these components, the valves can stick open or leak, requiring regular inspection and thorough rinsing with fresh water after every use.
Matching Snorkel Types to Skill Levels and Conditions
A traditional snorkel is the ideal choice for freedivers, spearfishers, and highly experienced swimmers. If you routinely dive several meters deep to explore rock formations or follow marine life, you will appreciate the zero-buoyancy behavior and low drag of an open tube. Because experienced divers are already comfortable with the blast-clearing technique, the lack of dry valves is an advantage rather than a drawback, offering a reliable and lightweight tool that never jams.
Choose a semi-dry snorkel if you want a versatile, all-around option for changing coastal conditions. This design is perfect for intermediate snorkelers who enjoy a mix of surface swimming and occasional shallow dives. The top splash guard is highly effective at blocking choppy waves on windy days, while the lower purge valve makes clearing any stray water effortless. It offers a comfortable middle ground, providing excellent splash protection without the excessive buoyancy and bulk of a fully dry system.
A dry snorkel is best suited for beginners, casual tourists, and anyone who feels anxious about water entering their airway. If your primary goal is to float peacefully on the surface while looking down at shallow coral gardens, a dry snorkel provides peace of mind. It allows you to focus on your breathing and the scenery without worrying about sudden waves or splashes. However, you should accept that this model is heavier, bulkier, and not designed for frequent breath-hold diving.
Before purchasing any snorkel for scuba diving, you must verify its compatibility with your regulator and dive gear. Scuba divers generally prefer semi-dry or traditional snorkels with a flexible, corrugated silicone lower section. This flexibility allows the mouthpiece to drop completely away from your face when you switch to your scuba regulator. Additionally, look for a quick-release mask keeper so you can easily detach the snorkel and stow it in a pocket when it is not needed during a dive.
How to Verify Fit, Comfort, and Build Quality
To ensure your snorkel remains comfortable during long sessions in the water, start by assessing the mouthpiece material and size. High-quality snorkels use soft, hypoallergenic, food-grade silicone rather than stiff PVC or plastic. The mouthpiece should fit comfortably in your mouth without requiring you to bite down hard on the tabs, which is a primary cause of jaw fatigue. If you have a smaller jaw, look for models specifically labeled as compact or youth-sized to avoid gum chafing.
You should also match the tube diameter and length to your physical stature. A wider tube allows for easier airflow but requires a larger lung capacity to clear effectively. If a snorkel is too long or too wide for your lung volume, you may end up re-breathing too much of your own exhaled air, leading to fatigue or headaches. Taller individuals generally need a slightly longer tube to clear the surface comfortably, while smaller swimmers benefit from shorter, narrower designs.
Examine the attachment system that secures the snorkel to your mask strap. Simple silicone keepers are highly durable and flexible, though they can be slightly tedious to adjust. Rigid plastic clips offer convenient quick-release functionality, but you must inspect the plastic quality to ensure it is not brittle. A fragile clip can easily snap if stepped on or packed tightly into a travel bag, rendering the snorkel difficult to use.
Finally, perform a quick physical inspection of the valves before heading into the water. Gently press the silicone purge valve at the bottom to ensure it is flexible, flat, and free of warping or debris. For dry snorkels, shake the tube to verify that the internal float mechanism slides smoothly up and down without sticking. If you plan to purchase your gear in the Philippines, expect to find basic traditional models starting around ₱500, while premium dry models featuring high-grade silicone and robust dry valves typically range from ₱1,500 to ₱3,000.
Frequently Asked Questions (FAQ)
Can I use a dry snorkel for freediving or scuba diving?
Using a dry snorkel for freediving is generally not recommended due to safety and physical comfort issues. The air trapped inside a sealed dry snorkel creates significant upward buoyancy during a descent, which pulls hard on your mask strap, distorts your mask skirt, and can cause water leakage or jaw strain. Furthermore, under rapid descents, the pressure can cause the float valve to lock shut or collapse if not designed for depth. For scuba diving, a dry snorkel can be used on the surface, but its bulk and buoyancy can make it cumbersome underwater, where it may float upward and interfere with your regulator hoses or get caught on obstacles.
How do I clear water from a traditional or semi-dry snorkel?
To clear water from a traditional or semi-dry snorkel, you can use the blast-clearing method. Once your head clears the surface, exhale sharply and forcefully through your mouth, as if you are spitting out a sunflower seed. This sudden burst of air forces the water up and out of the open top of a traditional snorkel, or down through the purge valve of a semi-dry model. Alternatively, you can use the displacement method as you ascend: look straight up toward the surface while swimming upward, which allows the expanding air in your lungs to naturally push the water out of the bottom of the tube before you break the surface.
Community discussion
Share your experience or ask a question. Comments are reviewed before publication.