
Embarking on your first camping trip in the Philippines is an exciting milestone, but walking into an outdoor store or browsing online marketplaces can quickly feel overwhelming. Beginners often fall into the trap of buying high-end, expedition-grade gear designed for sub-zero alpine peaks, when what they actually need is a practical, well-ventilated setup tailored for tropical climates. Achieving an easy camp experience does not require spending a fortune on premium labels; instead, it relies on understanding how to read product specifications and matching them to local conditions.
By focusing on three core pillars—a reliable tent, a properly fitted backpack, and an appropriate sleeping system—you can ensure safety and comfort on the trail. The key is to prioritize functional specifications, such as moisture management, ventilation, and weight distribution, over marketing hype. This guide breaks down exactly what technical details to look for so you can make informed, budget-friendly decisions for your first Philippine outdoor adventure.
How to Choose a Beginner-Friendly Tent for Philippine Weather
The Philippine climate presents unique challenges for campers, characterized by high humidity, sudden tropical downpours, and warm nighttime temperatures. When selecting your first tent, your primary goal is to find a shelter that keeps water out while allowing maximum airflow to prevent the interior from turning into a sauna.
Products mentioned in this guide
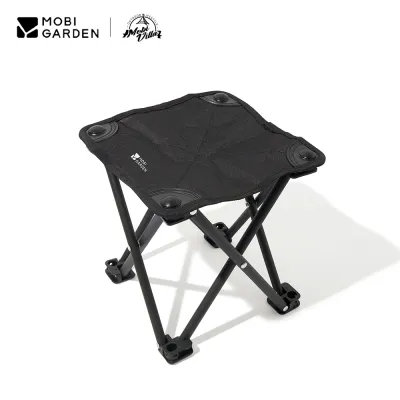
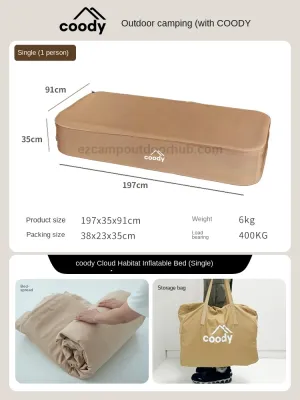
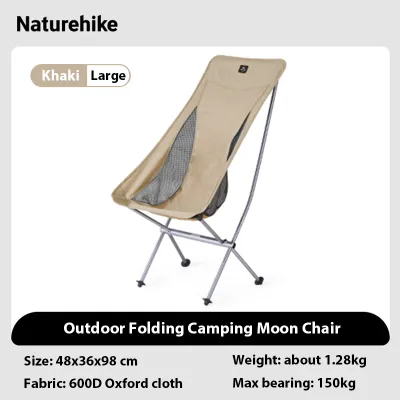

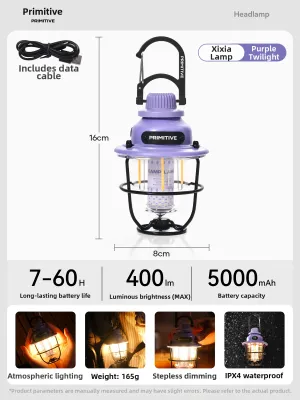
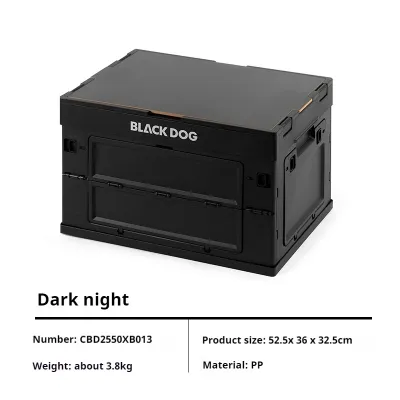
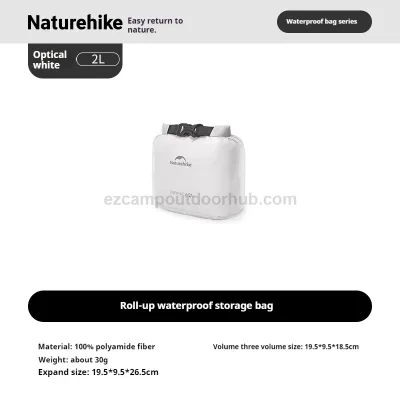
Prices are valid at publication and may change. Please refer to the product page for the latest price.
A double-wall tent consists of an inner mesh canopy and a separate, waterproof rainfly. This design is crucial for condensation management in humid environments. As you breathe during the night, moisture condenses on the coldest surface. In a single-wall tent, this moisture forms on the inside of your living space, dripping onto your gear. In a double-wall tent, the moisture passes through the inner mesh and condenses on the underside of the outer rainfly, keeping you dry.
Look at the manufacturer’s specifications for the waterproof rating, measured in millimeters. This rating indicates the pressure of water the fabric can withstand before leaking. For typical Philippine rain showers, a rainfly rating of 1500mm to 2000mm is generally sufficient, while the tent floor should ideally have a higher rating, such as 3000mm, to resist ground moisture. Additionally, verify that the tent has factory-taped seams. Seam taping involves a hot-air application of waterproof tape over the stitched seams, preventing water from seeping through the needle holes during heavy downpours.
A vestibule is an extension of the rainfly that creates a covered porch area outside the inner tent door. This space is invaluable for storing muddy hiking boots, wet backpacks, and cooking gear, keeping the interior clean and spacious. Furthermore, check for adjustable rainfly vents. Having vents near the top of the rainfly allows warm, moist air to escape, which is vital when you must keep the tent fully zipped during a storm.
Tent capacities are calculated based on the number of standard sleeping pads that can fit side-by-side, with virtually no room for personal gear or movement. For a comfortable experience, it is wise to upsize by one person. If you are camping as a couple, a 3-person tent provides the necessary breathing room and space to store your backpacks inside. If you are hiking solo, a 2-person tent offers a balanced compromise between weight and livable space.
Backpack Sizing and Features for Your First Hike
Your backpack is the vessel that carries your entire shelter, kitchen, and wardrobe on your back. A poorly fitting or incorrectly sized pack can turn a scenic trek into a painful ordeal. For beginners, selecting a backpack requires balancing volume, empty weight, and suspension features.

Backpacks are measured in liters of volume. For a standard overnight trip in the Philippines, a pack capacity of 40 to 50 liters is usually ideal. This size provides enough room for a compact tent, sleeping gear, food, and water without encouraging you to overpack. If you plan to embark on multi-day treks or need to carry shared group gear, a 50 to 65-liter pack may be necessary. Avoid buying an oversized 70+ liter pack for short trips, as empty space often leads to packing unnecessary items, resulting in a heavier load.
A common mistake is choosing a backpack based on overall height rather than torso length. Your torso length is the distance from the bony bump at the base of your neck to the top of your hip bones. Many modern beginner packs offer adjustable harness systems to accommodate different torso lengths. When fitting the pack, the primary goal is weight transfer. Approximately 70% to 80% of the pack’s weight should rest on your hips, not your shoulders. Ensure the hip belt is padded, wraps snugly around your pelvic bones, and can be tightened securely to prevent shoulder strain and back fatigue.
Standard top-loading backpacks require you to unpack everything from the top to reach items at the bottom. Look for packs that feature a bottom sleeping bag compartment or a front-panel zipper, allowing easy access to gear packed deep inside. External attachment points, such as compression straps and trekking pole loops, are also highly useful. They allow you to secure bulky items like closed-cell foam sleeping mats or wet rain gear to the outside of the pack, saving valuable internal space.
Before loading your gear, check the base weight of the backpack itself. Some heavy-duty expedition packs weigh over 2.5 kilograms empty due to thick fabrics and complex steel frames. For beginners, look for a pack with an empty weight of 1.2 to 1.8 kilograms. A lighter starting weight ensures you have more of your personal carrying capacity left for actual gear, food, and the substantial amount of water required for tropical hiking.
Selecting a Sleeping Bag for Tropical and High-Altitude Nights
While the Philippines is generally warm, nighttime temperatures can drop significantly depending on your campsite’s elevation. Camping on a beach in Zambales requires a completely different sleep setup than spending the night near a mountain summit, where temperatures can plunge close to single digits.
Sleeping bags typically feature three temperature ratings on their tags: Comfort, Limit, and Extreme. The Comfort rating indicates the lowest temperature at which a cold sleeper can sleep comfortably in a relaxed position. The Limit rating is the lowest temperature at which a warm sleeper can sleep without waking up from the cold. As a beginner, always base your decision on the Comfort rating. For beach and low-elevation camping, a simple liner or a bag rated for 15°C to 20°C is sufficient. For high-altitude mountain peaks, look for a bag with a Comfort rating of 5°C to 10°C.
Insulation works by trapping warm air generated by your body. Synthetic insulation is highly recommended for beginners in the Philippines. It retains its insulating properties even when damp, dries relatively quickly, and is easy to wash. Down insulation offers an excellent warmth-to-weight ratio and compresses very small, but it loses all insulating ability if it gets wet and takes a long time to dry in humid tropical air. Given the high humidity and frequent rain, synthetic bags provide a safer, more forgiving margin of error for novices.
Many beginners do not realize that the ground siphons away body heat much faster than the surrounding air. A sleeping bag alone will compress under your body weight, leaving you unprotected from the cold ground. You must pair your bag with a sleeping pad. Look for the pad’s R-value, which measures its thermal resistance. For most Philippine campsites, an R-value of 1.0 to 2.0 is perfectly adequate to block ground chill. For cold, high-altitude sites, aim for an R-value of 2.0 to 3.5.
Mummy-shaped sleeping bags taper toward the feet and feature a fitted hood. This design is highly thermally efficient because there is less dead air space for your body to heat up, making them ideal for cold mountain peaks. However, they can feel restrictive. Rectangular sleeping bags offer more room to stretch and roll around, and many can be fully unzipped to use as a flat quilt, making them highly versatile for warmer beach or forest camps.
Building Your Easy Camp Gear Checklist on a Budget
Starting a new outdoor hobby does not have to drain your savings. By adopting a structured approach to your purchases, you can build a safe, functional gear kit while keeping costs manageable.
Divide your gear list into absolute essentials and optional comfort upgrades. Your absolute essentials—the items that keep you safe, dry, and warm—are your tent, backpack, sleeping system, water purification method, and a reliable headlamp. Comfort upgrades, such as camp chairs, portable espresso makers, and complex cooking setups, can wait until you have completed a few trips and determined your preferred camping style.
Allocate the bulk of your budget toward high-impact areas that directly affect your physical well-being: footwear and your sleep system. A pair of trail-tested shoes with reliable grip prevents slips and blisters, while a quality sleeping pad and tent ensure restorative rest. You can save money on basic camp accessories. For example, standard stainless steel kitchen utensils from home can easily substitute for expensive titanium camping cutlery, and a simple tarp can serve as an affordable footprint or extra rain shelter. For instance, allocating a portion of your budget—perhaps around ₱2,000 to ₱4,000—toward a reliable entry-level tent is a smarter investment than buying a cheap, unbranded shelter that might leak during its first storm.
When shopping on online marketplaces or e-commerce platforms, avoid relying solely on product titles, which often use buzzwords like “waterproof” or “ultra-light” without backing them up. Instead, scroll down to the technical specifications or look at photos of the physical manufacturer tags. Verify the exact dimensions, fabric durability, hydrostatic head ratings, and weight. If a listing lacks these technical details, treat it as a red flag and look for a product that transparently displays its specifications.
To protect your investment, proper post-trip care is essential. Never store your tent or sleeping bag while they are still damp from tropical humidity, as this will quickly lead to mold, mildew, and fabric degradation. Once you return home, hang your sleeping bag loosely in a dry closet rather than leaving it compressed in its stuff sack, which can permanently damage the insulation loft. Clean dirt off your tent zippers with a soft brush and ensure all gear is completely dry before packing it away for your next adventure.
Frequently Asked Questions (FAQ)
Do I need a four-season tent for camping in the Philippines?
No, you do not need a four-season tent for camping in the Philippines. Four-season tents are specifically engineered to withstand heavy snow loads, freezing temperatures, and howling alpine winds; they feature thick, heavy fabrics and minimal mesh to trap heat. In a tropical climate, a four-season tent will trap excessive heat and condensation, making the interior incredibly hot and stuffy. Instead, look for a well-ventilated three-season tent with plenty of mesh panels to promote airflow while relying on a quality rainfly to handle heavy tropical downpours.
Can I use a regular school backpack for my first camping trip?
While a standard school backpack or daypack may work for a very short, minimalist day hike, it is not suitable for an overnight camping trip. School backpacks lack internal frames and padded hip belts, meaning the entire weight of your tent, sleeping gear, water, and food will pull directly on your shoulders. This can cause severe muscle strain and fatigue. Additionally, frameless school packs are generally not designed to carry loads exceeding 5 to 7 kilograms safely. Investing in a proper entry-level hiking backpack with a supportive internal frame and load-bearing hip belt is essential for a comfortable and injury-free trek.
How do I clean and store my sleeping bag after a humid trip?
After returning from a humid camping trip, immediately hang your sleeping bag in a well-ventilated, shaded outdoor area or indoors under a fan to dry completely. Never store a damp sleeping bag, as mildew will quickly ruin the fabric and insulation. If the bag requires washing, always follow the manufacturer’s care label instructions. Use a gentle, technical wash designed for synthetic or down fabrics, wash it in a front-loading washing machine on a gentle cycle (or hand wash it in a tub), and air-dry it flat. Store the bag loosely in a large, breathable mesh storage sack rather than its tight compression sack to preserve the insulation’s loft over time.
Community discussion
Share your experience or ask a question. Comments are reviewed before publication.