
Preparing for your first mountain trek requires a thoughtful approach to selecting gear. In the tropical climate of the Philippines, where high humidity, sudden downpours, and steep, muddy trails are common, your choice of camping accessories directly impacts your safety and comfort. Rather than buying every piece of equipment available, first-time hikers should focus on a core set of reliable accessories designed to handle unpredictable outdoor conditions.
Equipment alone cannot replace physical preparation, trail research, and sound judgment. Before setting off, understand your personal fitness limits and the specific difficulty level of your chosen trail. By focusing on essential safety, hydration, and weather protection gear, you can build a practical kit that keeps your pack light and your trek enjoyable.
Navigation and Emergency Safety Gear
Navigating tropical trails requires a mix of traditional and digital tools. While many popular trails in the Philippines require local guides, carrying your own navigation tools is a fundamental safety practice. A physical topographic map of the trail and a reliable magnetic compass serve as your primary backup. Before setting off, verify the map’s scale and practice reading basic contour lines. Keep these items in a waterproof pouch to protect them from sweat and rain.
Products mentioned in this guide
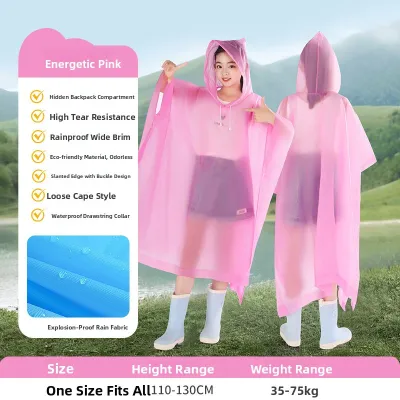
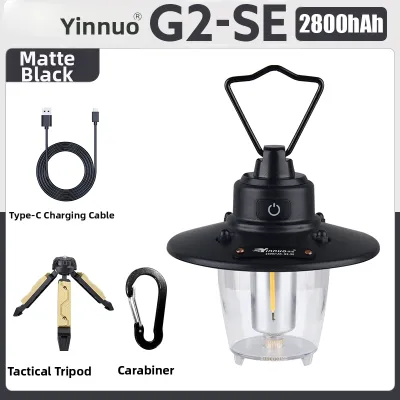
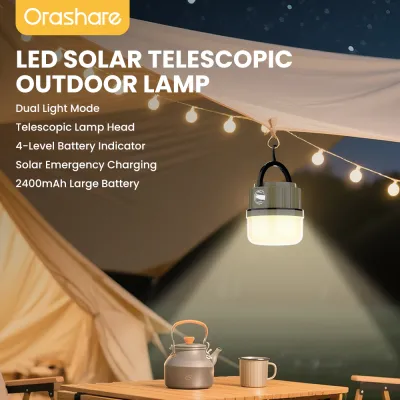
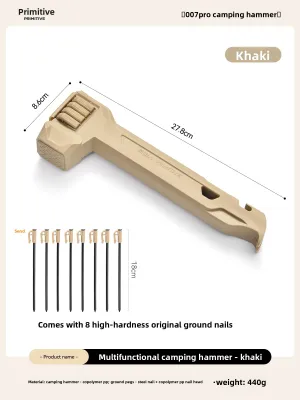
Prices are valid at publication and may change. Please refer to the product page for the latest price.
Smartphones are excellent for offline GPS tracking, but high humidity and constant searching for signal can drain batteries rapidly. To ensure your phone remains functional throughout the trek, carry a high-capacity power bank. Look for a power bank with a minimum capacity of 10,000mAh, and verify that it has an ingress protection (IP) rating or is stored inside a reliable dry bag. Check the charging cables for signs of wear before packing them.
A dependable headlamp is non-negotiable for hands-free illumination during early morning summits or unexpected night hikes. When selecting a headlamp, check the lumen output; a range of 150 to 300 lumens is generally sufficient for trail navigation and camp tasks. Verify the water-resistance rating, aiming for at least IPX4 to withstand heavy tropical rain. Always pack a set of spare batteries or a fully charged backup power source, and test the power button lock feature to prevent the light from turning on accidentally inside your pack.
A basic first-aid kit must be tailored to the specific challenges of tropical hiking. Blisters are the most common trail injury due to wet socks and friction. Pack moleskin, adhesive bandages of various sizes, and medical tape. For minor cuts and scrapes from sharp trailside vegetation, include antiseptic wipes and sterile gauze pads. Muscle strains can occur on steep descents, making elastic compression bandages highly useful. Finally, include oral rehydration salts to combat dehydration from heavy sweating, along with any personal medications.
Hydration and Trail Nutrition Equipment
Staying hydrated in hot, humid mountain environments is critical to preventing heat exhaustion. Hikers must choose between hydration bladders and durable water bottles. Hydration bladders allow you to drink through a tube without stopping, which encourages consistent sipping. However, they can be difficult to refill at natural water sources and are susceptible to punctures if packed incorrectly. Durable, wide-mouth water bottles made of rigid plastic or stainless steel are easier to clean, simple to refill, and virtually indestructible, though they require you to reach into your pack or side pockets.

Do not assume that mountain streams are safe for direct consumption. Verifying the safety of your water source is essential. Portable squeeze filters with a pore size of 0.1 microns are highly effective at removing bacteria and protozoa. For viruses, which are less common in remote mountain springs but still a risk near inhabited areas, chemical treatments like chlorine dioxide tablets are recommended. Always consult your local guide about the quality of water sources along the specific trail before relying solely on filtration.
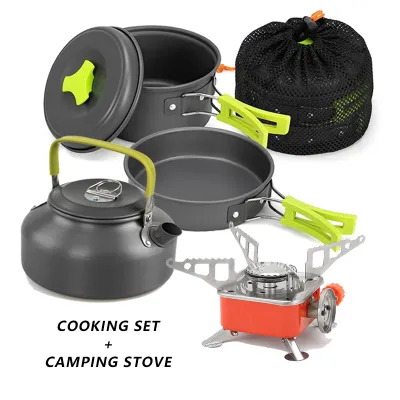
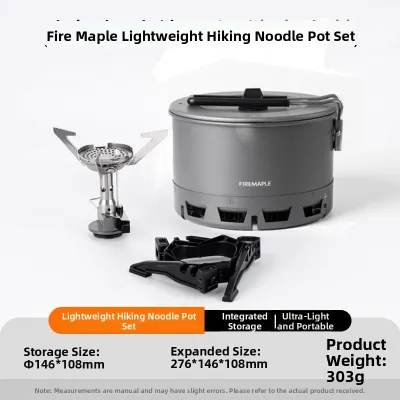
Trail nutrition should focus on lightweight, high-calorie foods that do not spoil quickly in tropical heat. Avoid heavy canned goods. Instead, opt for vacuum-sealed pouches of nuts, dried fruits, energy bars, and dehydrated meals. If you plan to cook, select a compact canister stove that uses a standard threaded valve. Verify that the stove’s pot support is stable and matches the diameter of your lightweight nesting pot. Store all food in durable, resealable silicone bags to keep moisture out and prevent pests from smelling your rations.
Weather Protection and Trekking Comfort
Weather in tropical mountains can shift from intense sun to torrential rain within minutes. To protect your gear, use a fitted rain cover over your backpack. Because rain covers can still let moisture seep through the back panel, pack your sleeping bag, spare clothes, and electronics inside individual dry bags with roll-top closures. For extreme emergencies, such as sudden temperature drops on high-altitude peaks like Mt. Pulag, carry a lightweight emergency space blanket or a compact bivvy sack to retain body heat.
Trekking poles are invaluable for maintaining balance on slippery, muddy slopes and reducing the impact on your knees during steep descents. Look for poles made of durable aluminum, which bends under high stress rather than snapping like carbon fiber. Verify that the locking mechanism—preferably an adjustable lever lock—is secure and easy to operate when your hands are wet or muddy. Adjust the pole length so that your elbow forms a comfortable 90-degree angle when standing on flat ground.
Managing sweat and sun exposure is key to trail comfort. Bring a quick-dry microfiber towel to wipe away sweat and dry off after rain. Wear a moisture-wicking bandana or buff tube around your neck or head to absorb perspiration and protect against sunburn. UV-blocking arm sleeves are highly effective for open-ridge trails where shade is minimal, allowing you to stay cool without constantly reapplying sunscreen to your arms.
Building a Balanced Gear Checklist
A successful trek begins with a balanced packing strategy. Group your accessories into three main categories: trail-accessible, camp-only, and emergency-use. Trail-accessible items, such as your map, headlamp, trail snacks, and rain gear, should be placed in external pockets or near the top of your pack. Camp-only items, like your sleeping gear and cooking stove, belong at the bottom. Emergency items must remain protected but easily reachable.
Before heading to the trailhead, conduct a test pack at home. Load your backpack with all the gear you plan to carry, placing the heaviest items close to your spine and at mid-back level to maintain a stable center of gravity. Put on the pack, adjust the hip belt so it carries most of the weight, and tighten the shoulder straps and load lifters. Walk around your home or climb a flight of stairs to check for shifting gear, squeaks, or uncomfortable pressure points.
Beginners often overpack out of anxiety. To keep your base weight manageable, identify and eliminate redundant items. You do not need multiple heavy knives, excessive spare clothing, or large bottles of toiletries. Opt for multi-use items, such as a single camp cup that serves as both a bowl and a mug, and repackage liquids into small, travel-sized containers. Keeping your pack light reduces fatigue and lowers the risk of slips and trips on the trail.
Frequently Asked Questions (FAQ)
Do I need a satellite messenger for my first mountain trek?
For most popular, established beginner trails in the Philippines, a satellite messenger is not strictly necessary. These trails are typically well-marked, require local guides, and often have reliable cellular coverage near key viewpoints or campsites. However, if you plan to explore remote, unguided, or multi-day wilderness areas, a satellite messenger provides a reliable way to send SOS signals and location updates. If you do not have one, carry alternative signaling tools such as a high-decibel emergency whistle and a small signal mirror. Always verify cellular network coverage with your guiding service or local tourism office before departing.
How much should I budget for essential camping accessories?
As a beginner, you do not need to spend a fortune on top-tier professional gear. Prioritize your budget on critical safety and comfort items. Allocate a larger portion of your budget—perhaps ₱1,500 to ₱3,500—for a high-quality, reliable headlamp and a sturdy pair of trekking poles, as these directly impact your safety on the trail. You can save money on other accessories by using simple dry bags, which often cost between ₱200 and ₱600, or by repurposing lightweight plastic containers for food storage. Check local outdoor specialty stores or reputable online marketplaces to compare prices, and read user reviews to verify durability before making a purchase.

Community discussion
Share your experience or ask a question. Comments are reviewed before publication.