
Effective solo volleyball practice at home does not require a full court or bulky machinery. By focusing on compact, targeted tools, you can maintain and improve your ball control, footwork, and hitting mechanics in a restricted space. This guide helps you identify the minimum essential equipment needed for your specific skill goals and home environment, ensuring you invest only in gear that truly enhances your training.
In the Philippines, where tropical weather can bring sudden heavy downpours or intense afternoon heat, having a reliable indoor training setup is highly practical. Developing your skills at home allows you to maintain consistency in your training schedule regardless of weather conditions or court availability. By choosing the right minimalist gear, you can turn any small corner of your home into a highly productive training zone.
Assessing Your Home Practice Space and Training Goals
Before purchasing any training gear, you must conduct a thorough assessment of your physical training environment. Start by measuring the clear floor space in your designated practice area, whether it is a living room, a covered garage, or a small patio. You need a minimum clear area of at least two by two meters to perform basic footwork and passing drills safely. Ensure there are no low-hanging light fixtures, ceiling fans, or fragile furniture pieces within your immediate reach or swing radius.
Products mentioned in this guide
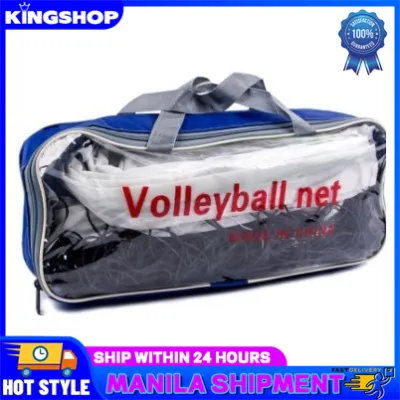
![[Spot +24hours delivery]950*100cm International Standard Volleyball Net Outdoor Training Net with Bag](https://img.lazcdn.com/g/p/265af00d9b59ff5008a08a4eaf652680.jpg_400x400q80.jpg_.webp)
Prices are valid at publication and may change. Please refer to the product page for the latest price.
Ceiling height is another critical factor that dictates what type of drills you can realistically perform. Standard residential ceilings typically range from 2.4 to 2.7 meters, which is insufficient for full-height setting or passing arcs. If your ceiling is low, your training must shift from high-toss drills to low-impact, high-repetition control exercises, such as rapid wall-setting or short-tethered ball control. For high-toss drills, you will need to move to an outdoor space like a driveway or a high-ceilinged carport.
Your specific skill goals should guide your equipment purchases to prevent cluttering your home with unused gear. If your primary objective is to improve your forearm passing and defensive digs, you should prioritize tools that return the ball at realistic angles, such as compact rebounders. If you are a setter looking to refine your hand placement and wrist strength, your focus should be on weighted training balls and target nets rather than hitting trainers. Aligning your gear with your immediate developmental needs ensures a more efficient use of your budget.
Finally, evaluate your flooring to protect both your body and your home. Hardwood, laminate, and ceramic tiles offer no impact absorption, which can lead to joint strain during repetitive jumping, and they can easily crack if heavy training tools are dropped. Polished surfaces also become slick when exposed to sweat. To mitigate these risks, integrate interlocking foam mats or heavy-duty rubber utility mats into your setup. These mats provide essential cushioning for your knees and ankles during footwork drills while protecting your home’s flooring from scratches and impact damage. Ensure any matting you choose features a textured, non-slip bottom surface that grips your floor securely.
Core Equipment for Ball Control and Passing
Ball control is the foundation of volleyball, and practicing it solo requires tools that can return the ball consistently without the need for a partner. Rebounders and angled return nets are excellent for this purpose, as they bounce the ball back to you at various trajectories depending on the angle of impact. When selecting a rebounder for indoor or garage use, look for a model with a sturdy steel or heavy-duty composite frame that resists sliding when struck by the ball.

Net tension adjustability is a crucial feature to verify before purchasing a rebounder. A high-tension net ensures a crisp, fast return that mimics a real game pass, while a loose net will cause the ball to drop dead, disrupting your training rhythm. Additionally, check the footprint size of the frame; compact models that measure around one meter wide are ideal for home use, as they can be easily positioned against a wall and folded flat for storage when your session is complete.
For precision training, target mats and floor markers are indispensable, low-profile tools that provide visual feedback for passing accuracy and foot placement. When shopping for floor markers, avoid cheap plastic cones that slide or crack when stepped on. Instead, opt for flat, textured rubber spot markers that grip the floor surface securely and lie completely flat to eliminate tripping hazards. These rubber markers are safe for all indoor flooring types, including delicate hardwood and polished tiles, as they do not leave sticky adhesive residue. Using bright, high-contrast colors like neon yellow or orange helps you maintain peripheral awareness of your positioning while keeping your eyes focused on the ball.
Weighted training volleyballs, often referred to as setter balls, are specialized tools designed to build hand, wrist, and forearm strength. These balls typically weigh significantly more than a standard 260-to-280-gram volleyball. While they are highly effective for developing the quick, clean hand action required for setting, they must be used with caution to avoid joint strain. Beginners and younger players should start with slightly weighted trainer balls before progressing to heavier options. When practicing with a weighted ball at home, focus on short-distance, controlled setting drills against a sturdy wall rather than high-impact tosses to minimize joint fatigue and maintain proper form.
Gear for Hitting, Serving, and Footwork
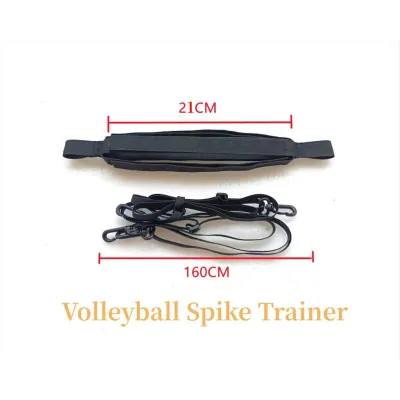
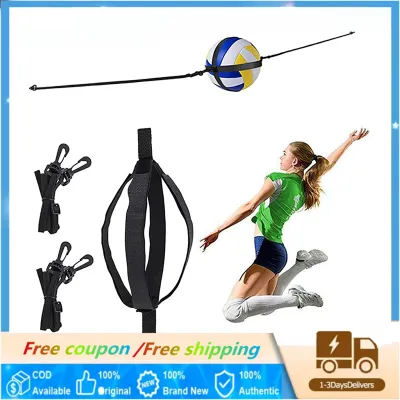
Practicing your attacking and serving mechanics inside a limited home space requires specialized gear that keeps the ball contained. Hanging ball trainers and spike trainers are popular solutions that suspend the ball in place, allowing you to practice your arm swing and contact point without sending the ball flying across the room. These systems typically use elastic cords attached to a door frame, a ceiling mount, or a portable stand.
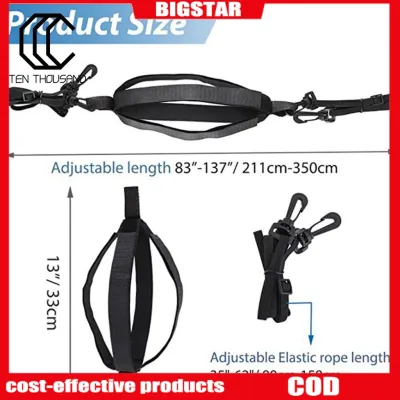
Before installing a hanging trainer, carefully verify its mounting requirements and compatibility with your home’s structure. Doorway-mounted systems are highly convenient and require no drilling, but you must ensure your door frame is sturdy enough to withstand the repetitive pulling forces of your swings. If you opt for a ceiling-mounted system, secure the anchor directly into a solid wooden ceiling joist rather than relying on weak drywall anchors. Additionally, look for adjustable cord lengths to customize the setup for different player heights and to ensure you can practice your approach and contact mechanics at a safe height that prevents your hand from striking the ceiling or nearby light fixtures.
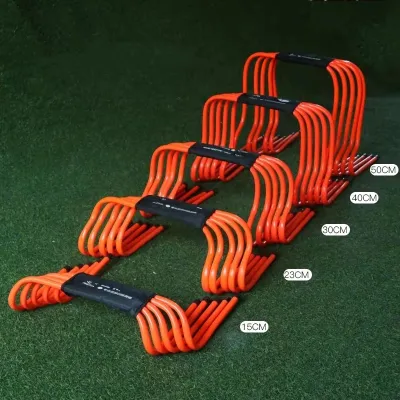
To complement your ball-handling drills, integrate agility ladders and resistance bands into your routine to improve lateral quickness and jump conditioning. Agility ladders designed for indoor use should feature flat, low-profile plastic rungs that do not slide easily on smooth floors, helping you develop rapid, precise footwork patterns. Resistance bands offer a highly compact way to build explosive power and shoulder stability without bulky weights. Loop bands can be placed around your thighs or ankles during lateral shuffle drills to increase the workload on your glutes and hips, while resistance bands with handles can be anchored to a sturdy door frame to perform simulated arm-swing exercises.
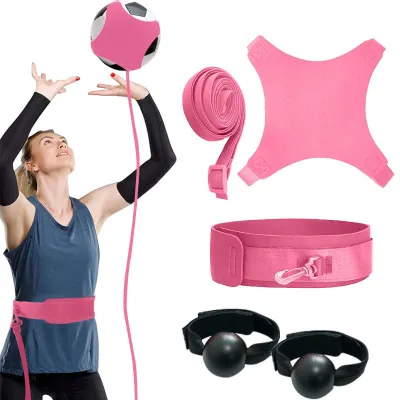
Serving is often the hardest skill to practice alone at home due to the space required for a full ball flight. However, you can effectively practice your serving mechanics and toss consistency using a specialized toss trainer or a simple solo tether system. These tools consist of a neoprene sleeve that holds the ball, connected to an elastic waist belt by a long cord. This setup allows you to practice your toss and contact motion with full force, as the elastic cord gently snaps the ball back to you, preventing it from hitting walls or breaking household items.
Building Your Minimalist Home Training Setup
Building an effective home training setup does not mean you have to buy every piece of equipment available on the market. A minimalist, tiered approach allows you to manage your budget in Philippine Pesos (₱) while prioritizing the most versatile and impactful items first. Start with Tier 1, which consists of the absolute essentials: a standard indoor volleyball, a solo tether training belt, and a set of flat rubber floor markers. This basic combination costs very little but allows you to perform hundreds of variations of passing, setting, and footwork drills.
Once you have established a consistent training routine and identified specific areas for improvement, you can progress to Tier 2 additions. This tier might include a compact, foldable rebounder net for more dynamic passing drills, or a doorway-mounted spike trainer to refine your hitting mechanics. By spacing out your purchases, you can ensure that you actually use and master each piece of gear before adding more complexity to your home setup.
When shopping for volleyball training equipment on online marketplaces, performing key purchasing checks is essential to ensure you receive high-quality, durable gear. Always verify the exact product dimensions listed in the specifications and compare them against your measured home practice space. Do not rely solely on product photos, which can sometimes make items appear smaller or larger than they actually are.
Reading user reviews is another critical step, particularly when looking for feedback on indoor durability and noise levels. Look for reviews from other buyers who use the equipment in similar home environments, such as apartments or shared residential spaces. Pay close attention to comments regarding the quality of the elastic cords, the stability of the frames, and whether the rubber bases leave marks on floors. Additionally, check the seller’s return policy to ensure you can easily exchange or return the item if it does not fit your space or meet your quality expectations.
Finally, consider the storage and cleanup aspect of your training gear to maintain a tidy and organized home. Look for equipment that features foldable frames, stackable components, or included carrying bags. A rebounder that folds completely flat can be easily slid under a bed or stood upright in a closet, while a set of flat floor markers can be stacked and stored in a drawer. Having a dedicated, easy-to-pack setup ensures that your home remains a comfortable living space when you are not training.
Frequently Asked Questions (FAQ)
How can I practice volleyball at home without damaging my floors or walls?
To protect your home surfaces during high-impact solo drills, start by laying down interlocking foam mats or a thick rubber utility mat over your practice area. These mats absorb the shock of your footwork and prevent heavy equipment from scratching or cracking your tiles or hardwood floors. When practicing wall-setting or passing drills, use a slightly under-inflated volleyball or a soft-touch training ball to reduce the force of impact against your walls, which helps minimize noise and prevents scuff marks. Avoid using equipment with hard plastic or metal bases directly on unprotected floors; always place a protective barrier, such as a towel or a small rug, underneath them.
Is it safe to use a hanging spike trainer on a standard residential ceiling?
Using a hanging spike trainer on a standard residential ceiling is safe only if you follow proper installation guidelines and verify the structural integrity of your mounting point. Never mount a spike trainer directly into drywall or plasterboard using standard wall anchors, as the repetitive downward pulling force from your swings will quickly tear the anchor out, damaging your ceiling and potentially causing injury. Instead, use a stud finder to locate a solid wooden ceiling joist or beam, and secure the mounting hardware directly into the wood using heavy-duty lag screws. Always consult the manufacturer’s load limits and installation instructions before use, and regularly inspect the mount for any signs of loosening or wear.
Community discussion
Share your experience or ask a question. Comments are reviewed before publication.