
Starting a fixed-gear cycling journey in the Philippines is an exciting step, but doing so on a budget of ₱15,000 requires a strategic approach. At this price point, you can find a highly capable, durable, and safe entry-level fixie, provided you know which components to prioritize and which marketing gimmicks to ignore. Navigating busy urban streets, unpredictable tropical weather, and varied road surfaces demands a bicycle that is structurally sound rather than flashy. By focusing on essential frame qualities, reliable braking systems, and proper sizing, you can secure a dependable ride that fits your budget while leaving room for necessary safety gear.
What to Expect From a Fixie at the ₱15,000 Price Point
When shopping within a ₱15,000 budget, managing your expectations regarding materials and components is key to making a smart purchase. The frame is the heart of your bicycle, and in this price range, you will primarily encounter high-tensile (hi-ten) steel and entry-level aluminum alloys. Hi-ten steel is incredibly robust and offers a forgiving, compliant ride that helps absorb road vibrations, but it is heavier and susceptible to rust if left exposed to the high humidity and frequent rains of the Philippine climate. Entry-level aluminum frames are lighter and naturally rust-resistant, but they tend to deliver a stiffer, more jarring ride over uneven asphalt and potholes.
The drivetrain components at this level are generally basic but functional. You should expect a standard crankset paired with a flip-flop rear hub, which features a fixed cog on one side and a freewheel on the other. This design is highly advantageous for beginners, as it allows you to start on a single-speed freewheel setup and transition to a true fixed-gear configuration once you build confidence. While premium wheelsets feature sealed cartridge bearings that keep out water and road grit, entry-level models under ₱15,000 often utilize loose ball bearings. These require more frequent cleaning and lubrication, especially after riding through heavy downpours or flooded streets.
Products mentioned in this guide
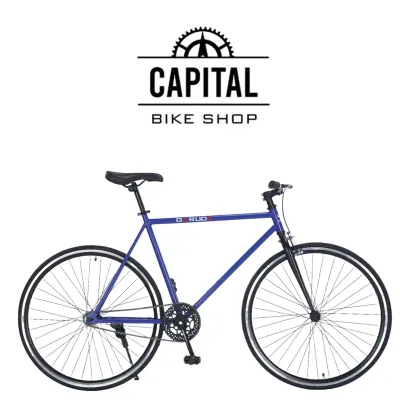
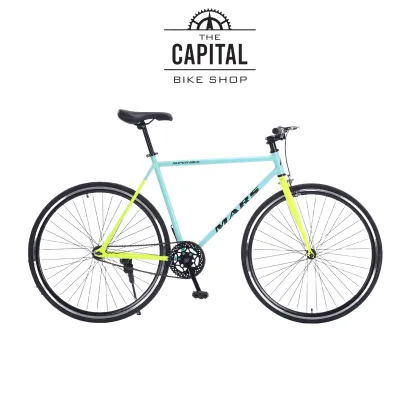
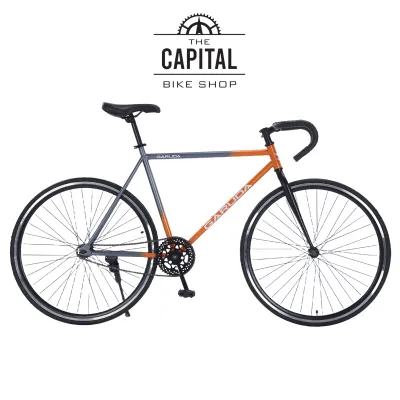
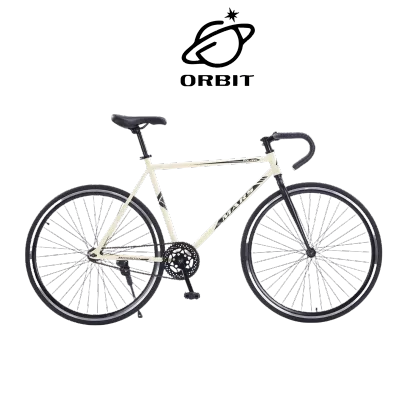
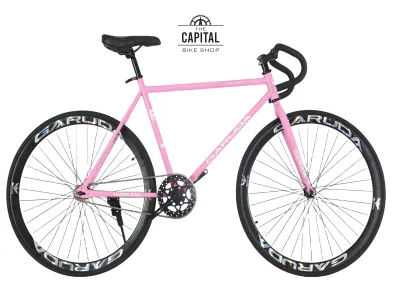
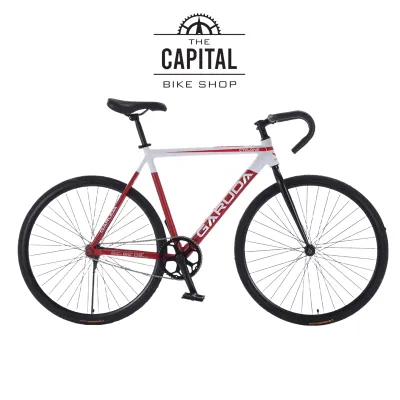
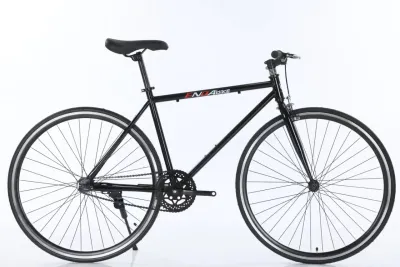
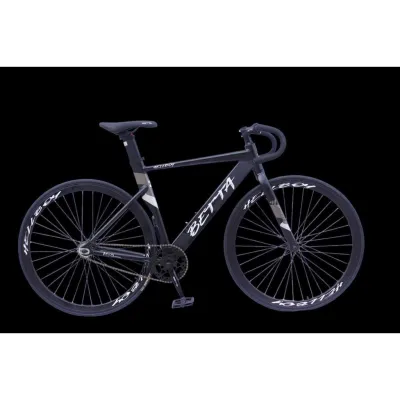
Prices are valid at publication and may change. Please refer to the product page for the latest price.
Additionally, bikes purchased in this price bracket—whether ordered online or bought from a local shop—frequently require some degree of assembly and fine-tuning. Manufacturers often ship bikes partially assembled in a box, meaning you or a local mechanic will need to install the front wheel, handlebars, pedals, and saddle. It is highly common for budget wheelsets to arrive slightly out of true, meaning the spokes require adjustment to ensure the wheel spins perfectly straight. Factoring in the time or cost of a professional tune-up is a realistic necessity when working within this budget.
Non-Negotiable Specs for Beginner Safety and Comfort
Safety must always take precedence over style, especially for riders who are new to the fixed-gear discipline. The most critical non-negotiable feature for any beginner is a reliable braking system. While experienced track riders often ride “brakeless” on closed velodromes, doing so on public streets is highly dangerous, particularly when navigating unpredictable traffic, sudden stops, and wet conditions. You should insist on a bike that comes equipped with at least a front caliper brake, though a dual-brake setup (front and rear) is highly recommended for beginners. Braking on a fixed-gear bike using only leg resistance (skidding) requires significant muscle memory, strength, and coordination; a hand brake serves as an indispensable safety net while you develop these skills.

Proper frame geometry and sizing are equally vital to prevent chronic discomfort and ensure safe handling. Riding a frame that is too large or too small compromises your control over the bicycle and can lead to knee, back, or wrist pain. Before purchasing, always consult the manufacturer’s sizing chart and measure your inseam to verify the standover height. When standing over the top tube with both feet flat on the ground, you should have at least an inch of clearance to prevent injury during sudden stops. Ensure the reach—the distance from the saddle to the handlebars—allows you to maintain a comfortable, slightly bent elbow position without overextending your back.
Furthermore, pay close attention to wheel and tire clearance. Many traditional track frames are designed with tight clearances that only accommodate narrow 23mm tires. For riding on local roads, which are often characterized by cracks, gravel, and sudden potholes, you should verify that the frame and fork can clear wider tires, such as 25mm or 28mm. Wider tires can be run at slightly lower pressures, providing a larger contact patch for improved grip on wet roads and significantly better shock absorption, which directly translates to a safer and more comfortable ride.
Where to Compromise to Stay Within Budget
To keep your total expenditure under ₱15,000, you must be willing to accept compromises on non-essential components that do not impact structural safety. The saddle and handlebar grips are prime examples of parts where manufacturers save money on budget builds. Expect the stock saddle to be basic, firm, and potentially uncomfortable for longer rides, and the grips to be simple rubber or foam. These touchpoints are highly subjective and easily replaceable; it is far better to accept a mediocre stock saddle now and upgrade to a model that fits your anatomy later, once you have spent some time in the saddle.
Pedals are another area where you can safely compromise initially. Most entry-level fixies ship with standard plastic or basic alloy platform pedals. While foot retention (such as straps, toe cages, or clipless pedal systems) is highly beneficial for fixed-gear riding because it keeps your feet locked to the spinning pedals, you do not need to invest in premium, expensive pedal systems on day one. Starting with basic platform pedals—ideally paired with an affordable set of nylon straps—is a cost-effective way to learn the basics of starting, stopping, and controlling your cadence without a massive upfront investment.
Finally, do not let cosmetic finishes dictate your purchase. At this price point, paint jobs may be simple, decals might be basic stickers rather than under-clearcoat graphics, and minor cosmetic blemishes may occur during shipping. Prioritize the quality of the frame welds and the alignment of the dropouts over a flashy colorway. A plain, well-aligned frame is infinitely safer and more durable than a beautifully painted bike with misaligned dropouts or weak welds.
Hidden Costs and Essential Accessories
When planning your budget, remember that the cost of the bicycle itself is only part of the equation. To ride safely and legally on public roads, you must allocate a portion of your ₱15,000 budget—or prepare additional funds—for mandatory safety gear and accessories. A properly certified helmet is your most important piece of protective equipment; never ride without one. Additionally, local ordinances and basic safety dictate the use of active lighting. Invest in a bright front white light and a rear red light to ensure you are visible to motorists during evening commutes or sudden tropical downpours that reduce visibility. A sturdy U-lock is also essential to secure your investment when parking in public spaces.
Basic maintenance tools are another unavoidable expense if you want to keep your bike running smoothly and avoid being stranded by a flat tire. At a minimum, you should carry a compact multi-tool with hex keys, tire levers, a spare inner tube that matches your tire size and valve type, and a portable hand pump or a reliable floor pump at home. Fixed-gear bikes require regular chain tension adjustments, so a wrench that fits your axle nuts (typically 15mm) is a mandatory addition to your tool kit.
Lastly, do not overlook shipping and assembly fees. If you purchase your bike from an online marketplace, shipping fees for a large, heavy box can be substantial. If you are not comfortable assembling the bike yourself, you must also budget for a local bike shop to perform the initial build and safety check. Paying a professional mechanic to verify that the headset is properly greased, the bottom bracket is tight, and the wheels are true is a highly recommended investment that prevents premature wear and ensures your safety.
How to Evaluate Online and Local Bike Shop Options
Choosing where to buy your beginner fixie requires careful evaluation of both online marketplaces and physical local bike shops. Physical shops offer the distinct advantage of allowing you to see the bike in person, test-ride it for sizing, and receive immediate assembly and after-sales support. If a local shop offers a bike within your budget, the face-to-face customer service and immediate warranty resolution are highly valuable. Conversely, online marketplaces often provide a wider selection and lower prices, but they come with the risk of shipping damage, complicated return processes, and a lack of direct mechanical support.
If you decide to purchase online, perform thorough due diligence on the seller and the product listing. Read customer reviews carefully, looking specifically for feedback regarding shipping times, packaging quality, and how the seller handles defective parts. Carefully cross-reference the listed specifications with the photos provided; ensure the frame material, hub type, and brake inclusions are explicitly stated. If a listing is vague or uses generic stock photos without detailed specifications, treat it as a red flag and contact the seller for clarification before committing to the purchase.
Upon receiving your bike, conduct a meticulous inspection before your first ride. Check the frame for any dents, deep scratches, or signs of misalignment, particularly around the rear dropouts and front fork. Verify that all critical bolts—especially those on the stem, handlebars, crankset, and wheel axles—are tightened to the manufacturer’s recommended torque specifications. Spin the wheels to ensure they run straight and do not rub against the brake pads or frame. If you detect any structural issues, loose components, or unusual noises, do not ride the bike; consult a professional mechanic or initiate a return with the seller immediately.
Frequently Asked Questions (FAQ)
Is a fixed-gear bike suitable for daily commuting in the Philippines?
Yes, a fixed-gear bike can be a highly reliable daily commuter, but its suitability depends heavily on your route and riding experience. On flat urban roads, the simplicity of a fixie means fewer moving parts to maintain, making it highly resistant to the wear and tear of daily commuting. However, navigating hilly terrain can be physically demanding, as you cannot shift to a lighter gear. Beginners must also adapt to the constant pedaling motion and learn to manage stop-and-go traffic safely. Before commuting in busy traffic, practice riding in a controlled environment to master stopping, turning, and controlling your speed using both your brakes and leg resistance.
Can I convert a regular single-speed bike into a fixie?
Converting a standard single-speed bike into a fixed-gear bike is entirely possible, but it requires specific mechanical conditions and components. First, you must replace the rear hub or wheel with one that features a dedicated fixed-gear thread and a lockring thread; simply threading a fixed cog onto a standard freewheel hub is highly dangerous, as backpedaling can unscrew the cog. Second, your frame must have horizontal dropouts or track ends to allow you to pull the wheel back and achieve proper chain tension. Finally, you must ensure precise chainline alignment between the front chainring and the rear cog to prevent the chain from slipping off while riding.
Community discussion
Share your experience or ask a question. Comments are reviewed before publication.