
The best stick mobility exercises for beginners are foundational movements that utilize a simple rod or flexible pole to improve joint range of motion, postural alignment, and body awareness. By using a stick as a physical lever and a source of tactile feedback, beginners can safely navigate boundaries of flexibility and strength that are difficult to target with traditional static stretching. Movements like Halos, Spine Waves, and Assisted Deep Squats form the core of an effective entry-level routine, allowing you to build active mobility while protecting your joints.
Whether you are preparing for an outdoor run in the warm, humid climate of the Philippines, recovering from a long day at an office desk, or warming up for a competitive game of badminton, integrating a stick mobility exercise routine can transform how your body moves. This approach teaches your central nervous system that it is safe to access deeper ranges of motion, helping to bridge the gap between passive flexibility and usable, real-world strength.
Understanding Stick Mobility and Its Benefits
To understand why stick mobility is so effective, it is helpful to contrast it with passive static stretching. When you perform a passive stretch, you hold a position using gravity or an external force to elongate a muscle. While this can temporarily increase your flexibility, it does not necessarily build the strength required to control that new range of motion. Stick mobility, on the other hand, is an active training system. It combines joint mobilization, progressive tissue loading, and active stretching to build strong, resilient joints.
Products mentioned in this guide
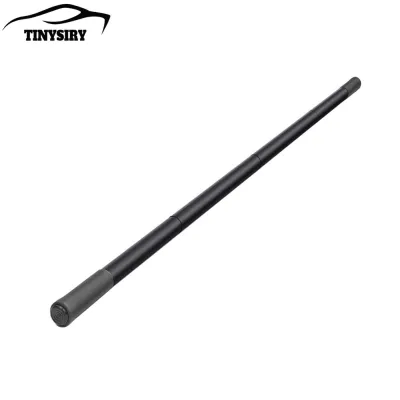
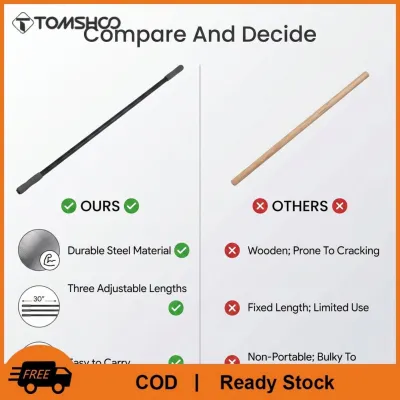
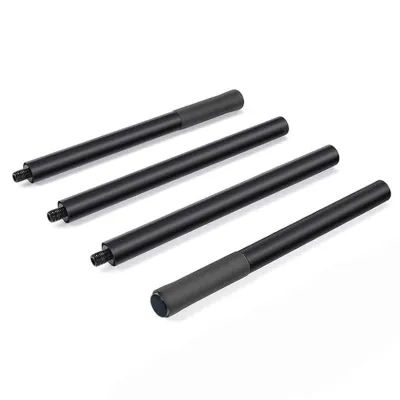
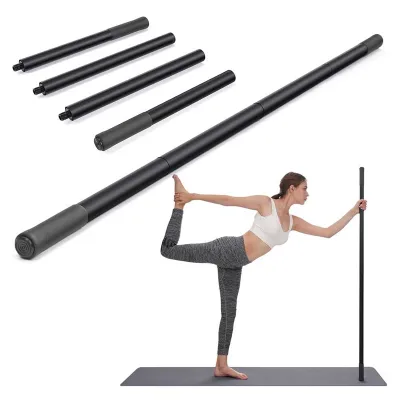
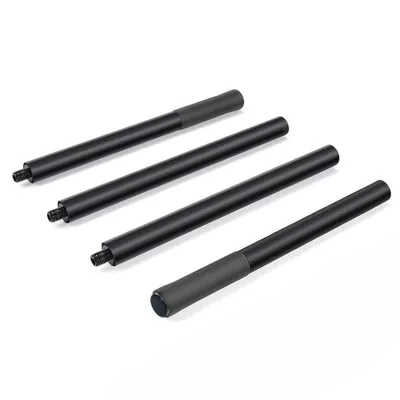
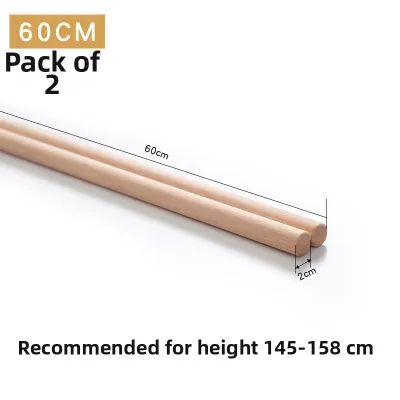
Prices are valid at publication and may change. Please refer to the product page for the latest price.
The magic of this training lies in how the stick functions as a lever, a traction tool, and a stabilizer. By pushing the stick into the floor or pulling against it, you create leverage that allows you to safely torque your joints into deeper ranges. The stick also provides traction, helping to decompress joints and create space within the shoulder or hip capsule. Furthermore, because you are holding onto a solid object, your brain receives continuous tactile feedback, which signals stability to your nervous system. When your brain feels stable, it naturally relaxes tight, protective muscles, allowing you to access a greater range of motion safely.
For beginners, the benefits of this practice are immediate and highly practical. It improves joint health by stimulating the flow of synovial fluid, which lubricates your joints and delivers essential nutrients to cartilage. It enhances postural awareness by giving you a physical reference point; for instance, keeping the stick in contact with your head, upper back, and sacrum instantly teaches you what a neutral spine feels like. Over time, these movements build functional range of motion, helping you move more fluidly in daily life and reducing the risk of common strains.
Choosing and Setting Up Your Mobility Stick
Before starting your first stick mobility exercise session, selecting the right equipment and preparing your space is essential for safety and comfort. Mobility sticks generally fall into two categories: specialized flexible sticks and rigid alternatives. Specialized mobility sticks are made of a flexible, heavy-duty compound that allows the stick to bend under pressure, which is excellent for loading muscles elastically and creating tension. Rigid alternatives, such as standard PVC pipes or wooden dowels, are highly cost-effective and work perfectly for basic alignment, traction, and leverage exercises.

When choosing the length of your stick, your height and the types of exercises you plan to perform are the primary factors. For full-body leverage, lunges, and deep squats, you should use a stick that is roughly one to two feet taller than your height. For most adults, a 6-foot or 7-foot stick is ideal. For focused upper-body work, shoulder rotations, or exercises performed in tight indoor spaces, a shorter 4-foot or 5-foot stick is much easier to maneuver.
Your workout environment should be safe and spacious. Ensure you have a clear area of at least two to three meters in all directions to prevent the stick from striking furniture, walls, or low-hanging ceiling fans, which are common in many tropical homes. If you are practicing indoors on smooth tile or polished wood floors, use a high-traction yoga mat to prevent the stick from slipping when you apply downward pressure. If you are using a bare PVC pipe, wrapping the ends in athletic tape or placing them on a rubberized surface will keep the stick securely anchored.
Essential Stick Mobility Exercises for Beginners
A successful beginner practice focuses on simple, high-yield movements that target the major joint complexes of the body: the shoulders, the spine, and the hips. By mastering these foundational exercises, you will establish the neuromuscular control needed for more advanced variations later on.
Shoulder and Upper Back Openers
The shoulders and thoracic spine are highly susceptible to stiffness, especially if you spend long hours sitting or driving. These exercises use the stick to restore healthy articulation and extension.
The Shoulder Halo
- Setup: Stand with your feet hip-width apart, holding the stick in front of you with a very wide, overhand grip.
- Execution: Slowly lift the stick up and over your head. As the stick passes over your crown, bend your elbows slightly to circle the stick smoothly around your head in a "halo" motion, bringing it down behind your neck, and then back around to the front.
- Focus: Keep your core braced and avoid arching your lower back as the stick moves behind you. Perform 5 to 8 slow circles in one direction, then reverse. This movement improves the rotational capacity of the shoulder capsule and gently opens the chest.
The Archer (Bow and Arrow)
- Setup: Hold the stick horizontally in front of your chest with a wide grip.
- Execution: Keeping your left arm straight, push the left end of the stick forward. At the same time, bend your right elbow and pull the right side of the stick backward, as if drawing a heavy bowstring. Allow your head and upper torso to rotate to the right while keeping your hips facing forward.
- Focus: Focus on the pull-and-push action to create traction across your upper back. Hold the end position for 3 to 5 seconds, breathing deeply into your ribs, then return to the center and switch sides. This targets unilateral shoulder flexion and thoracic rotation.
Spine and Core Mobilization
Spinal health requires a balance of mobility and stability. These movements teach you to articulate your spine segmentally while keeping your core engaged.
Spine Waves
- Setup: Place the stick vertically on the floor about an arm's length in front of you. Place both hands on top of the stick, one over the other.
- Execution: Inhale deeply, and as you exhale, tuck your chin to your chest and begin to round your spine, pushing the stick slightly away to stretch your upper back. Continue rolling down through your mid-back. Once you reach your comfortable depth, inhale and reverse the movement by lifting your tailbone, arching your back slightly, and lifting your chest to look forward.
- Focus: Think of this as a standing, vertical version of the classic cat-cow stretch. Move slowly, focusing on articulating one vertebra at a time, and let your breath guide the pace.
The Hip Hinge Good Morning
- Setup: Place the stick across your upper back (resting on your trapezius muscles, not your neck) and hold it in place with both hands. Stand with feet shoulder-width apart, knees slightly unlocked.
- Execution: Keeping your spine perfectly straight, push your hips backward as if trying to touch a wall behind you. Allow your torso to tilt forward naturally. Go only as far as you can maintain a flat back and feel a stretch in your hamstrings.
- Focus: Drive through your heels and squeeze your glutes to return to the standing position. The stick acts as an alignment tool; if you feel your upper back rounding against the stick, reduce your depth.
Hips and Lower Body Hinges
Using the stick as a balance aid allows you to explore deeper ranges of motion in your hips and knees without the fear of falling.
Assisted Deep Squat Holds
- Setup: Plant the stick vertically on the floor directly in front of you. Hold the upper portion of the stick with both hands for support.
- Execution: Set your feet slightly wider than shoulder-width with toes pointed slightly outward. Lower your hips down into a deep squat, using the stick to help keep your torso upright and prevent you from tipping backward.
- Focus: Keep your heels flat on the floor and ensure your knees track in line with your toes. Hold this deep position for 20 to 30 seconds, gently shifting your weight from side to side to open up the ankles and hips. Use the leverage of the stick to push yourself back up to standing.
Supported Lateral Lunges
- Setup: Stand with a very wide stance, holding the stick vertically in front of your right foot with your right hand for balance.
- Execution: Shift your weight to your left leg, bending your left knee and pushing your hips back while keeping your right leg completely straight. Use the stick in your right hand to support your balance and keep your chest lifted.
- Focus: Go only as deep as your hip and adductor flexibility allows. Push through your left foot to return to the center, transfer the stick to your left hand, and repeat on the opposite side.
Common Mistakes and Safety Boundaries
While stick mobility is a low-impact activity, practicing with incorrect form can lead to joint strain or muscle irritation. Recognizing common errors and setting firm safety boundaries will keep your practice productive.
One of the most frequent mistakes beginners make is maintaining a “death grip” on the stick. Clenching your hands too tightly creates unnecessary tension that travels up your forearms, shoulders, and neck, which actually restricts your range of motion. Keep your grip firm enough to maintain control and apply leverage, but relaxed enough that your hands do not cramp.
Another critical error is forcing your joints into painful ranges. There is a distinct difference between a productive, deep muscle stretch and joint distress. If you experience a sharp, pinching, or stabbing pain—especially in the shoulder joint or lower back—stop the movement immediately. Never force a joint past its natural structural limit; instead, widen your grip on the stick or reduce the depth of your movement to find a pain-free range.
Rushing through repetitions is also counterproductive. Mobility training relies on the nervous system adapting to new positions, which requires slow, controlled movement and deep breathing. Moving too fast bypasses this neural adaptation and relies on momentum, increasing the risk of injury. Always move with a controlled tempo, taking 3 to 5 seconds for each phase of the exercise.
When to Stop Immediately:
- You feel sharp, sudden joint pain or pinching.
- Your lower back rounds excessively during hinges or squats, and you cannot correct it.
- You lose your balance or feel dizzy.
- You feel numbness or tingling in your hands, arms, or legs.
Safety Note: Always check your equipment before starting. If using a PVC pipe, inspect it for cracks or splinters. If you have pre-existing joint conditions, spinal issues, or are recovering from an injury, consult a qualified healthcare professional or physical therapist before starting a new mobility program.
Building Your First Stick Mobility Routine
To get the most out of your stick mobility practice, consistency is far more important than intensity. Beginners should focus on time under tension and quality of movement rather than high repetitions.
For a well-rounded starting routine, perform 2 to 3 sets of each exercise described above. For dynamic movements like Halos and Spine Waves, aim for 6 to 10 slow, controlled repetitions per set. For static or slow-tempo holds, such as the Assisted Deep Squat, aim for 20 to 30 seconds of hold time, focusing on deep, diaphragmatic breathing to help your muscles relax.
This routine is highly versatile and can be used in two different ways:
- As a Dynamic Warm-Up: Spend 5 to 10 minutes performing a single set of each movement before your main workout, run, or sports session. This wakes up your nervous system, lubricates your joints, and prepares your muscles for action.
- As a Standalone Recovery Session: Spend 20 to 30 minutes on active recovery days performing all 3 sets of each exercise. Focus on slow breathing and gentle, progressive depth to relieve tension and improve long-term flexibility.
As your mobility improves, you can progress the exercises naturally. You will know you are ready to progress when a movement feels completely effortless. You can increase the challenge by gradually narrowing your grip on the stick, holding positions for longer durations, or transitioning to intermediate single-arm variations that require more core stability.
Frequently Asked Questions (FAQ)
Can I use a standard PVC pipe instead of a specialized mobility stick?
Yes, you can absolutely use a standard PVC pipe as a beginner. PVC pipes are highly cost-effective, readily available at local hardware stores in the Philippines for around ₱100 to ₱300, and can be easily cut to your custom length. Their rigidity makes them excellent for exercises requiring alignment, traction, and structural support, such as Good Mornings and Assisted Squats.
However, PVC pipes do have limitations. They are completely rigid and do not bend, meaning you cannot perform exercises that rely on the elastic tension of a flexing stick. They also lack grip texture, which can make them slippery when your hands sweat in a humid tropical climate. To make a PVC pipe safer and more comfortable, inspect it regularly for hairline cracks, sand down any rough edges from cutting, and wrap athletic tape or tennis grip tape around the areas where you will place your hands.
How often should beginners practice stick mobility?
For beginners, practicing stick mobility 3 to 4 times per week is an ideal starting frequency. This schedule gives your central nervous system and connective tissues enough stimulus to adapt and improve without overwhelming them. Each session does not need to be long; a focused 10 to 15-minute routine is highly effective.
As you establish your practice, pay close attention to your body’s recovery signals. While mild muscle stretching is normal, you should not feel deep joint soreness or excessive muscle fatigue the next day. If you do experience persistent soreness, reduce the frequency to 2 times per week or shorten your session duration, gradually building back up as your body adapts.
Community discussion
Share your experience or ask a question. Comments are reviewed before publication.