
Choosing the ideal bike bag setup is a balancing act between your riding style, your bike’s frame geometry, and the terrain you plan to conquer. If your goal is to maintain a streamlined profile, keep your center of gravity perfectly centered, and tackle technical singletrack or fast-paced bikepacking, a dedicated frame bag is the most efficient choice. For riders carrying heavy utility loads, commuting daily, or embarking on long-distance tours where maximum volume is non-negotiable, a set of traditional panniers mounted to a sturdy rack offers unmatched capacity. Meanwhile, if you want a lightweight, minimalist setup for gravel grinding or road endurance that keeps your frame triangle free for water bottles, a rear saddlebag is the ideal solution. Ultimately, your decision depends on how each bag’s weight distribution alters your bike’s handling and whether your frame possesses the necessary mounting points and clearance to support the hardware.
Frame Bags: Evaluating Centered Weight and Frame Clearance
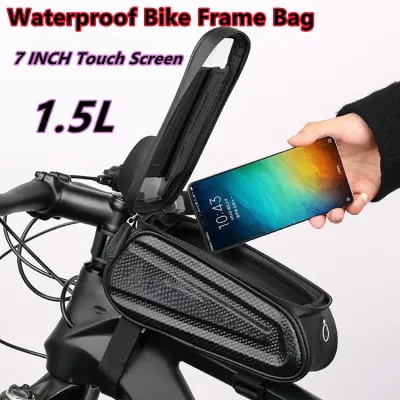
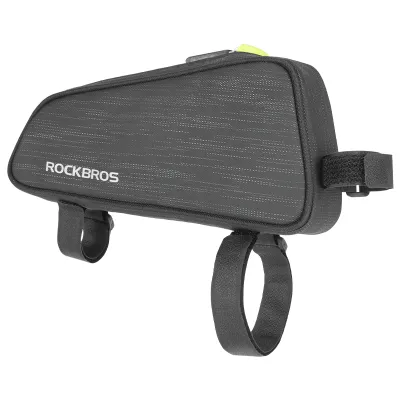
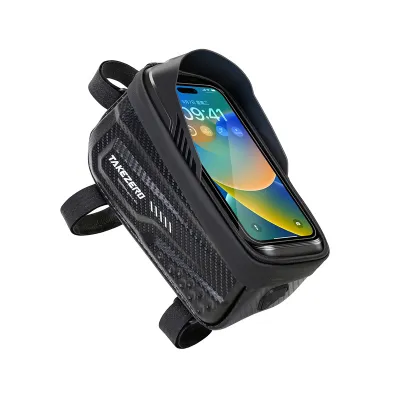
Bike frame bags fit directly inside the main triangle of your bicycle, utilizing space that is otherwise left empty or used solely for water bottles. By placing your heaviest gear—such as tools, spare tubes, camp stoves, or dense food items—directly between your knees, you keep the weight centered along the bike’s longitudinal axis. This centralized mass has a minimal impact on steering inertia, allowing the front wheel to turn freely without the heavy, sluggish feeling associated with handlebar rolls or front panniers. Furthermore, keeping the weight low and close to the bottom bracket enhances overall stability, making it much easier to balance on loose gravel, steep climbs, or technical rocky descents. From an aerodynamic perspective, a frame bag is highly efficient because it sits entirely within the slipstream of your front wheel and legs, reducing wind resistance compared to wide-profile panniers.
However, before purchasing a frame bag, you must perform several critical clearance and compatibility checks. Because bicycle frames vary wildly in size and geometry, a one-size-fits-all approach rarely works. You need to measure the internal dimensions of your front triangle carefully, taking into account the angles of the top tube, down tube, and seat tube. If you ride a full-suspension mountain bike, you must verify that the bag will not interfere with the rear shock linkage as it compresses through its travel. Cable routing along the frame is another crucial consideration; tightly strapped bags can pinch exposed shift or brake cables, leading to degraded shifting performance or rubbing against the frame’s paint. Additionally, step-through frames or small frame sizes may not have enough vertical space to accommodate a standard frame bag while still allowing room for water bottles. Many riders opt for half-frame bags to preserve access to seat tube and down tube bottle cages, though this reduces total carrying capacity.
Products mentioned in this guide
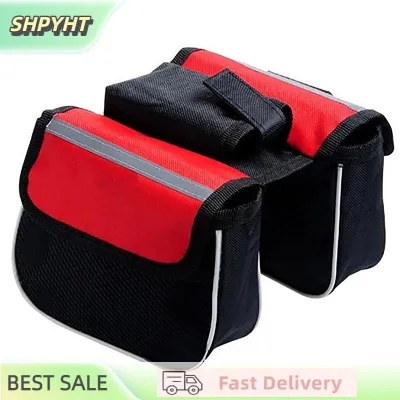
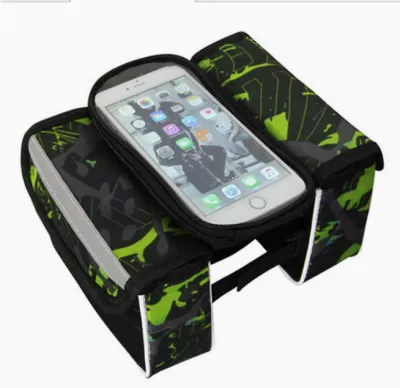
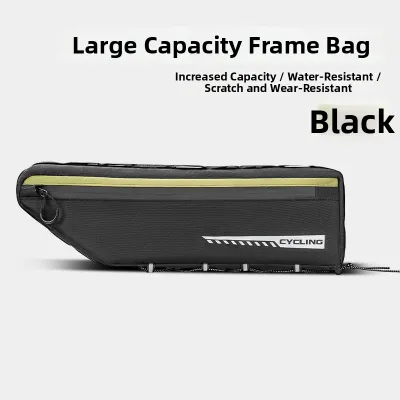
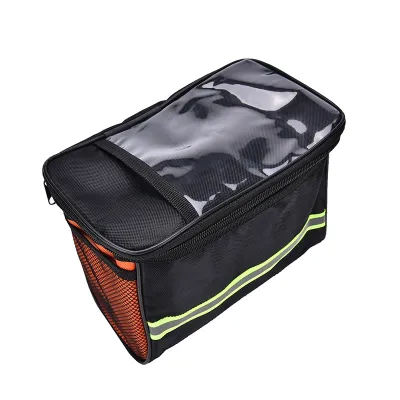
Prices are valid at publication and may change. Please refer to the product page for the latest price.
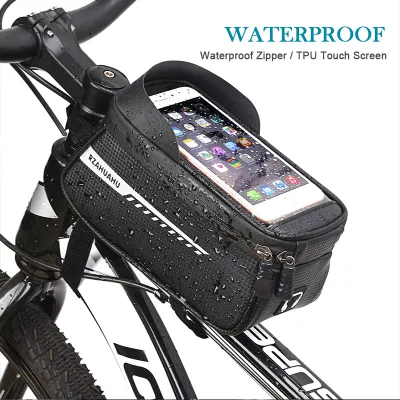
Accessibility is another key trade-off when using a frame bag. While most designs feature long, horizontal zippers that allow you to reach items like snacks, a phone, or a windbreaker while riding, accessing items stored deep inside the bag can be difficult on the move. The narrow profile means items must be packed flat and organized carefully to prevent the bag from bulging outward, which can cause your knees to rub against the fabric with every pedal stroke. If you pack the bag too tightly, operating the zippers with one hand while riding becomes nearly impossible, meaning you will still need to stop, dismount, and use both hands to retrieve your gear.
Panniers: Assessing Capacity Needs and Rack Compatibility
Panniers are the traditional workhorses of bicycle touring and utility cycling, designed to hang from the sides of a front or rear luggage rack. This configuration offers the highest cargo capacity of any bike bag system, making it the standard choice for multi-day expeditions or heavy grocery runs. By positioning the weight low down on either side of the wheel axles, panniers maintain a remarkably low center of gravity. This low-slung weight distribution stabilizes the bicycle when riding at steady speeds on paved roads or smooth gravel paths. When climbing steep hills, rear-mounted panniers provide excellent traction by keeping the rear wheel firmly planted on the ground. However, this lateral weight distribution does introduce unique handling characteristics; heavy rear panniers can cause the frame to flex under load, leading to a sensation of tail-wagging or low-speed instability if the rack is not sufficiently rigid. Additionally, the wide profile of panniers significantly increases crosswind resistance, which can make handling unpredictable during sudden gusts on open roads.

To run panniers successfully, your bicycle must meet specific hardware requirements. The most critical prerequisite is the presence of threaded eyelets on the frame’s seatstays and dropouts to securely bolt a cargo rack. While adapter kits exist for bikes without these eyelets, they are rarely as stable as dedicated frame mounts. If your bike uses modern thru-axles rather than traditional quick-release skewers, you will need to verify that your rack is compatible with your axle setup. Heel clearance is another vital factor that riders often overlook; if your bike has short chainstays—common on road and aggressive gravel bikes—your heels may strike the front of the panniers with every pedal stroke. To prevent this, you must choose a rack that allows the bags to be mounted further rearward, or select panniers with an angled front profile.
Despite the handling and hardware constraints, panniers excel when it comes to off-bike convenience and organization. Most modern panniers feature quick-release mounting systems that allow you to clip the bags onto the rack in seconds and remove them just as easily using a carrying handle. This modular design makes them incredibly practical for daily commuting, as you can quickly detach a single bag to carry into an office or grocery store. Inside, the wide, open compartments allow you to pack bulky items like laptops, changes of clothes, or sleeping bags without the meticulous Tetris-like planning required by narrow bikepacking bags.
Saddlebags: Balancing Rear Load and Suspension Clearance
Saddlebags, particularly the large, conical seat packs popular in modern bikepacking, mount directly to the saddle rails and seatpost, extending backward over the rear wheel. This design allows you to carry a significant volume of gear without the need for a heavy metal rack, making it a favorite for minimalist gravel riders and road endurance cyclists. However, placing several kilograms of gear high and far behind the saddle significantly alters the bike’s handling dynamics. This rearward and elevated weight distribution shifts your center of mass upward, which can make the bike feel top-heavy when standing up to pedal or cornering aggressively. On steep climbs, this rear bias can cause the front wheel to lift off the ground if you do not actively shift your body weight forward. Conversely, during high-speed descents, a heavy seat pack can amplify any rear-end instability, potentially leading to speed wobbles if the bag is not packed tightly and mounted securely.
Before committing to a large saddlebag, you must perform precise clearance checks to ensure mechanical safety. The most critical check is the distance between the bottom of the loaded bag and the top of the rear tire. If the bag sags under load or when hitting a bump, it can rub against the tire, quickly wearing through the fabric or, worse, locking up the rear wheel and causing a crash. This clearance is especially tight on smaller bike frames, full-suspension mountain bikes where the rear wheel moves upward during suspension compression, and bikes with low seatstay bridges. Furthermore, if your bike is equipped with a dropper seatpost, you must use a specialized adapter or a dropper-compatible saddlebag. Standard seatpost straps can scratch the precision-ground stanchion of a dropper post, damaging the seals and ruining the mechanism, or prevent the post from dropping fully when navigating steep terrain.
To mitigate these handling and safety risks, the stability of the bag’s mounting system is paramount. On rough gravel roads or singletrack trails, a poorly secured saddlebag will sway side-to-side with every pedal stroke—a phenomenon known as “tail wag.” This sway is not only distracting but can actively throw off your balance. High-quality saddlebags utilize multi-point strap systems that wrap tightly around both the seatpost and the saddle rails, often incorporating rigid internal plastic liners or external metal stabilization cradles to eliminate movement entirely. Packing the bag correctly is also essential: heavy items must be pushed as deep into the bag (closest to the seatpost) as possible, leaving lighter items like down jackets or sleeping bags at the far, tapered end.
Comparing Accessibility, Weather Protection, and Handling
When choosing between these three bag styles, you must weigh how they perform in real-world riding conditions, particularly regarding weather protection, gear accessibility, and overall handling. In tropical climates like the Philippines, where sudden, torrential downpours and high humidity are common, keeping your gear dry is a major priority. Panniers often lead in weather resistance, with many models constructed from heavy-duty, fully waterproof tarpaulin fabrics with welded seams and roll-top closures that can withstand prolonged monsoons. Frame bags and saddlebags, while frequently water-resistant, often rely on stitched seams and water-resistant zippers that can eventually leak during heavy rain. To protect sensitive electronics, spare clothing, or sleeping gear in these bags, it is highly recommended to verify their waterproof ratings or use lightweight internal dry bags to ensure absolute protection from moisture.
The ease of accessing your gear while on the road varies dramatically across the three styles. Frame bags offer the best on-the-go accessibility, allowing you to reach snacks, tools, or a phone without stopping. Panniers require you to stop and dismount to access your gear, but their wide openings and modular nature make it incredibly easy to find specific items quickly once you are off the bike. Saddlebags are the least accessible on the go; because they are rolled tight and strapped firmly under the saddle, retrieving an item from the bottom of a seat pack requires you to stop, unbuckle the compression straps, slide the gear out, and then re-pack and re-compress the entire bag to prevent it from sagging.
Handling characteristics also diverge sharply depending on whether your bike is loaded or unloaded. An unloaded bike feels nimble and responsive, but adding gear changes everything. A frame bag preserves the bike’s natural handling better than any other option because the weight is centered. You can still maneuver through tight, narrow singletrack trails with relative ease. Panniers, by contrast, make the bike feel wide and heavy, which is perfectly manageable on paved roads or wide gravel paths but highly impractical on narrow trails where the bags can snag on rocks, branches, or trailside debris. Saddlebags sit in the middle; they keep the bike’s profile narrow for singletrack, but the high center of gravity requires more deliberate steering input and body positioning when cornering or descending at speed.
Matching the Bag Type to Your Specific Cycling Goals
To finalize your setup, you should match your primary riding discipline and bike compatibility to the strengths of each bag type. If you ride a bike with aggressive geometry, enjoy exploring narrow singletrack, and want to keep your bike handling as natural as possible, prioritize a high-quality frame bag. If your goals involve long-distance paved touring, daily commuting, or carrying heavy, bulky utility loads, a robust rack and pannier system is the most practical choice. For lightweight gravel adventures, road endurance riding, or fast weekend trips where you want to keep your frame clear for water bottles, a stable saddlebag is the ideal fit.
Before making a purchase, use this quick “Verify first if…” checklist to ensure compatibility with your specific bicycle:
- For Frame Bags: Measure your frame's inner triangle dimensions and check for water bottle cage clearance, cable routing interference, or rear suspension linkage movement.
- For Panniers: Confirm your frame has threaded eyelets for racks, check thru-axle compatibility, and verify that your heels will not strike the bags while pedaling.
- For Saddlebags: Ensure you have at least 8 to 10 centimeters of exposed seatpost and sufficient clearance between the bag and the rear tire when the suspension is fully compressed. If using a dropper post, verify you have a compatible mounting adapter.
Because compatibility depends heavily on your bike’s exact make, model, and frame size, it is highly recommended to consult with local bike shops or reputable online retailers. They can help you verify mounting hardware availability, check current ₱ pricing, and explain warranty terms before you commit to a specific bag system.
Frequently Asked Questions (FAQ)
Can I use a frame bag and a saddlebag at the same time?
Yes, combining a frame bag and a saddlebag is a highly popular configuration for bikepacking, as it allows you to distribute your gear’s weight effectively across the bike. By placing heavy items like tools and dense food in the centered frame bag and lighter, bulkier items like sleeping gear in the rear saddlebag, you maintain a balanced ride quality without overloading the rear end. However, you must perform careful clearance checks before setting off. Ensure that the rear strap of your frame bag does not interfere with the front attachment points of your saddlebag, and verify that the loaded saddlebag does not sag into the rear tire or rub against your shorts while pedaling.
How do I clean and maintain my bike bags after riding in the rain?
Proper maintenance is essential to preserve the lifespan and weather resistance of your bike bags, especially after riding through mud, grit, or heavy tropical rain. Always begin by checking the manufacturer’s care label for specific instructions, as some materials or coatings require specialized care. To clean the bags, empty them completely, wipe away loose dirt and mud with a soft, damp cloth, and use a mild, non-detergent soap if necessary for stubborn grime. Avoid using harsh chemical cleaners or washing machines, which can strip away waterproof coatings and damage seam tape. Once clean, open all zippers and roll-tops, and allow the bags to air dry completely in a well-ventilated area away from direct sunlight or high-heat sources to prevent mold and material degradation.
Community discussion
Share your experience or ask a question. Comments are reviewed before publication.