
Setting up a smart trainer in a condominium unit requires careful spatial planning to balance athletic performance with the realities of compact urban living. While a ThinkRider smart trainer itself has a modest physical footprint, the entire system—incorporating your bicycle, your body’s dynamic movement, and essential accessories—demands a dedicated zone to operate safely. Understanding the precise spatial requirements prevents property damage, ensures rider safety, and maintains peace with your neighbors.
In a typical high-rise residence, floor space is at an absolute premium. Planning your indoor cycling zone with precision ensures you can train effectively without turning your living area into an unusable obstacle course. By measuring your equipment and calculating the necessary clearance zones, you can establish a highly functional home gym that integrates seamlessly into your daily life.
The True Footprint: Combining ThinkRider Smart Trainer and Bicycle Dimensions
A direct-drive ThinkRider smart trainer typically features a base footprint of approximately 50 to 60 centimeters in width and 50 to 70 centimeters in length when fully unfolded. However, this measurement only represents the bare foundation of the unit resting on your floor. Once you mount a standard adult bicycle, the operational footprint expands dramatically, requiring a much larger continuous area.
Products mentioned in this guide
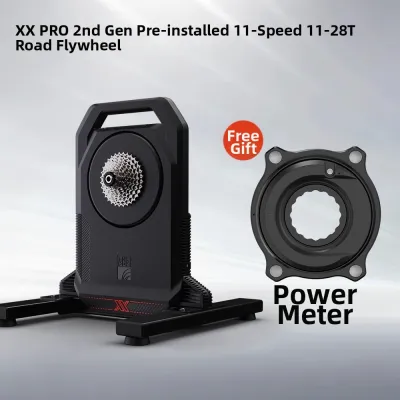
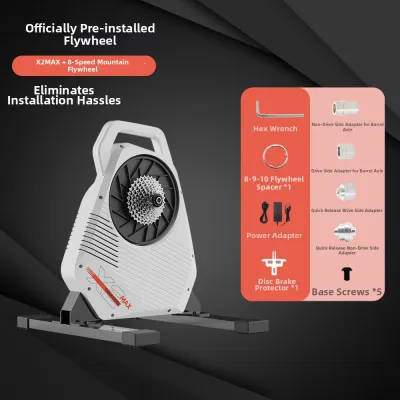
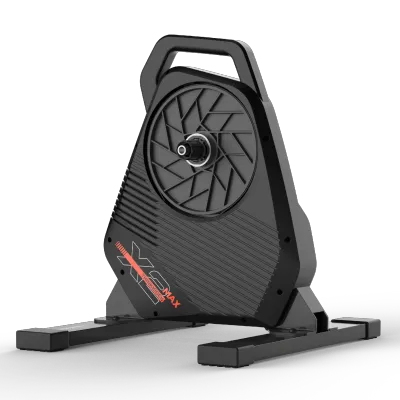

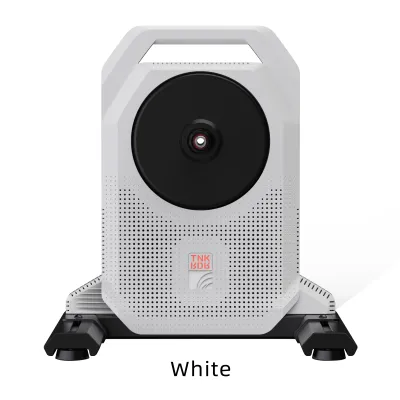
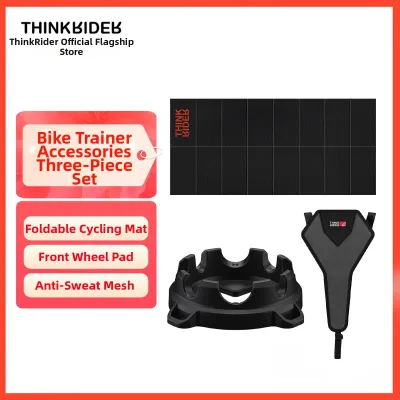
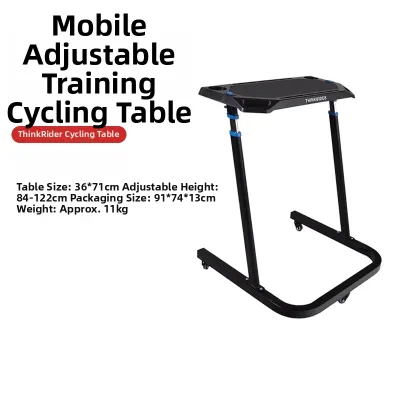
Prices are valid at publication and may change. Please refer to the product page for the latest price.
A typical road bike with 700c wheels has an overall length of roughly 165 to 175 centimeters, while a modern 29-inch mountain bike can easily measure 185 to 195 centimeters from tire to tire. The slacker geometry and wider handlebars of off-road bikes naturally demand more physical space. You must measure your bicycle’s exact wheelbase and overall length to understand the true baseline of your training setup.
The specific type of trainer you select also plays a critical role in your space calculations. Direct-drive units require you to remove the rear wheel, which aligns the rear dropout directly over the trainer’s axle, keeping the total length of the setup roughly equivalent to the bike’s wheelbase plus a few centimeters of rearward trainer overhang. In contrast, wheel-on trainers require the rear wheel to remain intact, extending the total length further back to accommodate the resistance roller.
To avoid costly spatial errors, always consult the official specification sheet or user manual for your exact ThinkRider model to confirm the base width and length. Never make assumptions based on generic trainer sizes, as stabilizer leg designs and flywheel positions vary significantly across different model lines.
Calculating Minimum Safe Clearances for Indoor Riding
Dynamic riding requires significantly more space than a static bicycle setup. When climbing out of the saddle or performing high-intensity interval training, your body naturally sways from side to side, transferring lateral forces to the equipment. Establishing clear safety boundaries around your setup is essential for comfortable and hazard-free training.

Lateral Clearance
- Sway Buffer: Maintain a minimum lateral clearance of 50 centimeters on both sides of your handlebars (creating a total width of 1.5 to 1.8 meters). This buffer zone prevents you from striking nearby furniture, walls, or glass sliding doors during intense efforts.
- Dismounting Space: Ensure there is enough open space on at least one side of the bicycle to safely step off the bike, especially when fatigue sets in at the end of a grueling training session.
Front and Rear Clearance
- Riser Block Alignment: The front of your setup requires careful positioning because most smart trainers elevate the rear axle, necessitating a front wheel riser block to level the bicycle frame. This block, along with the forward sweep of your handlebars, extends the front footprint.
- Thermal Dissipation: Behind the trainer, you must maintain a clear zone of at least 30 to 50 centimeters. The heavy flywheel and electromagnetic resistance unit of a smart trainer generate substantial heat during operation. Restricting the space behind the unit chokes airflow, which can lead to thermal throttling of the trainer's electronics or premature wear on the internal belt drive.
Vertical Clearance
- Total Height Calculation: To calculate your minimum vertical clearance, combine your physical height, the elevated bottom bracket height of the mounted bicycle (typically 30 to 35 centimeters off the floor), and an additional 15 to 20 centimeters to account for standing climbs.
- Low-Hanging Hazards: If you are 180 centimeters tall, your head will easily reach 220 centimeters or higher when standing on the pedals. In condos with dropped ceilings, prominent light fixtures, or active fire sprinkler heads, this vertical reach can pose a severe hazard. Ensure your training zone is situated away from low-hanging hazards to allow for unrestricted standing efforts.
Navigating Condo Constraints: Doors, Floors, and Ventilation
Living in a high-rise condominium introduces unique physical and environmental constraints that do not exist in detached suburban homes. Managing access, structural vibration, and tropical heat is critical to creating a sustainable indoor training routine.
Before your trainer ever spins, it must find its way into your home. High-performance direct-drive trainers are heavy, often weighing between 15 and 22 kilograms. You must verify that the boxed unit can transition smoothly through your condominium’s service elevators, narrow hallway corners, and entry door frames before assembly.
While modern concrete floor slabs easily support the static weight of a rider and equipment, they are highly efficient transmitters of structural vibration. The rapid rotation of a trainer’s internal flywheel produces low-frequency vibrations that can travel downward, creating a persistent, disruptive hum in the apartment below. To mitigate this and maintain positive neighbor relations, place a high-density, closed-cell PVC or rubber equipment mat under the entire setup to absorb these micro-vibrations.
Additionally, the mat serves as an impermeable barrier against highly corrosive sweat. Indoor cycling in a tropical climate introduces massive thermal challenges; without the natural evaporative cooling of outdoor wind, your core temperature will rise rapidly, leading to excessive sweating. A high-density mat protects wood laminate floors from warping and prevents sweat from dissolving the adhesive beneath vinyl tiles.
To manage this intense heat, your space plan must allocate dedicated floor space for at least one high-velocity floor fan or industrial pedestal fan. Position the fan to blow upward toward your chest and face from a 45-degree angle, ensuring its physical footprint and oscillation sweep do not interfere with your front wheel or pedal stroke.
Smart Storage Solutions for Small Apartments
If your condo lacks the square footage for a permanent training station, you must rely on smart storage strategies to reclaim your living space when the trainer is not in active use. Choosing highly portable equipment and organizing your accessories can make temporary setups highly efficient.
Many ThinkRider models feature folding support arms that lock securely into place during use. When these legs are folded inward, the trainer’s width is dramatically reduced, often to less than 30 centimeters. This compact state allows you to slide the unit under a bed frame or tuck it neatly into a utility closet when your workout is complete.
When storing a heavy smart trainer vertically, stability is paramount. Because the weight distribution of a trainer is highly concentrated in the flywheel, leaning it carelessly against a wall poses a significant tipping hazard. Secure the folded trainer in a dedicated corner or within a closet, ensuring it cannot be easily knocked over by pets, children, or accidental bumps.
Direct-drive setups require removing your bicycle’s rear wheel, leaving you with a loose wheel, a greasy cassette, and a dirty brake rotor. In a small apartment, leaving this wheel exposed risks transferring grease to walls, carpets, or furniture. Store the rear wheel in a padded wheel bag or hang it from a rubber-coated utility hook inside a closet to keep your living area pristine.
Finally, keep your quick-release skewer, thru-axle adapters, and cassette spacers in a designated storage container or a magnetic tray kept adjacent to your training mat. Losing a custom thru-axle spacer can render your high-end smart trainer completely unusable while you wait for replacement parts to ship.
Common Space Planning Mistakes to Avoid
- Ignoring Dynamic Volume: The most common mistake is measuring only the static metal base of the trainer. A trainer that fits perfectly in a small closet during storage cannot be ridden there; you must account for the full length of the bike and your body's physical volume during exertion.
- Placing Too Close to Walls: Positioning your handlebars or rear wheel directly against a wall restricts crucial airflow around the trainer's resistance unit and risks scuffing your condo's paint with sweat, grease, or handlebar tape.
- Omitting Accessory Space: A successful indoor training setup requires more than just a bike and trainer. Failing to allocate floor space for a side table, a laptop stand, or a tablet mount leads to a cluttered and unsafe riding zone where water bottles, phones, and towels are scattered across the floor, within reach of spinning spokes.
Frequently Asked Questions (FAQ)
Can I set up a smart trainer on a carpeted condo floor?
Yes, but thick or plush carpeting can introduce unstable lateral play. Under high torque or sprint efforts, the trainer’s feet can sink unevenly into the carpet pile, causing the entire setup to wobble and putting unnecessary stress on your bicycle frame. To resolve this, place a rigid, high-density equipment mat or a cut sheet of 18mm plywood directly over the carpet to create a firm, level foundation that protects the carpet fibers from sweat and chain lubricant.
Do I need to remove the bike from the trainer after every ride?
If your condominium has a dedicated, out-of-the-way space where the setup does not block foot traffic, emergency exits, or closet doors, leaving the bike mounted is perfectly safe and highly convenient. However, in shared or highly compact living spaces, a permanently mounted bicycle can quickly become a major tripping hazard. Always consult your trainer’s manual regarding long-term mounting stresses, and ensure the setup is positioned where it cannot be easily knocked over.
Community discussion
Share your experience or ask a question. Comments are reviewed before publication.