
Finding the perfect balance on a dive is the difference between effortlessly gliding over a vibrant coral reef and constantly fighting to stay down or avoid crashing into the seabed. To determine how much weight you need for your diving belt with weights, you must calculate a baseline based on your body weight, and then adjust that number for your exposure suit, the salinity of the water, and your equipment configuration. While a mathematical formula provides an excellent starting point, achieving perfect buoyancy is an ongoing process of physical adjustments and in-water verification.
Before attempting any buoyancy adjustments or heading into open water, recognize that scuba diving is an activity with inherent physiological risks. No calculation, guide, or piece of equipment can replace formal training, certified instruction, and sound personal judgment. If you struggle to maintain control of your buoyancy, or if your equipment does not function as expected, you must be prepared to abort the dive safely. Always consult your training agency’s guidelines and your equipment’s manufacturer instructions before making changes to your gear configuration.
The Baseline: Estimating Your Starting Weight for a Diving Belt with Weights
To begin your calculation, estimate your initial weight requirement as a percentage of your total body weight. For diving in tropical saltwater with minimal exposure protection, a common baseline is approximately 8% to 10% of your body weight. For example, if you weigh 70 kilograms, your initial estimate would range from 5.6 to 7 kilograms of lead weight. If you are diving in freshwater or wearing nothing but a thin rash guard, this baseline can often be adjusted downward to around 4% to 6% of your body weight.
Products mentioned in this guide
![[TOP SALES] Diving Weights and Diving Belt Black Diving Weight Belt with Quick Release Buckle](https://img.lazcdn.com/g/p/bd24efecde7a0cd4e1266b15243f7cf6.jpg_400x400q80.jpg_.webp)
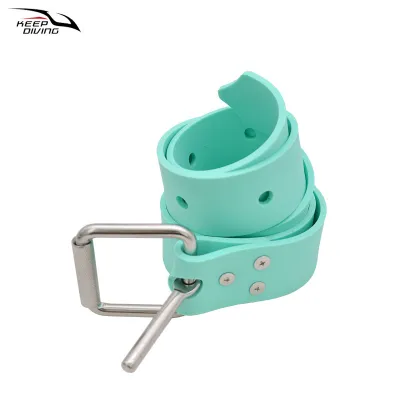
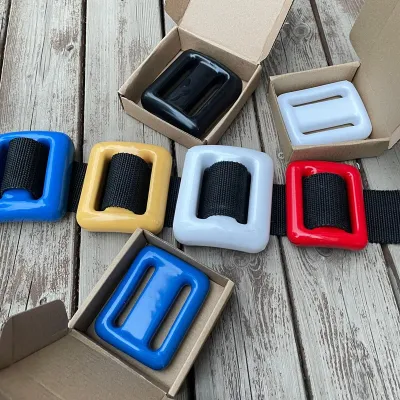
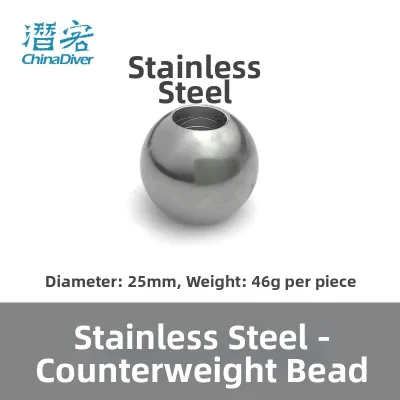
Prices are valid at publication and may change. Please refer to the product page for the latest price.
It is critical to understand that this calculation is merely a preliminary estimate to be refined through practical water testing before descending into deeper water. The ultimate goal of using a diving belt with weights is to achieve neutral buoyancy at the end of your dive, when the tank is nearly empty. As you breathe down your scuba cylinder, the air inside it is consumed, making the tank lighter and more buoyant. A properly weighted diver should be able to hover effortlessly at a safety stop of 5 meters with an almost empty tank (typically around 50 bar or 700 psi) and a completely deflated BCD. If you can maintain this position without sinking or floating up, your weight distribution is correct.
Adjusting for Body Composition and Exposure Suits
Body Composition and Natural Buoyancy
Every human body is composed of different ratios of muscle, bone, and fat, all of which possess distinct densities. Adipose tissue is less dense than water, meaning it acts as a natural float and increases your overall buoyancy. Conversely, muscle tissue and bone are denser than water, which means individuals with a higher muscle mass or higher bone density will naturally sink more easily.

When calculating your weight needs, you must honestly assess your body composition. If you have a higher percentage of body fat, adjust your baseline estimate upward by 1 to 2 kilograms to counteract this natural floating tendency. If you have a lean, athletic build, you can safely reduce your starting weight by a similar margin. Your breathing patterns also play a major role; divers with larger lung capacities who take deep, chest-expanding breaths will require slightly more weight to overcome the positive buoyancy of fully inflated lungs during descent.
Exposure Suit Thickness in Tropical Waters
The material of your wetsuit is another major factor. Most exposure suits are made of neoprene, a synthetic rubber filled with thousands of tiny nitrogen gas bubbles. These gas bubbles provide excellent thermal insulation, but they also act as a highly buoyant flotation jacket. The thicker your wetsuit, the more buoyant it will be, and the more lead you will need to add to your diving belt with weights to submerge.
In warm tropical environments, such as those found throughout the equatorial regions, divers typically wear lighter exposure suits. Common configurations include 1.5mm to 3mm shorties, thin full-body wetsuits, or simply a lycra rash guard paired with board shorts. A rash guard adds virtually zero buoyancy, meaning you will require significantly less weight than you would when diving in colder climates.
As a general rule of thumb, expect to add approximately 1 to 1.5 kilograms of weight for every 2 millimeters of neoprene thickness. However, because neoprene compresses under hydrostatic pressure as you descend, its volume decreases, causing it to lose buoyancy at depth. This means a thick wetsuit will make you very buoyant at the surface but significantly less buoyant at depth, requiring careful BCD management.
Adapting to Diving Conditions in the Philippines
The physical environment where you dive plays a massive role in how much weight you must carry. Saltwater contains dissolved minerals and salts, making it denser than freshwater. Because dense water exerts a greater upward buoyant force, you will always require more weight to submerge in the ocean than you would in a freshwater lake or quarry.
When diving in the tropical waters of the Philippines, you are dealing with high-salinity marine environments coupled with warm water temperatures. Popular destinations like Anilao, Balicasag Island, and the reefs of Moalboal feature classic tropical saltwater conditions. The high salinity of these coastal waters increases your natural buoyancy, requiring you to carry slightly more weight on your belt than you might in cooler, less saline seas.
Managing your buoyancy in these conditions requires an understanding of how your dive profile changes from start to finish. At the beginning of a dive, your scuba cylinder is filled to its maximum capacity, which adds physical weight to your gear setup. As you progress through the dive and consume your air, the tank becomes lighter, increasing your buoyancy. If you are also dealing with local tidal currents, being incorrectly weighted can quickly lead to fatigue or loss of depth control. Properly compensating for these environmental factors ensures you can safely navigate currents and execute stable safety stops.
The Surface Buoyancy Check: Verifying Your Setup
Before you descend into any dive site, you must perform a standard surface buoyancy check to verify that your calculations are accurate. This is a practical, in-water test that should be conducted at the start of every diving day, or whenever you change any piece of your equipment, such as switching to a different wetsuit or using a different style of diving belt with weights.
To perform a correct surface buoyancy check, follow these steps in calm, shallow water:
- Enter water that is too deep to stand in, but close enough to a secure exit point or boat.
- Keep your regulator in your mouth and ensure your dive buddy is close by, watching you attentively.
- Completely deflate your BCD using the inflator hose, holding it high to ensure all air escapes.
- Take a normal breath and hold it. Do not over-inhale or gasp.
- Observe where the water level rests on your face. If you are weighted correctly, you should float at eye level while holding a normal breath.
- Exhale completely. As you breathe out, you should begin to sink slowly and smoothly below the surface.
This test ensures that you have enough weight to initiate a descent without struggling, but not so much that you sink like a stone. If you float above eye level while holding your breath, you are underweighted and need to add weight. If you sink immediately even while holding a full breath of air, you are overweighted and must remove weight before proceeding.
Safety must remain your primary focus during this check. Always perform the test with your BCD inflator hose in hand, ready to add air instantly if you begin to sink too rapidly. Never conduct this check in rough seas, strong currents, or without a qualified dive buddy or instructor nearby to assist you. If you cannot achieve a stable eye-level float, do not attempt to dive; stop and adjust your weights at the surface first.
Diagnostic Signs: Are You Overweighted or Underweighted?
Even if your surface check seems successful, you may discover during the course of the dive that your weighting is slightly off. Learning to recognize the physical and operational warning signs of incorrect weighting will help you make the necessary adjustments for your next underwater adventure.
Being overweighted is a common issue, especially among newer divers who use extra lead to force their way down. The diagnostic signs of carrying too much weight include:
- A rapid, difficult-to-control descent immediately after deflating your BCD.
- The need to constantly inject large amounts of air into your BCD to maintain neutral buoyancy at depth.
- High air consumption, as your body works harder to push a heavy, unstreamlined profile through the water.
- A vertical or "feet-down" swimming trim, which causes excessive drag and can lead to lower back pain.
- A feeling of being unstable or constantly sinking whenever you stop kicking.
Conversely, being underweighted presents its own set of distinct challenges and safety hazards. The diagnostic signs of carrying too little weight include:
- Extreme difficulty or an inability to descend from the surface, even with a completely empty BCD and empty lungs.
- A persistent tendency for your legs or upper body to float upward when you try to hover horizontally.
- Having to constantly kick downward to maintain your depth, particularly during the second half of the dive.
- Struggling to stay at the mandatory 5-meter safety stop at the end of the dive, feeling as though an invisible force is pulling you toward the surface as your tank pressure drops.
If you experience any of these symptoms, do not attempt to make drastic, sudden changes during the dive. Instead, note the issues, discuss them with your dive buddy or guide, and make incremental adjustments of 0.5 to 1 kilogram for your subsequent dives until you achieve a perfectly balanced, horizontal trim.
Safety Features for Your Diving Belt with Weights
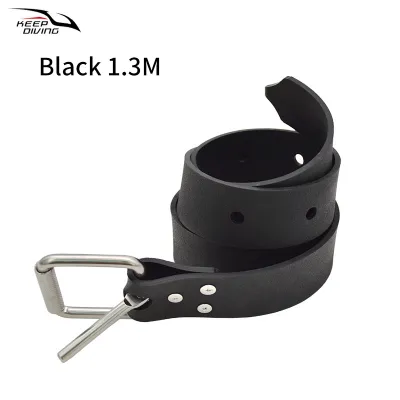
Your diving belt with weights is not just a tool for sinking; it is a critical safety system that must be managed with care. The most important safety feature of any weight belt is a reliable, easily accessible quick-release buckle. In an emergency situation where you or your buddy must establish immediate positive buoyancy at the surface or during an ascent, you must be able to ditch your weights instantly with a single motion.
Standard weight belts utilize a mechanical latch buckle that is designed for a “right-hand release.” This means the belt is threaded in such a way that pulling the buckle open with your right hand completely releases the belt from your waist. You must inspect this buckle before every dive to ensure it is free of sand, salt crystals, or debris that could cause it to jam.
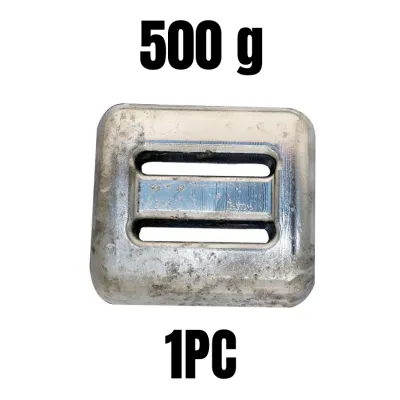
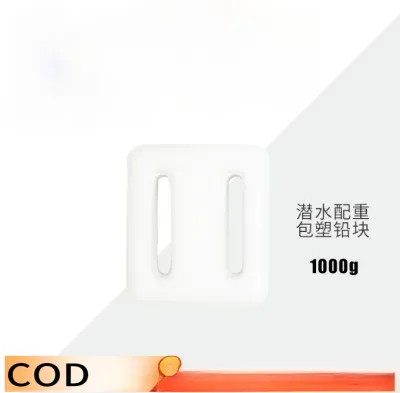
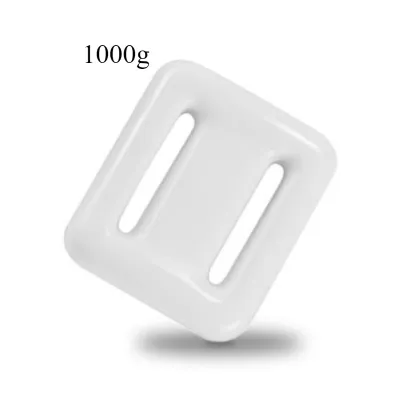
Proper weight distribution is also essential for maintaining a safe and comfortable trim. Distribute the weights evenly across your hips, and use plastic or metal weight keepers to lock the blocks in place. This prevents the weights from sliding around your waist when you tilt or turn underwater, which could otherwise cause a sudden, dangerous shift in your center of gravity.
Never enter the water with a weight belt that is twisted, frayed, or has a loose buckle. Always check your equipment manufacturer’s instructions for proper threading and care. Remember, a weight belt is a life-support tool; regular maintenance and pre-dive partner checks are non-negotiable steps for every safe dive.
Frequently Asked Questions (FAQ)
Can I use soft weights instead of solid lead blocks?
Yes, soft weights—which consist of small lead shot sealed inside durable mesh pouches—are an excellent alternative to traditional solid lead blocks. Soft weights conform comfortably to the contours of your hips and waist, significantly reducing the bruising and discomfort that solid blocks can cause during long dives. They are also less likely to damage boat decks or pool tiles if dropped. However, solid lead blocks are often more compact, less expensive, and easier to slide onto a standard webbing belt. If you travel frequently, solid blocks are also easier to find at local dive resorts, where renting a standard belt with weights usually costs a nominal fee of around ₱100 to ₱200 per day, whereas soft weights may require specialized zippered weight pockets on your BCD or weight belt.
How does my scuba tank material affect my weight needs?
The material of your scuba cylinder has a dramatic impact on your overall buoyancy profile. Aluminum tanks (such as the common Aluminum 80) are relatively light and become positively buoyant by about 1.5 to 2 kilograms as they empty during a dive. To compensate for this late-dive lift, you must carry extra weight on your belt from the very beginning. Steel tanks, on the other hand, are heavier and remain negatively buoyant even when completely empty. If you switch from an aluminum tank to a steel tank, you can typically reduce the weight on your diving belt by approximately 1.5 to 2 kilograms while still maintaining perfect control during your safety stop.
Community discussion
Share your experience or ask a question. Comments are reviewed before publication.