
A bouncing waist running belt bag is one of the most frustrating distractions a runner can face. It breaks your stride, causes painful chafing, and can even damage your phone or keys as they slam repeatedly against your body. To stop a running belt from bouncing, you must master three fundamentals: balance the weight inside the compartments, anchor the belt low across your hip bones, and cinch the strap tightly while leaving room to breathe.
Many runners purchase high-quality gear only to experience constant shifting because of incorrect positioning or packing. Adjusting your gear properly is not just about comfort; it also protects your skin from friction and ensures your focus remains entirely on your pacing and form. By following a systematic approach to packing, positioning, tightening, and testing, you can lock your belt in place for any distance.
Understanding Why Your Running Belt Bounces
When you run, your body moves through a complex, three-dimensional pattern. Your hips oscillate vertically, sway laterally, and rotate slightly with every stride. If your waist running belt bag is not properly secured, these kinetic forces transfer directly to the bag, causing it to bounce like a pendulum against your torso.
Products mentioned in this guide
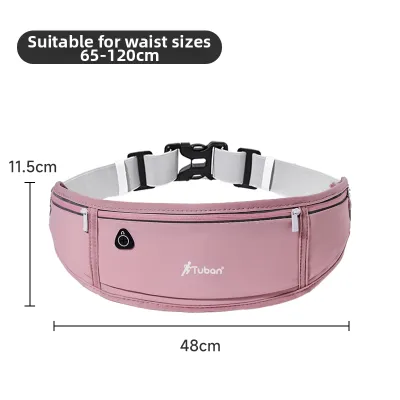
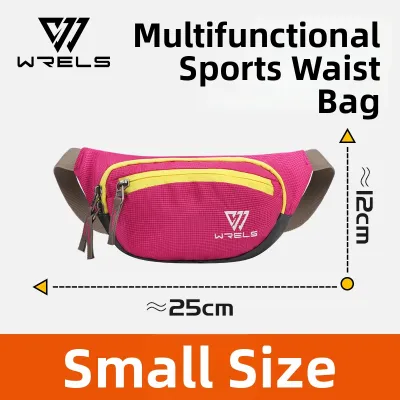
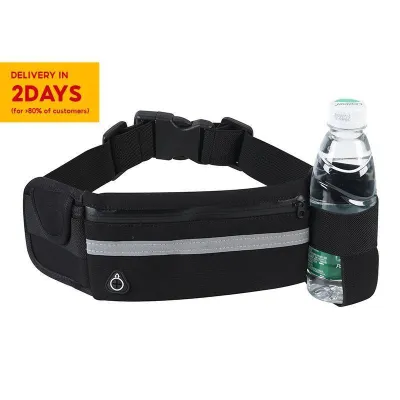
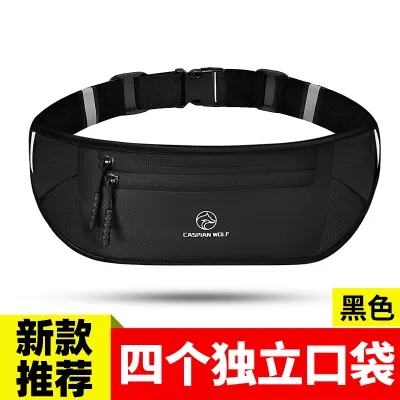
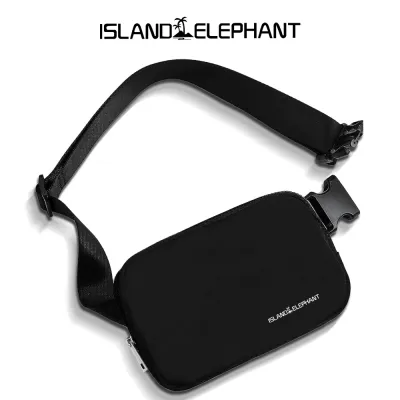
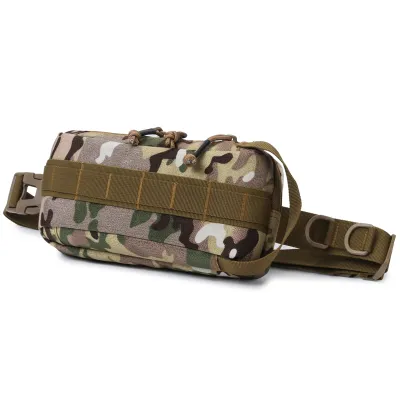
Prices are valid at publication and may change. Please refer to the product page for the latest price.
Three main culprits lie behind a bouncing running belt: poor weight distribution, incorrect body placement, and insufficient strap tension. When heavy items are concentrated on one side, the belt becomes unbalanced and sags. If the belt is placed on the soft, narrow part of your natural waist, it will naturally slide down toward your wider hips, creating slack. Finally, if the strap is too loose, it cannot counteract the vertical forces of your running stride.
Solving these issues requires a step-by-step approach. By addressing how you pack your gear, where you place the belt on your body, and how you adjust the tension, you can eliminate unwanted movement. This guide breaks down these steps to help you achieve a bounce-free, comfortable run.
Step 1: Pack and Balance Your Gear Before Wearing
Eliminating bounce begins before you even put the belt on your body. How you distribute the weight of your items determines how the belt behaves under the dynamic forces of running. An unbalanced pack will twist, slide, and bounce, no matter how tightly you pull the straps.

Distribute Weight Evenly
Smartphones are typically the heaviest items runners carry. Placing a heavy phone on the far left or right side of a belt creates asymmetrical torque, pulling the belt down on one side with every step. To prevent this, place your heaviest items in the center back pocket, directly over your sacrum, or in the center front pocket against your lower abdomen. If your belt has multiple pockets, distribute smaller items like energy gels, cards, and keys evenly between the left and right sides to keep the center of gravity stable.
Minimize Bulk and Hard Edges
Loose items inside a pocket can bounce independently of the belt, creating secondary vibrations. Group your keys together with a rubber band to keep them from jingling and shifting, or use the dedicated internal key clips found in many belts. If you carry a hydration flask, ensure it is designed specifically for running. Soft flasks are highly recommended because they compress as you drink, preventing liquid from sloshing and creating a heavy pendulum effect. Never overload your belt beyond its intended capacity; if you need to carry more than 500ml of fluids along with a phone and nutrition, consider upgrading to a dedicated running vest with front-loading pockets.
Step 2: Position the Belt Correctly on Your Hips
Where the belt sits on your torso is the most critical factor in preventing vertical movement. Many runners instinctively pull the belt up to their waist because it feels comfortable while standing still, but this is a primary cause of slippage during active movement.
The Hip Bone Anchor
Your pelvic structure is your best asset for load carriage. For maximum stability, position the waist running belt bag low on your hips, wrapping it directly over your iliac crest (the top edge of your hip bones). This rigid skeletal structure acts as a natural shelf. Because your hips are wider than your natural waist, a belt tightened around this area cannot slip downward. The lower placement also aligns the weight closer to your body’s center of gravity, which naturally minimizes vertical oscillation as you run.
Avoiding the Natural Waist
Wearing the belt high up around your natural waist, near or above the belly button, is a common mistake. Your abdominal wall expands and contracts significantly as you breathe deeply during a run. A belt placed here will either constrict your diaphragm—leading to shallow breathing and side stitches—or it will ride down to your hips as soon as your stomach muscles contract, leaving the strap loose and prone to severe bouncing.
Step 3: Tighten the Strap for a Secure Fit
Once the belt is positioned over your hip bones, you must adjust the tension to lock it in place. The goal is to achieve a snug fit that prevents movement without restricting your circulation or breathing.
The Deep Breath Test
To find the perfect balance between security and comfort, stand up straight and take a deep, full breath to expand your lungs and abdomen. While holding your breath, pull the adjustment straps until the belt is snug against your hips, then secure the buckle. When you exhale, the belt will feel secure, but it will still have enough give to allow your body to expand comfortably when you are breathing heavily on steep uphills or during speed intervals.
Managing Excess Strap
Loose, dangling adjustment straps are more than just an aesthetic annoyance; they can flap against your legs or hips, creating secondary vibrations and irritating your skin. Most high-quality running belts include elastic loop keepers to hold loose ends. If yours does not, roll up the excess webbing and tuck it securely under the main band, or use a small hair tie or rubber band to pin the loose strap against the belt.
Buckle Placement
If your belt features a plastic buckle, avoid positioning it directly over your spine or the bony front points of your hip bones. The constant impact of running can press the hard plastic into your skin, causing bruising or raw spots. Shift the belt slightly to the left or right so the buckle rests against the softer, muscular tissue of your flank or abdomen.
Step 4: Test the Fit and Micro-Adjust on the Go
Do not wait until you are midway through a long run to discover that your belt is slipping. A quick pre-run check and a mindful approach to mid-run adjustments will save you from unnecessary discomfort.
The Pre-Run Bounce Test
Before leaving your house, conduct a quick diagnostic test. Stand in place and perform five to ten jumping jacks, or run in place with high knees for ten seconds. Pay close attention to how the belt behaves. If you feel the phone shifting, the keys rattling, or the belt sliding upward toward your waist, stop and adjust the tension or redistribute the weight immediately. It is far easier to correct these issues in your living room than on the road.
Safe Mid-Run Adjustments
Your body shape changes slightly during a run. As you sweat, you lose water weight, and the fabric of your running shorts or tights can compress under pressure, which may cause the belt to feel looser after a few kilometers. If you notice the belt starting to bounce mid-run, do not try to tighten the straps while maintaining your jogging pace. This can disrupt your footing and lead to trips or falls. Instead, slow down to a steady walk, adjust the straps symmetrically on both sides to keep the pocket centered, and then resume your run.
Prevent Chafing and Discomfort While Running
Even a perfectly adjusted waist running belt bag can cause discomfort if your skin and clothing are not prepared for the friction of distance running. This is especially true in hot, humid tropical climates like the Philippines, where heavy sweating softens the skin and amplifies friction.
Clothing Barriers
Avoid wearing loose cotton shirts under your running belt. Cotton absorbs sweat, stays heavy and wet, and bunches up under the belt, acting like sandpaper against your skin. Instead, wear smooth, moisture-wicking synthetic fabrics (such as polyester or nylon blends) or high-rise compression shorts. Compression gear acts as a protective second skin, allowing the running belt to grip the fabric securely without rubbing against your epidermis.
Anti-Chafe Lubricants
For long runs, apply a generous layer of an anti-chafe balm or petroleum jelly to high-friction areas before putting on your gear. Focus on the top of your hip bones, your lower back, and any spot where the belt’s seams or buckle make direct contact with your body. The lubricant reduces friction, allowing the belt to move slightly with your body’s natural stride without tearing the skin.
Belt Hygiene
Sweat contains salt, oils, and bacteria. When the moisture evaporates, it leaves behind sharp salt crystals embedded in the belt’s fabric. If you do not wash your belt regularly, these dried crystals will act as an abrasive on your next run. To maintain the elasticity of the fabric and keep the material soft, hand-wash your running belt in cool water with a mild detergent after every few runs, and hang it to dry in the shade.
Frequently Asked Questions (FAQ)
Should I wear my running belt over or under my shirt?
For most runners, wearing the belt over a tucked-in, moisture-wicking shirt is the best option. The fabric of the shirt provides a protective barrier that prevents the belt from chafing your skin, and the texture of synthetic athletic shirts often helps the belt grip better, reducing slippage. However, if you are wearing a very loose, lightweight singlet that bunches up easily, or if you want to keep your valuables hidden from view, you can wear a slim, low-profile belt directly under your shirt. If you choose to wear it under your shirt, ensure the belt is made of soft, seamless materials, and apply an anti-chafe balm to your skin beforehand.
Can a running belt stretch out over time and cause bouncing?
Yes. Running belts rely on elastic materials like elastane, spandex, or neoprene to provide a snug, flexible fit. Over time, exposure to body heat, UV rays, heavy sweat, and repeated washing will break down these elastic fibers. If you find that you have to tighten your belt to its absolute limit and it still sags or bounces, the material has likely lost its structural integrity. Budget-friendly belts (typically under ₱500) often use lower-grade elastics that degrade within a few months of heavy use, whereas premium belts (ranging from ₱1,200 to ₱2,500) utilize high-tension webbing or silicone-reinforced grippers that retain their elasticity for years. When the elastic no longer snaps back to its original shape, it is time to replace the belt to protect your back and hips from friction.
Community discussion
Share your experience or ask a question. Comments are reviewed before publication.