
Inflatable stand-up paddleboards (SUPs) and inflatable boats offer unparalleled portability and convenience for exploring coastal waters, lakes, and rivers. However, navigating rocky shorelines, shallow reefs, or sharp river debris can occasionally result in punctures or tears. When your watercraft springs a leak, executing a proper, durable repair is paramount to ensuring your safety on the water. A poorly executed patch can fail suddenly under pressure, leading to rapid deflation far from shore.
While you might be tempted to reach for a generic airbed repair patch from your household drawer, repairing high-pressure marine gear requires specialized materials and techniques. Achieving a watertight, permanent bond involves understanding your watercraft’s material, preparing the surface meticulously, and applying the correct marine adhesive under the right environmental conditions. DIY repairs have strict limits; before attempting a patch, check the extent of the damage. If the puncture is near a high-stress area, or if you lack experience with marine adhesives, stop and seek professional help. Equipment repairs cannot replace water safety training, personal flotation devices (PFDs), or sound judgment on open water.
Assess the Damage and Why a Standard Airbed Repair Patch Is Not Enough
Before initiating any repair, you must determine whether the damage is safe for a do-it-yourself (DIY) fix or if it requires professional intervention. Inflatable stand-up paddleboards and boats operate under significantly higher physical stress than household inflatables. For instance, a typical SUP requires inflation pressures between 12 and 15 pounds per square inch (PSI) to maintain its rigidity, utilizing complex internal drop-stitch technology. In contrast, a standard airbed operates at less than 1 PSI.
Products mentioned in this guide
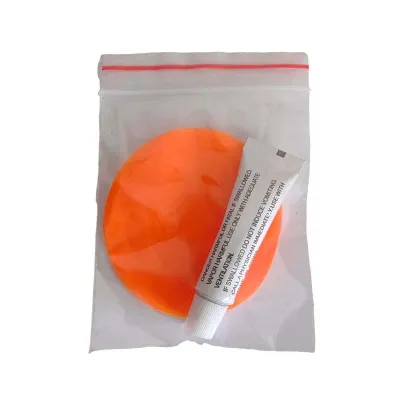
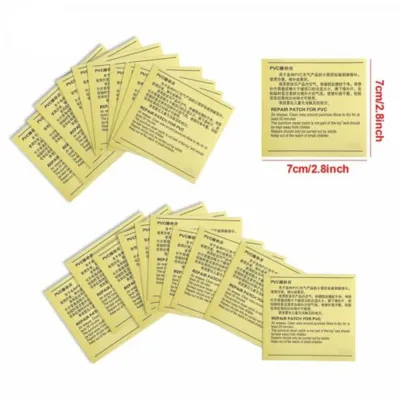
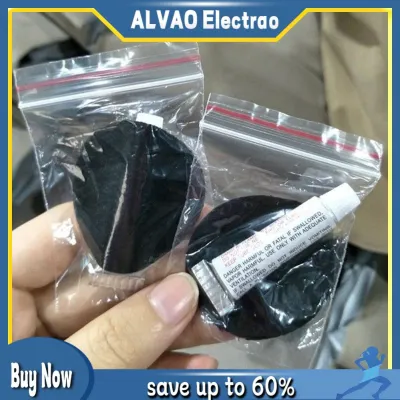
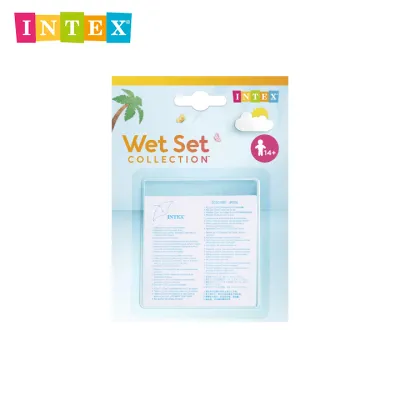
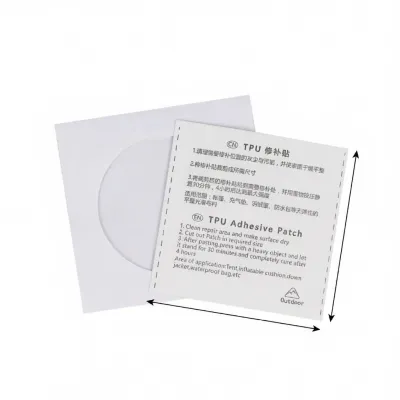
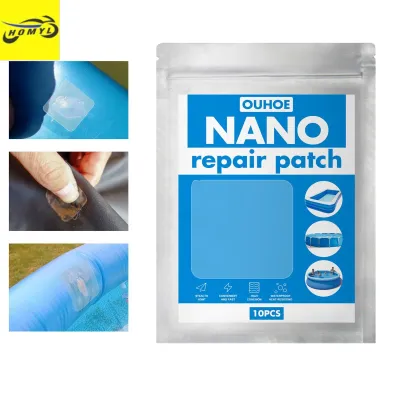
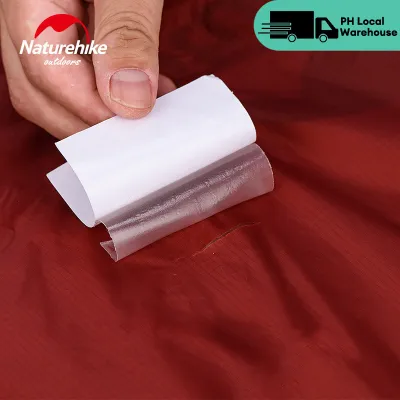
Prices are valid at publication and may change. Please refer to the product page for the latest price.
Consequently, a basic airbed repair patch—which usually relies on thin vinyl and a simple pressure-sensitive adhesive—cannot withstand the immense shear forces, UV exposure, and water pressure experienced by marine watercraft. Using an inadequate patch on a marine vessel poses a serious safety risk, as the patch can easily rupture or peel away while you are far from the shoreline. While a professional repair in the Philippines might cost upwards of ₱1,500 to ₱3,000 depending on the damage, a DIY kit using marine-grade materials is a highly cost-effective and reliable alternative if executed correctly.
To decide if a DIY patch is appropriate, inspect the size and location of the damage. Small punctures from fishhooks, thorns, or sharp rocks, as well as clean tears under 50 millimeters (about 2 inches) on flat surfaces, are excellent candidates for a home repair. However, certain types of damage compromise the structural integrity of the vessel and must not be repaired at home. These include large blowouts, tears exceeding 50 millimeters, damage to the high-pressure drop-stitch chambers, leaks originating at the valve base, or separations along structural seams. If you encounter these issues, stop immediately and consult the manufacturer or a certified marine repair professional, as improper handling can lead to catastrophic failure during use.
If the damage is suitable for a DIY repair, you must gather the correct, material-matched tools. Inflatable watercraft are generally constructed from one of three materials: Polyvinyl Chloride (PVC), Hypalon (a synthetic rubber), or Thermoplastic Polyurethane (TPU). You must verify your watercraft’s material by consulting the owner’s manual before purchasing repair supplies, as adhesives designed for PVC will not bond to Hypalon, and vice versa. Once you have identified the material, gather the following essential tools:
- Material-matched patch fabric: Ensure it matches your watercraft's composition (PVC, Hypalon, or TPU).
- Compatible marine-grade adhesive: Typically a two-part polyurethane adhesive for PVC/TPU, or a two-part contact adhesive for Hypalon.
- Specialized surface cleaner or solvent: Isopropyl alcohol (99%), methyl ethyl ketone (MEK), or acetone.
- Fine-grit sandpaper: 180-grit to 240-grit for mechanical abrasion (mandatory for Hypalon).
- Marking tool: A non-permanent marker or pencil for outlining.
- Pressure application tool: A hard roller or squeegee to compress the bond and eliminate air.
- Cleaning cloths: Clean, lint-free microfiber cloths.
Prepare the Surface for a Permanent, Watertight Bond
The longevity and strength of your repair depend almost entirely on how thoroughly you prepare the surface. Even the strongest marine adhesive will fail if it is applied over invisible layers of salt crust, dirt, body oils, or sunscreen residue. Sunscreen, in particular, contains oils and chemical UV filters that act as releasing agents, preventing adhesives from cross-linking with the fabric. Begin by deflating your watercraft completely. Lay the damaged area on a flat, hard, stable work surface. Clean the area thoroughly with fresh water and mild soap to remove any loose debris, then dry it completely with a clean cloth.

Once the initial cleaning is complete, you must degrease the surface chemically. For PVC and TPU vessels, wipe the area around the leak with a lint-free cloth dampened with isopropyl alcohol or methyl ethyl ketone (MEK). MEK acts as a mild solvent that temporarily softens the PVC surface, preparing it for a chemical weld. For Hypalon vessels, use toluene or acetone to clean the surface. Always work in a well-ventilated area, wear chemical-resistant gloves, and keep these highly flammable solvents away from open flames or sparks.
Next, prepare the patch itself. Cut a piece of your material-matched patch fabric so that it is circular or oval. If you must cut a rectangular patch, ensure you round the corners carefully using sharp scissors. Sharp, 90-degree corners create stress concentration points and are highly susceptible to catching on sand, rocks, or car racks, which leads to premature peeling. The patch must be large enough to extend at least 50 millimeters beyond the edge of the tear or puncture in all directions. Place the cut patch over the damage and use a non-permanent marker to trace its outline onto the hull of the watercraft. This boundary ensures you apply adhesive only where needed.
The final step in surface preparation is creating a mechanical key for the adhesive, which differs significantly based on the material of your watercraft:
- For Hypalon: You must sand both the back of the patch and the marked area on the boat hull using 180-grit to 240-grit sandpaper. Sand gently until the shiny top layer is completely gone, leaving a dull, slightly buffed, suede-like texture. This physical abrasion is critical because Hypalon does not melt or chemical-weld; it relies entirely on mechanical adhesion.
- For PVC and TPU: Do not sand the material heavily, as this can damage the thin plastic coating and expose the inner polyester scrim. Instead, rely on the chemical preparation using MEK or acetone, which slightly tackifies the surface. If you choose to sand PVC, use an ultra-fine 400-grit sandpaper very lightly to avoid structural damage.
After sanding or chemical prep, perform a final wipe with your solvent to remove all dust and residue, and allow the surfaces to dry completely.
Apply the Adhesive and Patch Step-by-Step
Applying the adhesive correctly requires patience and precision. A common mistake is joining the patch to the watercraft while the glue is still wet, which traps solvents inside, prevents proper curing, and results in a weak, bubbly bond. For marine environments, two-part adhesives (which require mixing a hardener or catalyst with the base glue) are highly recommended over one-part glues. The chemical catalyst significantly increases the adhesive’s resistance to heat, UV rays, and constant water exposure—factors that are particularly intense in tropical climates.
Begin by mixing your two-part adhesive according to the manufacturer’s exact ratios. Using a short, stiff-bristled brush or a plastic spreader, apply a very thin, even layer of the adhesive to both the back of the patch and the marked area on the watercraft. Ensure the adhesive covers the entire marked area right up to the traced border. A thick layer of glue is counterproductive, as it traps air and takes too long to dry; thin, consistent coats are the key to a professional-grade bond.
Allow this first layer of adhesive to dry completely. This is known as the “tack time” or “open time.” Depending on the ambient temperature and humidity, this initial layer will take approximately 10 to 15 minutes to dry until it is no longer sticky to the touch. Once dry, apply a second thin, even layer of adhesive to both surfaces. Allow this second coat to dry until it is tacky but does not transfer to your gloved finger when touched lightly. This typically takes between 5 and 10 minutes. Always refer to the adhesive manufacturer’s product label for exact timing guidelines, as environmental conditions can accelerate or delay this process.
When the second layer of adhesive has reached the correct tacky state, carefully align the patch over the marked area. Keep in mind that contact adhesives bond instantly upon contact, leaving no room for repositioning. Place one edge of the patch down precisely along your marked outline, then slowly roll the rest of the patch down across the damaged area. This progressive application prevents air from becoming trapped underneath.
Once the patch is in place, use a hard pressure roller or a squeegee to compress the bond. Start at the center of the patch and roll outward toward the edges using firm, heavy pressure. Repeat this rolling motion in a star pattern to push out any microscopic air bubbles and ensure 100% surface contact. Pay extra attention to the outer edges of the patch, rolling them repeatedly to guarantee they are completely flush with the hull. For high-stress areas or larger repairs, you can apply a very thin, neat bead of flexible marine sealant around the perimeter of the patch to protect the edge from water intrusion and mechanical peeling.
Cure the Patch and Verify the Seal
Once the patch is applied, the chemical curing process begins. Curing is not merely drying; it is a chemical reaction where the polymer chains in the adhesive cross-link to form an unbreakable, watertight bond. The speed and success of this reaction are heavily influenced by environmental factors, particularly temperature and relative humidity.
In the tropical climate of the Philippines, high humidity is a constant challenge. When relative humidity exceeds 70%, moisture from the air can condense onto the evaporating solvents of the adhesive, a phenomenon known as “blushing.” This trapped moisture disrupts the chemical cross-linking, resulting in a cloudy, weak bond that will fail under pressure. If possible, perform your repairs in a dry, indoor, climate-controlled room. If you must work outdoors, avoid repairing your watercraft during early mornings, late evenings, or rainy days when humidity levels peak. Using a clean hair dryer on a very low, warm setting can help gently disperse ambient moisture from the surface before application, but exercise extreme caution not to overheat the material, which can damage the fabric or warp the hull.
After rolling the patch, keep the repaired area completely flat. To maximize contact during the initial cure, place a smooth, flat board over the patch and weigh it down with a heavy, flat object, such as a dive weight, a smooth paving stone, or a stack of heavy books. Leave the repair to cure undisturbed. While some adhesives dry quickly, you must allow a minimum of 24 to 48 hours for a full, structural cure. Do not inflate the watercraft, fold it for storage, or expose it to water during this critical curing window, as any stress can permanently weaken the bond.
After the full curing period has elapsed, you must verify that the seal is completely airtight before taking your watercraft back onto the water. Inflate the vessel to its recommended operating pressure using a manual pump equipped with a pressure gauge. Do not over-inflate, but ensure it is firm enough to simulate real-world conditions. Mix a solution of liquid dishwashing soap and warm water in a spray bottle or a small bucket. Generously spray or brush the soapy water over the entire patch and around its edges. Watch the area closely for three to five minutes. If there is even a microscopic leak, the escaping air will create a continuous stream of growing, white bubbles. If you observe bubbles, the repair has failed and must be addressed. If no bubbles appear, rinse the soap residue off thoroughly with fresh water, let the surface dry, and verify that the boat’s load capacity and buoyancy are fully restored by conducting a shallow-water test near the shore before returning to deep water.
Troubleshoot Common Patching Mistakes
Even with careful attention to detail, patching errors can occur. Understanding what causes these failures allows you to correct them before they lead to a dangerous situation on the water.
Peeling Edges If the edges of your patch begin to lift or peel back shortly after application, the most common culprit is inadequate surface preparation. Failing to completely remove sunscreen, body oils, or saltwater residue prevents the glue from bonding to the fabric. Another frequent cause is cutting square corners instead of rounded ones, or failing to roll the edges down with sufficient pressure. If only a small section of the edge is lifting, you can often save the repair. Carefully clean under the lifted edge with a cotton swab dipped in solvent, apply a tiny amount of adhesive, wait for it to become tacky, and roll it down firmly. However, if peeling is widespread, the patch must be removed entirely and replaced.
Poor Adhesion If the entire patch peels off easily with minimal resistance, you are likely facing a material mismatch or a failure in the gluing process. Using PVC glue on Hypalon, or vice versa, results in zero chemical bonding. Similarly, joining the patch while the adhesive is still wet traps solvent, preventing the glue from hardening. To fix this, you must completely remove the failed patch. Clean off all old adhesive residue from the boat hull using a solvent and a plastic scraper, taking care not to gouge the material. Once the surface is clean and bare, repeat the entire process using the correct, material-matched patch and adhesive.
Trapped Air Bubbles Trapped air bubbles create weak points where high-pressure air can eventually force its way out, causing the patch to fail. If you notice a bubble immediately after applying the patch, you can often push it to the outer edge using your roller. If the adhesive has already begun to set but is not fully cured, you can carefully prick the center of the bubble with a very fine sewing needle. Gently press the air out through the tiny hole, inject a microscopic drop of adhesive using a syringe if possible, and roll the area flat. If the patch has fully cured and contains large or multiple bubbles, it is structurally compromised. You must remove the patch, clean the surface, and apply a new one to guarantee safety.
Frequently Asked Questions (FAQ)
Can I use a standard airbed repair patch on my inflatable SUP?
No. Inflatable stand-up paddleboards (SUPs) operate at extremely high pressures (typically 12 to 15 PSI or higher) and are subjected to intense physical stress, UV exposure, and water shear. A standard airbed repair patch is designed for low-pressure (under 1 PSI), indoor environments and uses pressure-sensitive adhesive that will quickly fail under water pressure and heat. Always use a dedicated marine-grade repair kit with material-matched fabric and a robust two-part adhesive.
How long should I wait before taking my patched boat back on the water?
You should wait at least 24 to 48 hours for the adhesive to fully cure. In highly humid tropical environments, like the Philippines, curing can take longer because moisture in the air affects the chemical cross-linking of the adhesive. Rushing your boat or SUP back onto the water before a complete cure can cause the patch to slide or peel under pressure, ruining the repair.
What should I do if the leak is on a seam or near the valve?
Leaks on seams or around the valve collar are highly complex because of the uneven surfaces, constant flexing, and extreme structural tension in these areas. While minor flat-surface punctures are easy DIY projects, seam and valve repairs often require professional intervention. Attempting a DIY patch on a seam without professional tools and heat-welding equipment frequently fails and can void your manufacturer’s warranty. If you must attempt it, use a highly flexible, slow-curing marine adhesive and ensure the area is clamped tightly during the entire curing process.
Community discussion
Share your experience or ask a question. Comments are reviewed before publication.