
Applying custom decals to your bicycle is an excellent way to personalize your ride, protect your frame, or restore a classic look. However, the tropical climate presents unique challenges for adhesive vinyl. High humidity, intense solar heat, and sudden downpours can easily cause poorly applied decals to bubble, lift, or peel at the edges. Achieving a clean, factory-like finish requires more than just peeling and sticking. It demands a systematic approach to surface preparation, the correct application technique, and a bit of patience. By understanding how adhesive vinyl interacts with your bike’s frame, you can ensure your custom designs remain secure through muddy trail rides and high-pressure washes.
Preparing the Bike Frame Surface
Before you even touch your new decals, the frame must undergo a rigorous cleaning process. Any microscopic layer of road grime, chain lubricant, sweat, or wax will compromise the adhesive bond, leading to premature failure. Start by washing the entire bicycle with a dedicated bike wash or a wax-free dish soap to strip away loose dirt and mud. Pay close attention to the areas near the bottom bracket and chainstays, where grease tends to accumulate.
Once the frame is clean, inspect the clear coat under good lighting. Look for deep scratches, paint chips, or rough textures. Vinyl is incredibly thin and flexible; it will conform to any surface imperfection, making scratches or chips even more noticeable once covered. If the surface is rough, you may need to lightly smooth the area or accept that the imperfection will be visible.
Products mentioned in this guide

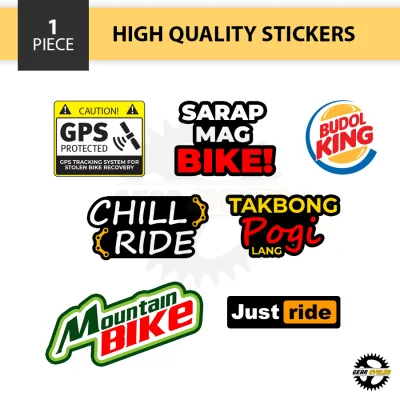
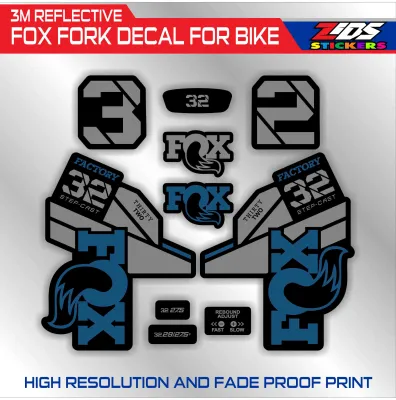
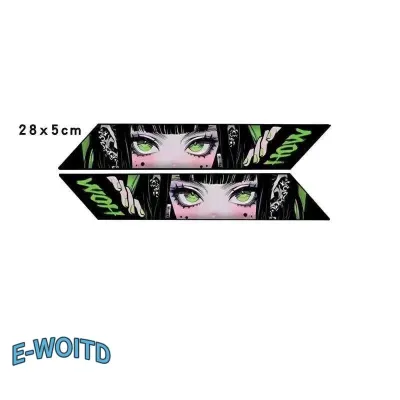


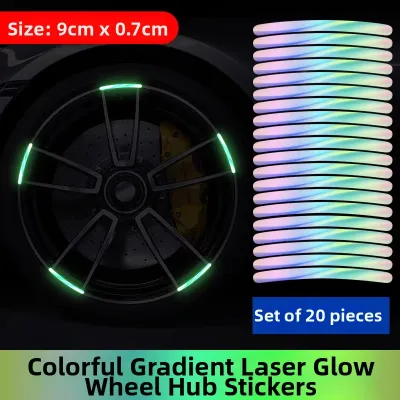
Prices are valid at publication and may change. Please refer to the product page for the latest price.
After inspecting, dry the frame completely with a clean microfiber towel. In highly humid environments, moisture can easily linger in tight corners or cable guides. Trapped moisture under a decal will eventually turn into water vapor when exposed to the hot sun, creating unsightly bubbles and weakening the adhesive.
To finalize the preparation, wipe down the exact application area with a lint-free cloth soaked in isopropyl alcohol. This step removes any remaining chemical residues or skin oils from your hands, leaving a perfectly bare surface ready for adhesion.
Essential Tools and Materials
Having the correct tools on hand prevents accidental damage to both your new decals and your bike’s paint job. A soft squeegee is the most critical tool for this job. Ideally, use a squeegee with a felt-covered edge, which allows you to apply firm pressure to push out air without scratching the delicate vinyl surface. If you do not have a professional squeegee, a standard plastic card wrapped in a soft microfiber cloth can serve as a reliable alternative.

For cleaning and preparation, keep a bottle of isopropyl alcohol and a few clean microfiber cloths nearby. If you plan to use the wet application method, you will also need a clean spray bottle filled with water and a few drops of mild, additive-free dish soap.
Masking tape is essential for planning your layout and creating alignment hinges without leaving sticky residue behind. A standard household hair dryer is another invaluable tool; it provides the gentle heat needed to make the vinyl pliable, allowing it to conform smoothly to the complex curves of bicycle tubing. Finally, keep a fine sewing needle handy to address any stubborn air bubbles that remain after the application process.
Step-by-Step Decal Application Techniques
Successful decal application relies heavily on planning and alignment before the adhesive ever touches the frame. Start by positioning the decal—with its backing paper still fully attached—against the frame tube to determine the exact placement. Use pieces of masking tape to mark the boundaries or to hold the decal temporarily in place. This visual check ensures the graphic is straight, centered, and aligned with the frame’s natural lines.
Once you are satisfied with the positioning, use the “hinge” method to secure the decal. Apply a long strip of masking tape vertically or horizontally across the center of the decal, securing it firmly to the frame on both sides. This tape acts as a hinge, allowing you to lift one half of the decal, peel away the backing paper up to the hinge line, and cut the backing paper off. By keeping the other half anchored, you guarantee that the decal cannot shift out of alignment during the actual sticking phase.
When applying the vinyl, the angle and direction of your squeegee strokes are critical. Always work from the center hinge outward toward the edges, holding the squeegee at a 45-degree angle. This technique pushes air smoothly ahead of the tool, preventing it from becoming trapped underneath the vinyl.
The Dry Method for Small or Simple Decals
The dry method is best suited for small graphics, simple lettering, or decals applied to flat or gently curved sections of the frame. Because the adhesive bonds instantly upon contact, this method requires a steady hand and precise execution.
Begin by peeling the backing paper away from one half of your hinged decal, keeping the vinyl taut and suspended slightly above the frame surface to prevent premature sticking. Using your squeegee, apply firm, overlapping strokes starting from the center hinge and moving outward to the edge. The overlapping motion ensures that no pockets of air are bypassed.
Once the first half is secure, remove the masking tape hinge, peel the remaining backing paper, and repeat the squeegee process for the second half. Inspect the decal immediately for any micro-bubbles; if you spot any near the edges, use the squeegee to gently push them outward.
Finally, remove the top transfer tape. To do this safely, peel it back slowly at a sharp, 180-degree angle, keeping it flat against the frame. This minimizes the upward pull on the newly applied vinyl, ensuring the edges remain firmly bonded to the paint.
The Wet Method for Large or Complex Decals
For large graphics, long tube wraps, or decals that must conform to complex, multi-curved frame areas, the wet method is highly recommended. This technique uses a mild soapy water solution to temporarily neutralize the adhesive, allowing you to slide and reposition the decal until it is perfectly aligned.
To begin, mix a solution of clean water and a few drops of mild dish soap in a spray bottle. Lightly mist the prepared frame surface and the adhesive side of the decal after peeling off the backing paper. Place the wet decal onto the frame; you will find that it slides easily, allowing you to adjust its position without the vinyl stretching or tearing.
Once the decal is perfectly positioned, hold it gently in place with one hand and begin squeegeeing from the center outward. Use light pressure initially to avoid shifting the decal, gradually increasing pressure to force all the soapy water and trapped air out from underneath the vinyl.
Because the water must evaporate completely for the adhesive to bond, you must exercise patience. In humid tropical climates, this drying process can take several hours. Do not attempt to peel off the transfer tape until the decal is completely dry and anchored to the frame. If the transfer tape begins to lift the vinyl, stop immediately, squeegee the edge down again, and allow more drying time.
Post-Application Sealing and Edge Protection
Once your decals are applied and the transfer tape is removed, taking a few extra steps will ensure they remain durable over the long term. Applying gentle, moving heat with a hair dryer is highly effective for activating the pressure-sensitive adhesive and helping the vinyl conform to the tight curves of the frame tubes. Keep the heat source moving constantly to avoid overheating the vinyl or damaging the frame’s clear coat.
As you apply heat, use a clean microfiber cloth to press down firmly along all the edges and corners of the decal. This physical pressure ensures a complete seal, preventing dirt and moisture from creeping under the edges during future rides.
While some riders consider applying a clear coat over decals for permanent protection, you must proceed with caution. Always check your frame manufacturer’s guidelines, especially for carbon fiber or matte-finished frames, as certain clear coats contain solvents that can degrade the vinyl or damage the underlying paint.
Finally, allow the adhesive to cure completely. Keep the bike in a dry, dust-free environment for at least 24 to 48 hours before exposing it to wet weather, muddy trails, or washing.
Troubleshooting Bubbles, Wrinkles, and Peeling
Even with careful preparation, application errors can occasionally occur. If you discover a stubborn air bubble that cannot be pushed to the edge with a squeegee, do not try to force it, as this can stretch and ruin the vinyl. Instead, take a fine sewing needle and gently puncture the very edge of the bubble. Use your thumb or a microfiber cloth to press the air out through the tiny hole, working from the opposite side of the bubble toward the puncture.
For minor wrinkles or lifting edges, apply a small amount of gentle heat with a hair dryer to soften the vinyl, then press it down firmly. However, if dirt or grease has already contaminated the adhesive under a lifted edge, it will not stick permanently.
In such cases, or if a decal has stretched severely out of shape during a dry application, it is best to recognize the stop condition. Attempting to salvage a heavily distorted or contaminated decal usually results in an unsightly finish that will peel off quickly. Removing the damaged decal and starting fresh with a new one is often the most practical solution to ensure long-term durability.
Frequently Asked Questions (FAQ)
Will removing bike decals damage the frame's paint?
Removing vinyl decals is generally safe and will not damage a healthy factory paint job if done correctly. The key is to use gentle heat from a hair dryer to soften the adhesive before attempting to peel the vinyl. Once warmed, slowly peel the decal back at a sharp angle. If any sticky residue remains on the frame, avoid using harsh solvents like acetone or paint thinner, which can strip the clear coat—especially on carbon fiber or matte finishes. Instead, use a mild adhesive remover or isopropyl alcohol on a soft microfiber cloth. Always test any cleaning agent on an inconspicuous area of the frame first, and consult your frame manufacturer’s guidelines if you are dealing with a delicate custom paint job.
Can I apply decals over existing scratches or chipped paint?
While it may be tempting to use a decal to cover up unsightly frame damage, doing so rarely produces a clean result. Vinyl is highly conformable and will sink into the recesses of scratches and paint chips, making the outline of the damage visible under the decal. In some lighting conditions, the vinyl may actually highlight the imperfection rather than hide it. For a professional finish, you should sand down any rough edges, fill deep chips, or apply touch-up paint to level the surface before applying the decal. Most importantly, never use decals to cover up deep cracks or structural damage on your frame, as this can mask serious safety hazards that require professional inspection or repair.
Community discussion
Share your experience or ask a question. Comments are reviewed before publication.