
Why Protect Your Racket Frame with Edge Tape?
Investing in a high-quality racket is a significant commitment for any athlete, whether you are diving into table tennis or mastering your groundstrokes on the tennis court. Over time, intense rallies inevitably lead to accidental floor impacts, wall scrapes, and structural wear. For table tennis players, a single low scrape against the table can splinter the delicate wooden plies of your blade or cause the edges of your rubber to peel away. For tennis players, scraping the racket head along a hard concrete or clay court during low volleys can wear down the protective bumper guard and damage the underlying carbon fiber frame. Applying a dedicated protective barrier, such as boomstick edge tape, acts as a crucial shield against these daily hazards.
While both sports utilize protective tape, the terminology and specific functions differ slightly. In table tennis, “edge tape” is a lightweight, adhesive strip made of fabric, foam, or plastic designed to wrap around the thin perimeter of the wooden blade and the sponge layers of the rubber. In tennis, this protective layer is typically referred to as “head tape” or “guard tape,” which is applied over the racket’s plastic bumper guard at the top of the frame. Both variations serve the primary purpose of absorbing impact energy and preventing costly structural damage.
Beyond immediate physical protection, using edge tape offers notable secondary benefits. It helps preserve the aesthetic appeal and structural integrity of your gear, which directly maintains its resale value if you decide to upgrade in the future. Additionally, some players use thicker foam tapes to make minor adjustments to their racket’s overall weight and balance. For a modest investment of around ₱150 to ₱450 per roll on local online marketplaces, this simple maintenance task can extend the lifespan of equipment worth thousands of pesos.
Products mentioned in this guide
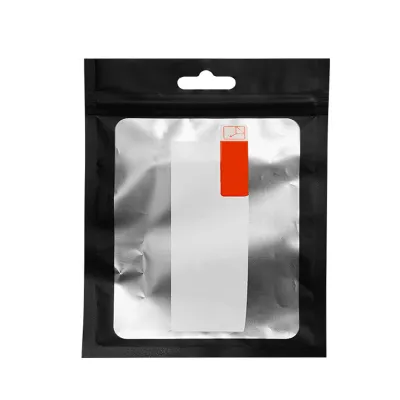
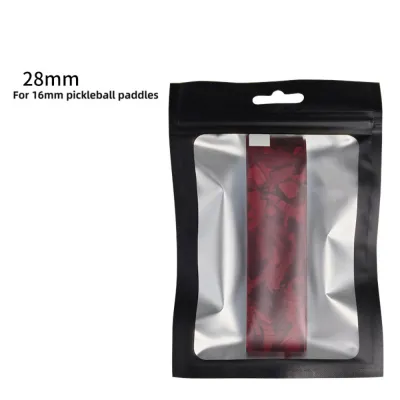
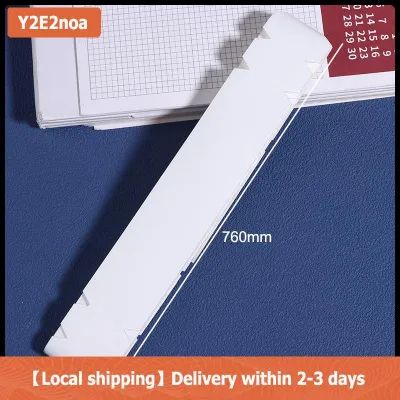
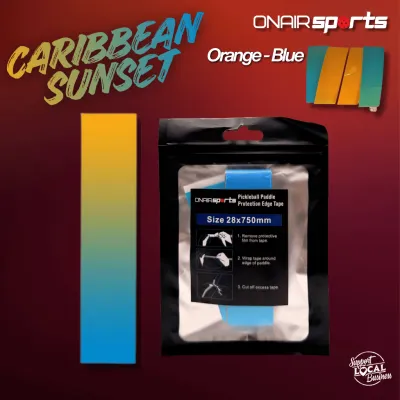
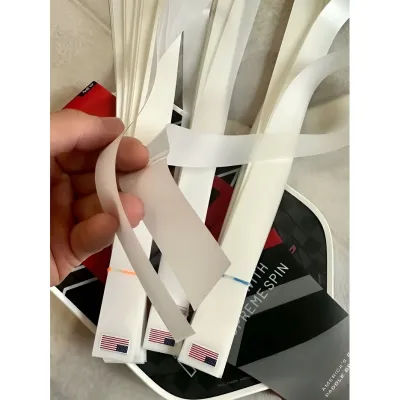
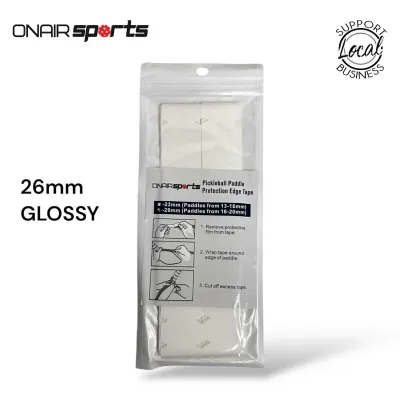
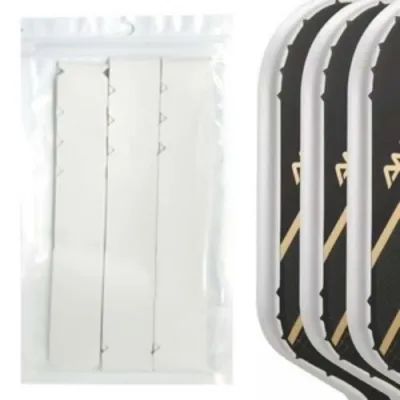
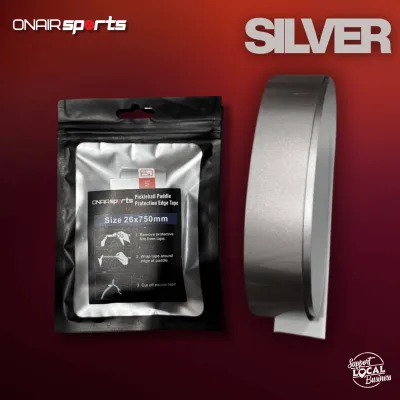
Prices are valid at publication and may change. Please refer to the product page for the latest price.
Tools and Materials Needed for the Job
Before starting the application process, gathering the correct tools ensures a clean, bubble-free finish that will not peel off mid-match. Having everything prepared beforehand prevents the adhesive from collecting dust or losing its tackiness while you search for supplies.

- Protective Tape: Select a tape specifically designed for your sport. For table tennis, choosing a reliable option like boomstick edge tape provides excellent shock absorption without adding excessive weight. For tennis, look for heavy-duty, abrasion-resistant head tape.
- Cleaning Agent: Rubbing alcohol (70% isopropyl alcohol) is ideal for removing sweat, dirt, and old adhesive residue without damaging the wood or paint.
- Microfiber Cloth: A clean, lint-free cloth is essential for wiping down the frame and ensuring no fibers are trapped under the tape.
- Precision Scissors or a Utility Knife: Sharp blades are required to make clean, flush cuts at the ends of the tape.
- Smoothing Tool: A small plastic squeegee, a plastic card, or even your thumb will help apply even pressure and push out trapped air.
Before purchasing your tape, always measure or check the width of your racket’s edge. Table tennis blades vary in thickness depending on the number of wood plies and the thickness of the rubbers (typically ranging from 9mm to 12mm). Using a tape that is too wide will overhang and collect dirt, while tape that is too narrow will leave the fragile wood or rubber edges exposed to damage. For tennis rackets, ensure the head tape is wide enough to cover the entire bumper guard and wrap slightly over the sides of the frame.
Step-by-Step: Applying Edge Tape to a Table Tennis Paddle
Applying edge tape to a table tennis paddle requires precision to ensure the tape adheres securely to both the wooden blade and the porous sponge layers of the rubber. Follow these steps to achieve a professional, durable finish.
Preparing the Surface
Begin by carefully peeling away any old, worn-out tape from the perimeter of your paddle. Once the old tape is removed, dampen a microfiber cloth with a small amount of rubbing alcohol and gently wipe down the entire outer edge of the wooden blade and the sides of the rubber. This step is critical for removing accumulated hand oils, dust, and old adhesive residue. In the humid, tropical climate of the Philippines, moisture can easily become trapped between the wood and the tape, leading to wood rot or premature adhesive failure. Allow the paddle to air-dry completely in a cool, dry room for at least ten to fifteen minutes before proceeding.
Aligning the Tape
Unroll a section of your tape but do not peel off the entire backing at once. Identify your starting point, which is typically at the base of the blade right next to the handle on one side. Peel back about two to three centimeters of the protective backing to expose the adhesive. Carefully align the center of the tape with the center of the wooden blade’s edge. Press the exposed adhesive firmly onto the starting point, ensuring that the tape does not tilt toward the front or back face of the paddle.
Applying Without Stretching
Slowly work your way around the curved perimeter of the paddle, peeling the backing off in small increments of three to five centimeters at a time. As you guide the tape along the curve, press it down firmly from the center outward using your thumb or a plastic smoothing tool. It is absolutely vital that you do not pull or stretch the tape as you apply it. While stretching fabric or foam tape might make it feel easier to navigate the curves, the material will naturally attempt to shrink back to its original length over time. This tension is the leading cause of tape peeling off at the corners and edges after just a few games.
Trimming and Finishing
Once you have wrapped the tape all the way around to the opposite side of the handle, use sharp scissors to cut the tape. You can either cut it flush with the handle base or leave a small five-millimeter overlap over the starting point for extra security. Press down firmly along the entire length of the tape one final time, paying close attention to the seams where the wood meets the rubber. For the best results, let the adhesive cure in a dry environment for at least two to three hours before putting the paddle in your bag or heading to the court.
Step-by-Step: Applying Head Tape to a Tennis Racket
Tennis rackets require a slightly different approach due to the curved, aerodynamic shape of the frame and the presence of string grommets along the outer edge. Properly applied head tape should sit flush to prevent it from peeling when scraping against the court.
Removing Old Guards and Cleaning
Start by peeling off any old, frayed head tape. If the tape has been on the racket for a long time, it may leave behind a sticky, stubborn residue. Apply a small amount of rubbing alcohol or a mild adhesive remover to a microfiber cloth and rub the frame until the surface is completely smooth. Be careful not to use harsh industrial solvents like acetone, as these can strip the racket’s paint, damage the carbon fiber composite, or degrade the plastic grommets. Ensure the frame is fully dry before moving to the next step.
Positioning the Tape
Cut a length of tennis head tape that is long enough to cover the top arc of your racket frame—usually about 30 to 45 centimeters, depending on how much of the frame you want to protect. Find the exact top center of your racket frame and mark the midpoint of your cut tape. Peel away the backing from the center of the tape and align it with the top center of the racket. Press the center of the tape firmly onto the bumper guard, working your way outward toward the sides of the frame.
Navigating the Grommets
As you smooth the tape down the sides of the frame, you will encounter the string grommets. If your head tape is wide enough to cover the grommets entirely, you must ensure that it does not block the string holes, which would make restringing difficult. Use a sharp utility knife or a pin to carefully puncture the tape over each grommet hole, or make small, neat slits along the edges of the tape so it wraps smoothly around the plastic grommet strips without bunching up or tearing.
Securing the Edges
Once the tape is aligned and the grommets are accommodated, use your thumb or a plastic card to press the tape firmly onto the frame. Start from the center ridge of the frame and swipe outward toward the edges to push out any trapped air. Ensure the outer edges of the tape are completely flat against the carbon fiber paint. If any edges are lifting, they will easily catch on the court surface during low volleys, causing the entire strip to peel off prematurely.
Common Mistakes and How to Avoid Them
Even with high-quality materials, a few common application errors can ruin your efforts and shorten the lifespan of the protective layer. Understanding these pitfalls will help you get a perfect finish every time.
- Trapped Air Bubbles: If you notice small air bubbles forming under the tape during application, do not peel the entire strip back, as this weakens the adhesive. Instead, take a fine sewing pin and gently prick the center of the bubble. Use your thumb to press the air out through the tiny hole, smoothing the tape flat against the surface.
- Overstretching the Material: Stretching foam or fabric tape during application creates internal tension. When the racket is exposed to warm temperatures—such as inside a hot car or during an outdoor match in the afternoon sun—the adhesive softens, and the stretched tape will pull back, leaving sticky residue and exposed edges. Always apply the tape with a relaxed, neutral tension.
- Ignoring Humidity and Dirt: Applying tape in a dusty garage or immediately after a sweaty practice session guarantees that the tape will fall off within days. Dust and moisture act as barriers between the adhesive and the frame. Always clean the surface thoroughly and ensure the racket is completely dry.
- Rushing the Cure Time: Adhesive bonds take time to reach their maximum strength. Avoid the temptation to apply new tape on the sidelines of the court right before a match. Applying the tape the night before allows the adhesive to cure fully, ensuring it can withstand high-velocity impacts.
Frequently Asked Questions (FAQ)
How often should I replace my racket's edge tape?
For table tennis, you should replace your edge tape when it becomes visibly frayed, loses its cushioning, or begins to peel at the handle. Frequent players who practice multiple times a week may need to change their tape every two to three months. For tennis rackets, the head tape should be replaced as soon as it shows deep scrapes, cracks, or wear that exposes the underlying plastic bumper guard or carbon fiber frame. If you play on rough outdoor hard courts, you may need to replace the tape every few weeks to maintain optimal protection.
Does adding edge tape change the racket's balance?
Yes, but the impact depends heavily on the tape’s material and thickness. Standard table tennis edge tape adds a negligible amount of weight (usually less than one gram), which will not be noticeable to most players. However, thicker foam tapes can add slightly more weight, marginally shifting the balance toward the head of the paddle. For tennis rackets, heavy-duty head tape can add three to five grams to the very top of the frame. This shift increases the racket’s swing weight, which can provide slightly more power on your shots but may marginally reduce maneuverability. Advanced players should experiment with different tape lengths and thicknesses to find a balance that suits their playing style.
Community discussion
Share your experience or ask a question. Comments are reviewed before publication.