
Applying kinesiology tape to your knee requires a systematic approach of skin preparation, precise measuring, and controlled tension to provide flexible support without restricting your natural range of motion. To achieve the best results, you must clean the skin thoroughly, cut the tape with rounded corners to prevent peeling, and apply the ends of each strip with absolutely zero stretch. This technique helps stabilize the joint during physical activity, but it is essential to remember that tape is a supportive tool rather than a cure for underlying structural issues.
Understanding Knee Taping Basics and Safety Boundaries
Kinesiology tape is designed to provide lightweight, flexible support to the muscles and ligaments surrounding the knee joint. Unlike rigid athletic tape, which immobilizes the joint to prevent movement, kinesiology tape stretches and moves with your body. This flexibility allows you to maintain your active lifestyle, whether you are running, hiking, or playing sports. However, this tape is intended solely for mild discomfort, muscle fatigue, or general stability support during movement.
It is critical to distinguish between minor knee soreness and severe joint injuries that require immediate medical attention. If you experience sudden, sharp pain, a popping sound at the time of injury, or the sensation that your knee is giving out, you should not attempt to self-tape. These symptoms often point to structural damage, such as ligament tears or meniscus injuries, which require a comprehensive medical evaluation.
Products mentioned in this guide
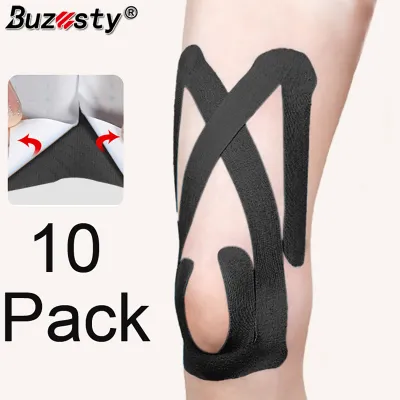

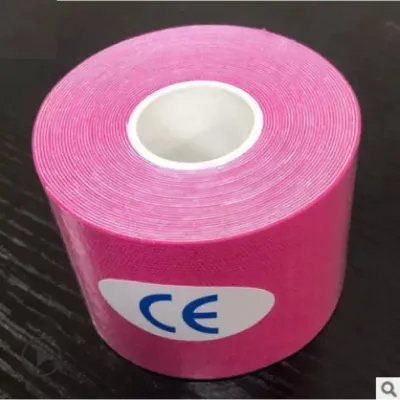
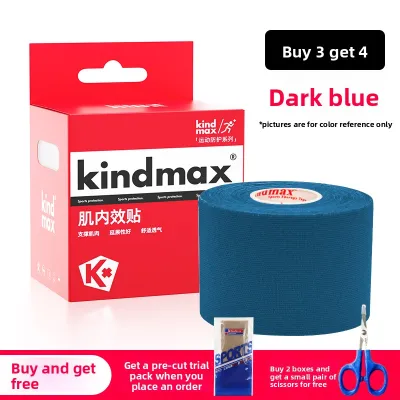
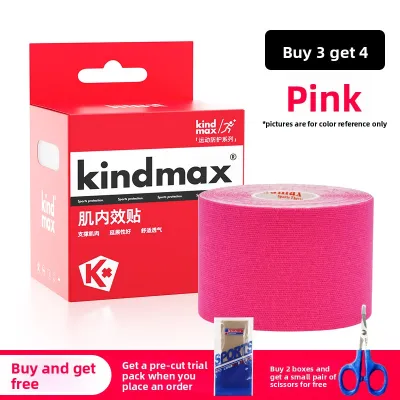
Prices are valid at publication and may change. Please refer to the product page for the latest price.
Before applying any tape, you must assess your skin and joint condition for specific stop signs. Do not apply kinesiology tape if you notice severe swelling, localized heat, redness, numbness, tingling, or skin discoloration around the knee. Applying adhesive tape over compromised skin or an actively inflamed joint can worsen irritation, restrict circulation, or mask serious underlying conditions.
Because every individual’s anatomy and movement patterns are unique, consulting a physical therapist or sports physician is highly recommended. A professional can diagnose your specific knee issue, recommend personalized taping patterns, and demonstrate the exact tension levels required for your body. Using their guidance ensures that your taping technique aligns with your recovery goals and physical limits.
Preparing Your Skin and Materials
Proper preparation is the foundation of a successful taping application, especially in warm and humid tropical climates where sweat and moisture can quickly compromise adhesive strength. To begin, gather all necessary materials in a clean, well-lit space. You will need a roll of high-quality kinesiology tape, specialized medical scissors designed to cut through tough adhesive fabric, and skin prep wipes or a mild soap and water solution.

Your skin must be completely clean, dry, and free of any barriers before the tape touches your leg. Wash the entire knee area thoroughly to remove natural body oils, sweat, dirt, and any previously applied lotions, sunscreens, or moisturizing creams. If you have thick hair around the knee joint, trimming or shaving the area is highly recommended, as hair prevents the adhesive from making direct contact with the skin and makes tape removal significantly more painful.
Once the skin is clean and dry, measure and cut your tape strips to the appropriate length. Always use sharp medical scissors to round the corners of every strip you cut. Rounding the sharp edges into smooth curves prevents the corners from catching on your clothing, athletic gear, or bedsheets, which is the primary cause of premature peeling and lifting.
Step-by-Step Application Process
The general framework for applying kinesiology tape follows a structured sequence designed to maximize adhesion and support. This sequence consists of establishing a base anchor, applying the active support strips with controlled tension, and securing the application with end anchors. While this guide outlines the standard method, you should always defer to the specific application diagrams and instructions provided by your tape manufacturer or healthcare professional.
Before peeling the backing paper, you must position your knee joint correctly. The exact angle of your knee during application depends on the specific muscle or ligament you want to support. For general patellar or joint support, the knee is typically placed in a slightly bent position, around ninety degrees of flexion, to ensure the skin and muscles are pre-stretched before the tape is applied.
Creating the Base Anchor
To establish a secure foundation, you must apply the first few inches of the tape strip as a base anchor. Position your knee at the angle specified by your product instructions or physical therapist. Tear the backing paper about two inches from the end of the strip, taking care not to touch the exposed adhesive with your fingers, as skin oils can reduce its stickiness.
Apply this first section of tape to the designated starting point on your leg with absolutely zero tension. Press the anchor firmly onto the skin and smooth it down from the center outward. This anchor serves as the secure point from which the rest of the strip will stretch, and applying it without tension prevents the tape from pulling uncomfortably on your skin during movement.
Before moving on to the next step, inspect the base anchor carefully. Ensure there are no skin folds trapped beneath the adhesive, and verify that the placement aligns correctly with the path the rest of the strip must follow. If the anchor is misaligned or wrinkled, it is best to remove it and start with a fresh strip, as a compromised base will cause the entire application to fail prematurely.
Applying the Support Strips
Once your base anchor is secure, you can apply the active portion of the tape, known as the support strip. Gently peel back the remaining backing paper, leaving a small section at the opposite end to hold onto. Apply the exact level of tension specified on your product label or prescribed by your physical therapist, which typically ranges from light to moderate stretch.
Carefully lay the stretched tape over the target muscle or joint area along the side of the knee or around the kneecap. It is vital to avoid wrapping the tape completely around your leg like a tight bandage or tourniquet. Wrapping tape in a full circle can restrict blood flow, compress nerves, and cause swelling in your lower leg or foot.
Additionally, avoid applying highly stretched tape directly over the sensitive skin of the kneecap itself unless specifically instructed by a healthcare professional. The skin over the patella is highly mobile and sensitive to friction, and applying high tension directly to this area can lead to painful skin irritation, blisters, or abrasions during joint movement.
Securing and Activating the Adhesive
The final step in the application process is securing the end of the strip to lock the entire structure in place. The last two inches of the tape strip must be applied with absolutely zero stretch, just like the initial base anchor. Press this final anchor firmly onto clean skin, ensuring it does not overlap with other pieces of tape if possible, as the adhesive bonds best directly to the skin.
Kinesiology tape uses a heat-sensitive acrylic adhesive that requires friction to bond fully with your skin. Gently but briskly rub your hand over the entire surface of the applied tape for several seconds. The warmth generated by this rubbing action activates the adhesive, ensuring a strong, long-lasting bond that can withstand movement and moisture.
After activating the adhesive, observe the recommended waiting period before engaging in physical activity, sweating, or showering. Most manufacturers recommend waiting at least one hour after application to allow the adhesive bond to cure completely. Exercising or exposing the tape to water too soon will cause the edges to lift and significantly reduce the lifespan of your support.
Verifying the Fit and Knowing When to Remove
Once the application is complete, you must verify that the tape fits correctly and does not pose any health risks. Stand up and move your knee slowly through its normal range of motion. The tape should feel supportive and snug, but it should never pinch your skin, restrict your circulation, or cause discomfort.
Perform a quick circulation check by observing the color and temperature of your foot and lower leg. If you experience any numbness, tingling, coldness, or skin discoloration, the tape may be applied too tightly or restricting blood flow. If any of these signs occur, remove the tape immediately and consult a professional before attempting to reapply.
When it is time to remove the tape, do so slowly and gently to protect your skin from damage. Never rip the tape off quickly like a traditional bandage, as this can tear the upper layers of your skin. Instead, peel the tape back slowly in the direction of your hair growth, keeping the tape close to the skin’s surface while supporting the skin with your other hand.
If the adhesive is sticking too firmly, do not force it. Apply a generous amount of baby oil, mineral oil, or warm soapy water to the tape and let it sit for several minutes to break down the adhesive bond. Once the tape is removed, wash the area gently with mild soap and water, and inspect your skin for any lingering redness or irritation before applying any new tape.
Frequently Asked Questions (FAQ)
How Long Can You Leave Kinesiology Tape on Your Knee?
Most manufacturers indicate that kinesiology tape can be worn safely for three to five days, provided your skin remains healthy and free of irritation. However, you should remove the tape immediately if it becomes excessively wet, starts to peel significantly, or if you experience persistent itching, burning, or discomfort beneath the fabric.
Can You Shower or Swim with Knee Tape On?
Yes, high-quality kinesiology tape is designed to be water-resistant, allowing you to shower, swim, or sweat without immediate loss of adhesion. After getting the tape wet, do not rub it with a towel, as the friction can cause the edges to peel. Instead, gently pat the tape dry with a clean towel and allow it to air-dry completely.
What Should You Do if the Tape Causes Itching or Redness?
If you experience any itching, burning, or redness under or around the tape, remove it immediately and wash the area with mild soap and water. These symptoms often indicate a mild skin sensitivity to the adhesive or excessive tension on the skin. If the irritation persists or develops into blisters, seek professional medical advice.
Community discussion
Share your experience or ask a question. Comments are reviewed before publication.