
Applying knee tape correctly requires a systematic approach that balances joint stabilization with comfortable mobility. Whether you are preparing for a high-intensity basketball game on an outdoor court or managing mild joint discomfort during a weekend run, proper application ensures the tape functions as intended. In warm, humid environments like the Philippines, managing sweat and moisture is particularly critical, as excess humidity can quickly compromise adhesive performance. By understanding the distinct techniques for different tape types and preparing your skin thoroughly, you can optimize joint support and maintain your athletic focus.
When to Use Knee Tape and Recognizing Safety Limits
Knee tape serves as a valuable aid for athletes seeking extra joint awareness and mild structural reinforcement during physical activities. It is essential to recognize that taping is primarily a supplementary tool designed to provide sensory feedback and a mechanical reminder of your joint’s alignment. It does not replace structured physical rehabilitation, strength training, or professional medical treatment. For minor aches or a general need for stability during lateral movements, tape can offer a reassuring layer of support.
However, tape cannot compensate for severe structural damage or acute injuries. You must establish clear stop conditions before attempting to tape your knee. If you experience severe pain, sudden and acute swelling, visible joint deformity, or a sensation of the knee “giving way,” do not attempt to tape over the issue. Numbness, tingling, or a cold sensation in your lower leg or foot are also critical warning signs. In any of these scenarios, immediately cease physical activity and consult a qualified healthcare professional or physical therapist for a comprehensive evaluation.
Products mentioned in this guide
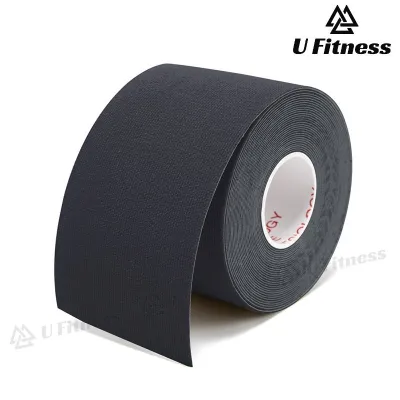
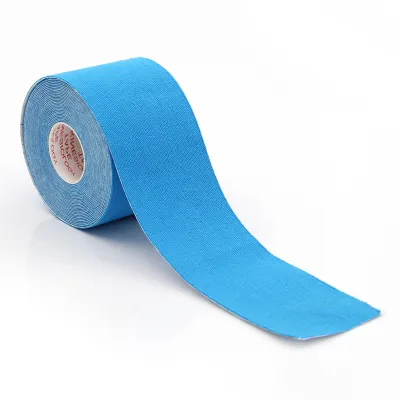
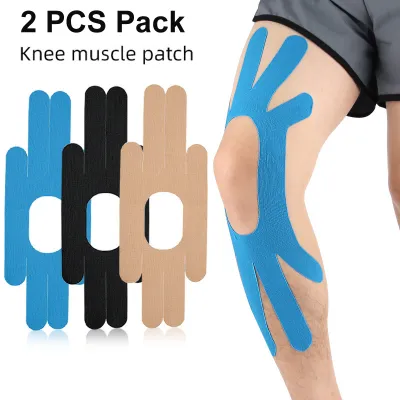
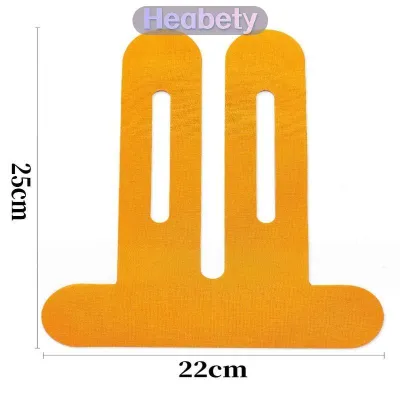
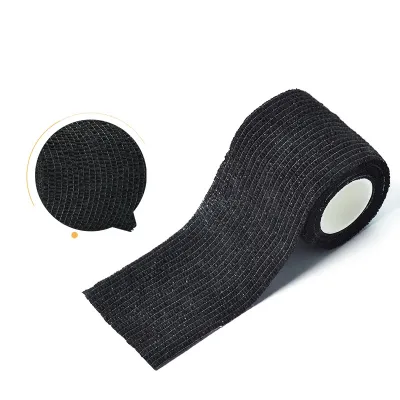
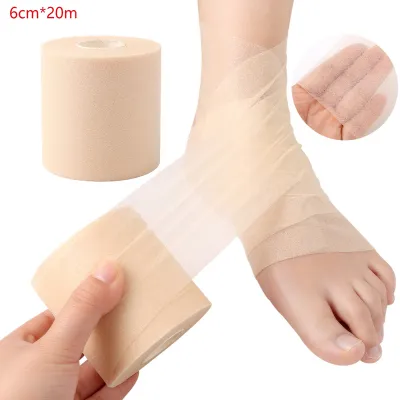
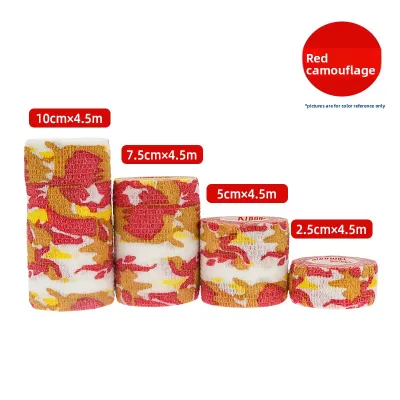
Prices are valid at publication and may change. Please refer to the product page for the latest price.
Choosing the Right Knee Tape for Your Sport
Selecting the appropriate tape depends heavily on your specific sport, movement patterns, and the level of restriction your joint requires. Rigid athletic tape is non-elastic and designed to limit extreme joint ranges of motion, making it highly suitable for sports with high-impact landings or sudden directional changes, such as basketball or football. This type of tape creates a firm, supportive brace directly on the skin or over an underwrap, physically preventing the joint from moving into vulnerable positions.

In contrast, elastic kinesiology tape is designed to stretch and mimic the natural elasticity of human skin. It provides flexible support and continuous sensory feedback without restricting your natural range of motion, making it a popular choice for runners, cyclists, and endurance athletes. When selecting a tape, always check the product labels for skin sensitivity warnings, hypoallergenic properties, and water resistance ratings. In tropical climates where perspiration is high, verifying the manufacturer’s specifications for adhesive durability under wet conditions is crucial to ensure the tape remains secure throughout your activity.
Preparing Your Skin and Joint Before Taping
Proper skin preparation is the foundation of successful tape adhesion, especially when dealing with high humidity and sweat. Begin by thoroughly washing the knee area with mild soap and water to remove all traces of dirt, body oils, sweat, and previously applied lotions or moisturizers. Dry the skin completely with a clean towel; any residual moisture will prevent the adhesive from bonding effectively with the skin surface.
If the area around your knee has thick or long hair, consider trimming it closely with clippers rather than shaving with a manual razor. Shaving can create microscopic tears in the skin, which increases the risk of localized infections, irritation, or painful burning sensations when the adhesive is applied and later removed. Once the skin is clean, dry, and trimmed, position your knee in a neutral or slightly bent posture—typically at an angle of approximately 20 to 30 degrees—as recommended by general taping principles to ensure the tape accommodates natural joint movement.
Core Steps for Applying Knee Tape
Before applying any tape to your joint, prepare your materials systematically to ensure a smooth application process. Measure the required length of tape against your knee while the joint is in the recommended position, and cut the strips using sharp medical or fabric shears. Always round the corners of each cut strip with your scissors; sharp, square corners easily catch on clothing or sports gear, leading to premature peeling and lifting. The exact tension, direction of pull, and placement of each strip must align with the specific guidelines provided on the product packaging or demonstrated by a sports medicine professional.
Applying Rigid Athletic Tape
When applying rigid athletic tape, the process begins with establishing stable anchor points above and below the knee joint. These anchors, typically placed around the lower thigh and upper calf, serve as the foundation to which support strips, often called stirrups or “gibney strips,” are attached. By running these non-stretch strips vertically or diagonally across the sides of the joint, you create a structured, restrictive frame that limits lateral shifting or hyperextension.
Precision is vital during this process, as rigid tape does not yield to swelling or muscle expansion. You must avoid wrapping the tape too tightly around the circumference of the leg, which can constrict blood vessels and compress peripheral nerves. To ensure safety and effectiveness for your specific athletic discipline, consult the manufacturer’s guide or work with a certified sports trainer to learn the precise joint-locking configurations suitable for your sport.
Applying Elastic Kinesiology Tape
Applying elastic kinesiology tape requires careful management of tension to achieve the desired sensory feedback and flexible support. Always apply the first and last two inches of each strip—known as the anchors—with absolutely zero stretch. This prevents the ends from pulling excessively on the skin, which is a primary cause of localized irritation and discomfort. The middle section of the tape, or the active therapeutic zone, should be stretched to the specific tension level recommended on the product label, usually ranging from light to moderate stretch.
Once the tape is positioned on the skin, gently rub the entire surface of the strip with your hands for several seconds. The friction generates mild heat, which activates the pressure-sensitive adhesive and secures a stronger bond with the skin. Be extremely careful not to stretch the tape at its very ends, as this creates shear forces that can lead to painful friction blisters and premature peeling during movement.
Verifying the Fit and Safe Removal Techniques
After completing the application, you must verify that the tape is applied safely and functions correctly before starting your workout. Check the lower leg, ankle, and foot for any signs of restricted blood circulation or nerve compression. If you experience numbness, a pins-and-needles sensation, unusual coldness, or pale or bluish skin discoloration, the tape is too tight and must be removed immediately.
Next, perform a gentle range-of-motion test by slowly bending and straightening your knee. The tape should feel supportive and secure, providing a clear physical reminder of your joint’s boundaries without causing sharp pain, pinching, or skin bunching. If you feel any discomfort or restriction that alters your natural gait, adjust or reapply the tape to prevent secondary movement issues.
When your athletic activity is finished, removing the tape safely is just as important as the application process to protect your skin barrier. Avoid ripping the tape off quickly, as this can tear the upper layers of the skin and cause painful abrasions. Instead, apply a generous amount of baby oil or mineral oil over the taped area and let it sit for several minutes to break down the adhesive bond. Slowly peel the tape back, keeping it close to the skin surface and pulling gently in the direction of natural hair growth.
Common Taping Mistakes and How to Avoid Them
One of the most frequent errors athletes make is applying tape directly over dirty, wet, or heavily lotioned skin. In warm climates, even a thin layer of sweat can prevent the adhesive from bonding, causing the edges to curl and peel within minutes of starting an activity. Always ensure the skin is completely dry and free of oils before application.
Another common mistake is over-stretching the tape, particularly at the anchor points or throughout the entire length of an elastic strip. Excessive tension pulls constantly on the skin, leading to micro-tears, redness, and painful blisters that can sideline you just as easily as a joint strain. Keep the anchors tension-free and apply only the recommended stretch to the middle section.
Lastly, never ignore early signs of an allergic reaction or skin sensitivity to the adhesive. If you experience itching, a burning sensation, or notice spreading redness beneath or around the tape, remove it immediately. Continuing to exercise with an active skin reaction can lead to severe contact dermatitis and prolonged skin damage.
Frequently Asked Questions (FAQ)
Can I shower or swim with knee tape on?
Whether you can expose your knee tape to water depends entirely on the specific product’s adhesive formulation and backing material. Many high-quality kinesiology tapes are designed with water-resistant synthetic fibers and acrylic adhesives that can withstand short showers or swimming sessions. After water exposure, gently pat the tape dry with a clean towel instead of rubbing it, as friction can lift the edges. Keep in mind that prolonged soaking in chlorinated pools or saltwater can degrade the adhesive faster, requiring you to replace the tape sooner than expected.
How long can I safely leave knee tape on?
The safe wear time for knee tape varies significantly based on the tape type and your skin’s sensitivity. Rigid athletic tape is designed for high-restriction support during a single workout or game and should be removed immediately after your activity ends to allow the skin to breathe. Elastic kinesiology tape can often be left on for a few days if specified by the manufacturer, but you must remove it immediately if you experience any itching, redness, or irritation. Always allow your skin to rest for at least 24 hours between applications to help the skin barrier recover and prevent contact irritation.
Community discussion
Share your experience or ask a question. Comments are reviewed before publication.