
Applying surf wax correctly is the most critical step in preparing your surfboard for the water, directly dictating how securely your feet connect with the deck. To achieve maximum board grip, you must apply a firm, structured base coat to anchor the traction layer, followed by a softer, temperature-specific top coat that builds sticky bumps. Before paddling out into active breaks, remember that even the most pristine wax job cannot substitute for proper surf training, physical fitness, and sound ocean judgment. Always assess your personal ability limits, check the local swell and tide reports, and inspect your leash and board for structural integrity. If the waves or currents exceed your experience level, do not enter the water.
Preparation: Removing Old Wax and Cleaning the Board
Preparing a clean surface is essential because surf wax requires a direct, uncontaminated bond with the fiberglass or epoxy resin. Residual dirt, salt crust, or old, dried-out wax acts as a barrier, causing new wax to slide off under the pressure of your feet. Skipping this step results in a patchy, ineffective grip layer that will quickly peel away during your session.
To begin, place your surfboard on a soft, stable surface in a cool, shaded area. Avoid working under direct sunlight, as the heat will melt the wax into a messy liquid, making clean removal nearly impossible and potentially pushing old residue deeper into the board’s microscopic pores.
Products mentioned in this guide
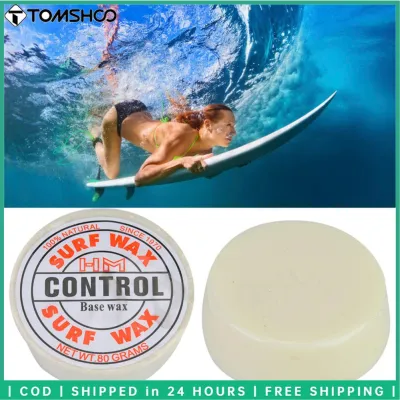
![[COD]ZMONH Surfboard Wax Water Wax for Skimboard Longboard Non Slip Grip Skateboard Wax for Extreme Sports 85g Bar](https://img.lazcdn.com/g/p/2dfcbc665aec48820047c1d27373e1a8.jpg_400x400q80.jpg_.webp)
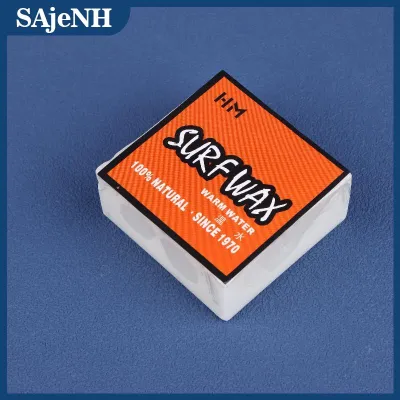
![[COD] SHPYHT SPORTS Surf Wax 85g for Water Sports Non Slip Surfboard Wax Skateboard Wax Skimboard Protection](https://img.lazcdn.com/g/p/7a9d2f67518423bd1e3b450df68cdc42.jpg_400x400q80.jpg_.webp)

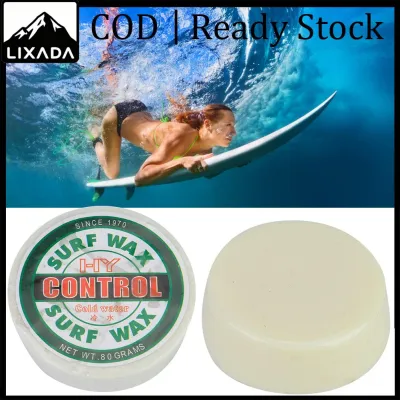
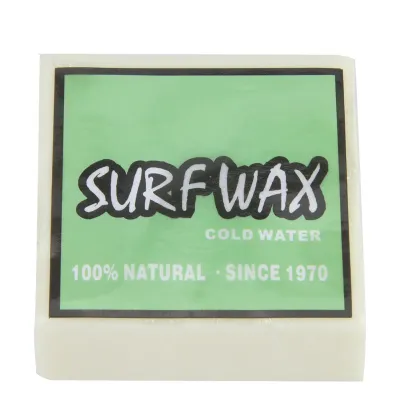
Prices are valid at publication and may change. Please refer to the product page for the latest price.
Take a plastic wax comb or a specialized plastic scraper to strip away the old wax. Hold the tool at a 45-degree angle and push with firm, even strokes along the flat surfaces of the deck. Do not use metal scrapers, kitchen knives, or sharp household tools, as these can easily slice through the delicate fiberglass gloss coat, exposing the foam core to water damage and compromising the board’s structural integrity.
Once you have scraped off the bulk of the old wax, a thin, sticky residue will remain. To dissolve this film, apply a small amount of liquid wax remover or a natural alternative like warm coconut oil. Rub the liquid over the deck in circular motions using a clean paper towel or microfibre cloth to lift the remaining oils and dirt.
Finish the preparation by wiping down the entire deck with a dry, clean cloth to remove any oily residue. Let the board sit for a few minutes until the surface is completely dry and cool to the touch before you begin the waxing process.
Choosing the Right Surf Wax for Tropical Waters
Understanding the chemistry of surf wax is vital for maintaining traction in different climates. Surf wax is divided into two distinct categories: base coat and top coat. The base coat is a hard, high-melting-point wax designed to stick firmly to the smooth board surface, while the top coat is a softer, stickier wax formulated to rub off onto your feet and create grip.

When selecting a top coat, always check the manufacturer’s temperature rating printed on the packaging. In the Philippines, where coastal water temperatures consistently hover between 27°C and 30°C year-round, you must use “Tropical” or “Warm” water top coat wax. These formulations are engineered with a higher melting point to remain firm and tacky in warm waters.
Using the wrong wax formulation quickly ruins a surf session. If you apply a cold-water wax (designed for temperatures below 15°C) in tropical conditions, the wax will rapidly melt, turning into a slick, greasy sludge that washes away and leaves you slipping off your board. Conversely, using a tropical wax in cold water causes the wax to freeze and harden into a glass-like surface with zero stickiness.
While base coat wax is generally formulated to be temperature-independent, some brands offer specific tropical base coats. Always verify the label to ensure the base coat is rated for warm conditions, ensuring it will not soften or shift underneath your top coat when exposed to warm tropical waters. Standard surf wax bars in local surf shops generally range from ₱150 to ₱350, making it an affordable but highly critical piece of equipment.
Additionally, consider your carrying method and board type when selecting wax. If you transport your board inside a car or a tight board bag, a softer wax can easily smear onto your seats or the fabric of the bag. Using a protective board sock or choosing a slightly firmer top coat within the tropical range can help mitigate this issue while preserving necessary grip.
Step 1: Applying the Base Coat for a Solid Foundation
The base coat is the most labor-intensive part of the waxing process, but it is the foundation that prevents your top coat from sliding off under foot pressure. Always perform this step in a cool, shaded space, such as under a nipa hut or indoors. If the board’s surface is warm from the sun, the wax will smear instead of building the structured ridges needed for the top coat.
Identify your board’s stance area before you begin rubbing the wax. For a shortboard, this area spans from just in front of the tail pad up to about two-thirds of the way toward the nose, covering where your front foot will land during a pop-up. For a longboard, you will want to wax almost the entire deck, excluding the nose and rails, to allow for walking up and down the board.
To apply the base coat, hold a fresh bar of base wax on its edge and apply firm, consistent pressure. Start by drawing diagonal lines from one rail to the other, spaced about two to three centimeters apart. Once you cover the stance area, draw diagonal lines in the opposite direction to create a crosshatch or diamond pattern across the deck.
After completing the crosshatch, rub the wax bar in tight, light circles over the intersecting lines. This circular motion helps the wax build up on the lines, forming tiny, hard mounds. You can also use straight, longitudinal lines running from nose to tail to add more texture to the grid.
A properly applied base coat should look like a thin, uniform, cloudy layer of hard wax ridges across the stance area. It should not look like a thick, flat smear. This textured layer acts as an anchor, providing thousands of microscopic edges for the softer top coat to cling to.
Step 2: Applying the Top Coat to Create Traction Bumps
Once your base coat is firmly established, you can proceed to the top coat, which provides the actual sticky traction your feet require. Switch to your tropical-grade top coat wax. Because this wax is softer, you do not need to apply as much downward pressure as you did with the base coat.
Hold the top coat bar flat against the board and begin moving it in small, continuous circular motions over the base coat. Use light to medium pressure. The goal is to let the softer top coat catch on the hard ridges of the base coat, naturally depositing small beads of sticky wax.
As you continue the circular rubbing, you will see small, distinct bumps begin to form. These are the traction bumps that provide grip. If you press too hard, you will smear the bumps flat; if you press too lightly, the wax will not transfer. Maintain a steady, rhythmic motion across the entire stance area.
Focus your efforts precisely where your feet will land. For most surfers, this means building up dense bump patterns in the front foot zone and the back foot zone. If you prefer, you can leave a slightly thinner layer in the middle of the board where your chest rests during paddling, which helps reduce wax transfer and rash on your swimwear.
Conduct a quick visual and tactile check before heading to the beach. The deck should be covered in a uniform field of distinct, rounded bumps that feel highly sticky to the touch. When you lightly drag your hand or a bare foot across the waxed area, you should feel immediate resistance and friction rather than a smooth, sliding sensation.
Maintenance: When and How to Re-Wax Your Surfboard
Proper maintenance extends the life of your wax job and ensures consistent performance across multiple surf sessions. After every surf, rinse your board thoroughly with clean, fresh water to wash away salt crystals, sand particles, and organic debris that can degrade the wax’s stickiness.
Always store your surfboard in a cool, shaded area or inside a reflective board bag when not in the water. Leaving a waxed board exposed to the intense tropical sun, even for fifteen minutes on the beach or in the back of a vehicle, will cause the wax to melt into a flat, slippery puddle, ruining your hard work and making a complete strip-and-clean mandatory.
Before each session, diagnose the condition of your wax. If the bumps have become flat, smooth, dirty, or slippery, it is time for a quick touch-up. Use a wax comb to lightly scratch diagonal lines through the existing wax to roughen the surface, then apply a fresh, thin layer of tropical top coat in circular motions to rebuild the sticky bumps.
Eventually, a spot-repair is no longer sufficient. When the wax layer becomes excessively thick, turns a dark grey or brown color from embedded sand and dirt, or loses its stickiness entirely, you must perform a full strip. Stripping and re-waxing your board every two to three months of regular use keeps the board light and ensures you always have optimal traction.
Common Surf Waxing Mistakes That Reduce Grip
Avoiding common waxing mistakes saves time, money, and prevents frustrating slip-offs on critical waves. The first and most frequent mistake is waxing a board in direct sunlight or when the board is still hot from transport. The heat melts the wax instantly, causing it to smear flat against the fiberglass rather than building the structured bumps required for traction.
Another common error is skipping the base coat entirely and applying only top coat wax to a bare board. Without the hard, textured foundation of a base coat, the soft top coat has nothing to hold onto. Under the heat of tropical waters and the pressure of your feet, the top coat will quickly slide off the smooth fiberglass, leaving slippery bald spots right where you need grip.
Using the wrong temperature wax is a critical mistake that can ruin an entire surf trip. Applying cold or cool-water wax in tropical climates results in a gooey, slippery sludge that offers zero traction and ruins your rash guard. Always verify the temperature rating on the label before applying any wax to your board.
Finally, avoid the temptation to wax the entire surfboard from nose to tail, including the rails. Waxing areas where your feet never step adds unnecessary weight to the board, makes it difficult to carry, and attracts sand and debris that can scratch your skin during paddling. Keep your wax application focused strictly on the functional stance zones.
Frequently Asked Questions (FAQ)
Can I use regular paraffin or candle wax instead of surf wax?
You should never use regular candle wax or household paraffin wax on a surfboard. Candle wax lacks the specialized sticky tackifiers, resins, and temperature-specific oils that are chemically engineered into surf wax. Applying candle wax will make your board dangerously slick, will not form traction bumps, and can be extremely difficult to scrape off without damaging the board’s delicate epoxy or fiberglass finish.
Do I need to wax the area covered by a traction pad?
No, you do not need to apply surf wax to any area of the board that is covered by an EVA foam traction pad or tail pad. These pads are designed to provide permanent, high-friction grip for your back foot without the need for wax. However, you must still apply a proper base coat and top coat to the front foot area, as this zone is typically left bare and requires wax for grip during your stance.
How do I safely remove surf wax from my rash guard or wetsuit?
To remove accidental wax transfer from your surf apparel, first place the garment in the freezer for a few hours to let the wax harden completely, then gently scrape off the brittle chunks using a blunt plastic edge. For remaining wax residue, check the garment manufacturer’s care label first to ensure the fabric can tolerate mild heat. If permitted, place a clean piece of brown paper or a paper towel over the spot and gently run a warm (not hot) iron over the paper to melt and draw the wax out of the synthetic fibers, or wash the item in warm water with a mild detergent.
Community discussion
Share your experience or ask a question. Comments are reviewed before publication.