
Flying a box kite is a highly rewarding outdoor activity, but it requires a different approach than handling standard flat or diamond kites. Because of their three-dimensional, cellular structure, box kites generate significant lift and a stronger pull, requiring steady wind conditions and careful handling rather than constant steering. Successfully flying one relies on precise frame assembly, understanding wind dynamics, and mastering launch techniques.
Originally designed in the late 19th century for meteorological observations and early aviation experiments, the box kite remains a favorite for flyers who appreciate structural stability and high-altitude performance. Once in the air, its rigid cells channel wind efficiently, allowing it to hover steadily even in strong breezes. By following a structured approach to setup and flight, beginners can enjoy a seamless and exciting experience.
Understanding Box Kite Flight and Wind Requirements
Box kites operate on a different aerodynamic principle than flat kites. Instead of relying on a single flat surface to catch the wind, a box kite features open, three-dimensional cells. As wind passes through these cells, it creates lift along multiple fabric surfaces simultaneously. This cellular design makes the kite exceptionally stable once it reaches steady air currents, but it also means the kite generates a much stronger pull on the flying line. Beginners should prepare for a firm, physical connection to the kite rather than the light, twitchy handling associated with smaller designs.
Products mentioned in this guide
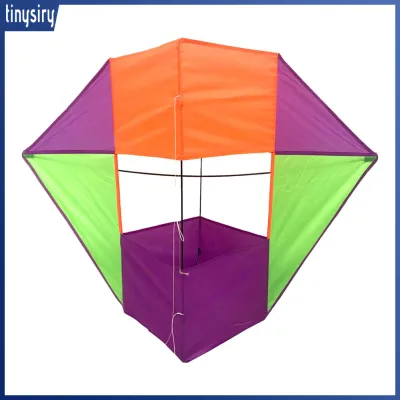
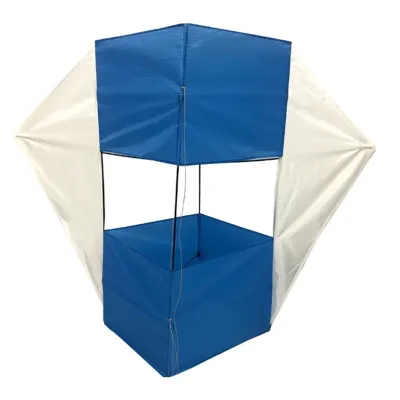
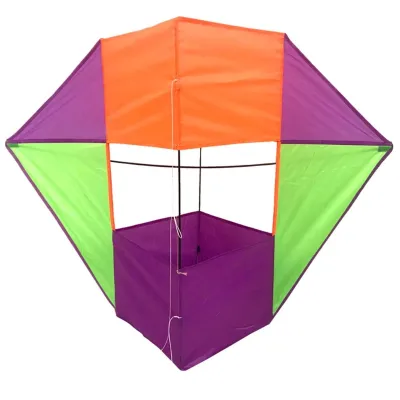
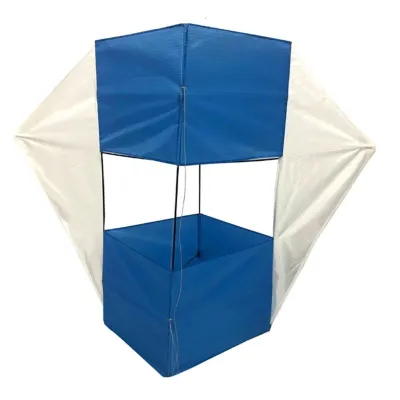
Prices are valid at publication and may change. Please refer to the product page for the latest price.
Because of their rigid frames and heavier materials, box kites require stronger, steadier winds to fly successfully. The ideal wind speed range for a beginner is between 15 and 30 kilometers per hour (kph), which corresponds to a moderate breeze. In winds below 12 kph, a standard box kite will likely be too heavy to stay aloft and will sink back to the ground. Conversely, winds exceeding 40 kph can create immense pull that makes the kite difficult to control and may risk damaging the frame or snapping the line.
To estimate wind speed without specialized equipment, look for natural indicators in your surroundings. A gentle breeze that only rustles leaves is usually insufficient for a box kite. The perfect flying window is open when small branches are in constant motion and flags are extended straight out from their poles. If large tree branches are swaying heavily or you find it difficult to walk comfortably against the wind, conditions are too turbulent and you should wait for a calmer day.
Wind close to the ground is often highly turbulent because it collides with obstacles like trees, buildings, and hills. This turbulence causes kites to spin, dive, and stall. To find stable, smooth air, choose wide-open spaces and fly during times of day when the wind is most consistent. In tropical coastal areas, late afternoons often bring steady, predictable sea breezes that are ideal for launching three-dimensional kites.
How to Assemble Your Box Kite Step-by-Step
Before beginning assembly, always check the manufacturer’s user manual for your specific model, as connection methods and spar configurations can vary. Lay out all components on a clean, dry surface, such as a grass mat or a clean patch of ground, to prevent sand or dirt from getting inside the connector joints.

Begin by identifying all the parts in your kite package. A standard box kite kit includes:
- The fabric sail: The main body, typically made of durable ripstop nylon or polyester, which forms the open cells.
- Longitudinal spars: The four long, rigid rods (usually fiberglass or carbon fiber) that run the entire length of the kite's corners.
- Cross spars (spreaders): The shorter rods that cross diagonally inside the cells to push the frame outward and keep the sail taut.
- Connector joints: Plastic or rubber fittings pre-attached to the longitudinal spars where the cross spars insert.
- Bridle line: The pre-attached cord on the frame that dictates the kite's angle of attack.
- Flying line and spool: The high-strength line used to control the kite.
To assemble the internal frame, slide the longitudinal spars into the sleeves along the four corners of the fabric sail. Once these main spars are securely in place, you must install the cross spars to tension the cells. Carefully bend the cross spars and insert their ends into the connector joints on the longitudinal spars. This action pushes the corners of the sail outward, transforming the limp fabric into a rigid, three-dimensional box. Ensure that every joint is fully seated; a partially inserted spar can pop out under wind pressure, causing the frame to collapse mid-flight.
Once the frame is fully assembled, inspect the fabric sails. They should be taut and smooth across all sides. If the sail is loose or sagging, double-check that the cross spars are correctly positioned in their connectors. Avoid forcing any parts if the fabric feels excessively tight, as this can rip the seams or warp the spars.
Next, locate the bridle line, which is typically pre-attached to one of the longitudinal spars near the front cell of the kite. The point where you connect your flying line to the bridle is called the tow point. To attach your flying line, use a secure, non-slip knot such as a lark’s head knot. This allows you to secure the line firmly while still making it possible to adjust the position of the tow point later.
Before launching, perform a quick pre-flight inspection:
- Are all spars fully pushed into their rubber or plastic connectors?
- Is the sail fabric centered, symmetrical, and free of tears?
- Is the bridle line clear of tangles and securely tied?
- Is the main flying line knotted tightly to the tow point?
Launching and Controlling Your Box Kite in the Air
The two-person launch method is the safest and most reliable way to get a box kite airborne, especially for beginners.
Step 1: The flyer stands with their back to the wind, holding the spool securely with both hands.
Step 2: The helper holds the kite by the frame (not the sail fabric) and walks directly downwind, letting out approximately 15 to 25 meters of flying line.
Step 3: The helper holds the kite upright, ensuring the front cell faces directly into the wind and the line is taut.
Step 4: When a steady gust of wind is felt, the flyer signals the helper to release the kite. The helper should simply let go, letting the wind lift the kite, rather than throwing it upward.
Step 5: The flyer takes a step back and gently pulls on the line to create tension, which helps the kite climb quickly into the smoother, higher air currents.
If you are flying alone, you can use a solo launch technique. Prop the kite upright against a soft, stable object like a small bush, a beach bag, or a specialized ground stake, ensuring the front of the kite faces the wind. Slowly walk backward while letting out about 15 meters of line, keeping just enough tension to prevent the kite from falling over. Once you are in position, give a firm, steady pull on the line to launch the kite into the air.
Once the kite is airborne, do not let out line too quickly. Let the kite climb to a stable altitude first. Let out a few meters of line at a time, allowing the kite to settle into its flight pattern before releasing more. This helps you find the “sweet spot” in the wind window where the air is clean and steady.
Because box kites generate significant lift, they pull much harder than typical single-line flat kites. Always keep a firm, two-handed grip on your spool or handle. If you are flying a larger box kite, consider wearing lightweight protective gloves to prevent painful line burns if a sudden gust pulls the line rapidly through your hands. Never wrap the flying line around your fingers, hands, or wrists.
To land your box kite smoothly, do not pull it down rapidly, as this can cause it to dive violently. Instead, slowly reel in the line while walking forward toward the kite to reduce wind tension on the frame. If the wind is strong, have a helper walk down the line toward the kite, holding the line with a gloved hand to guide it safely to the ground while you wind up the slack.
Troubleshooting Common Box Kite Flight Problems
If your box kite continuously loops, spins, or dives to one side, it is almost always due to a structural asymmetry. Land the kite immediately and check the frame. A cross spar may have slipped slightly out of its connector, or the sail fabric may be bunched up on one side. Ensure that all spars are perfectly seated and that the tension is identical on all four corners. Even a tiny difference in frame alignment can cause uneven aerodynamic lift.
If the kite rises a few meters and then falls backward, it is stalling. This happens when the angle of attack is too steep (the nose is pointed too far upward) or the wind is too weak. To fix this, adjust the bridle tow point slightly forward (toward the nose of the kite). This tilts the kite forward, allowing it to cut through the wind more easily. If the wind is simply too light, you may need to wait for a stronger breeze.
If the kite flies directly overhead, becomes unstable, and then drops out of the sky, the angle of attack is too shallow (the nose is pointed too far downward). Adjust the bridle tow point slightly backward (toward the tail of the kite). This tilts the nose up slightly, helping the kite catch more wind and maintain its lift in strong breeze conditions.
Tangles usually happen when reeling in the line. If you wind the line onto the spool loosely, the coils can overlap and form knots. Always maintain slight tension on the line with your hand as you wind it back onto the spool. This ensures a tight, neat wrap that will deploy smoothly during your next flying session.
Safety Rules and Choosing the Right Flying Location
Never fly your box kite near power lines, electrical substations, busy roads, or railways. If your kite does get caught in a power line, do not attempt to retrieve it yourself. Leave the kite and contact the local utility company immediately. Additionally, avoid flying near airports, heliports, or crowded public spaces where a falling kite could cause injury.
Never fly a kite during a thunderstorm or when rain is approaching. Wet flying lines can conduct electricity, making you a target for lightning strikes. If you see dark clouds or hear thunder, reel in your kite immediately.
Box kites need wide-open spaces with clean, unobstructed wind. In the Philippines, excellent options include wide provincial parks, open sports fields, or expansive coastal beaches (such as those in Batangas, Zambales, or La Union). Coastal areas are particularly ideal because the sea breeze is steady and free from the turbulence caused by trees and buildings.
Flying a high-pulling box kite under the tropical sun can be physically demanding. Always wear broad-spectrum sunscreen, a wide-brimmed hat, and polarized sunglasses to protect your eyes from glare. Stay hydrated by keeping a water bottle nearby, and take regular breaks to rest your arms and shoulders from the constant pull of the kite.
Frequently Asked Questions (FAQ)
Do box kites need a tail to fly?
Traditional box kites do not require a tail to fly. Their three-dimensional, cellular design acts as a natural stabilizer, channeling air through the cells to keep the kite steady. However, adding a tail or a drogue can provide extra drag and stability if you are flying in unusually strong or gusty winds.
What is the best type of line for a box kite?
The best line for a box kite is braided Dacron or polyester line. These materials offer high tensile strength, minimal stretch, and excellent resistance to tangling. Avoid using thin, single-strand nylon fishing lines, as they can easily cut into your skin under the heavy pull of a box kite and are highly prone to severe tangling.
Community discussion
Share your experience or ask a question. Comments are reviewed before publication.