
Setting up a walking pad treadmill without the original manufacturer’s manual is entirely feasible. Most compact under-desk treadmills and walking pads share a standardized structural design consisting of a main deck, a motor compartment, folding or fixed upright handrails, and a digital console. By understanding the universal mechanics of these fitness machines, gathering basic household tools, and systematically executing the physical assembly, cable routing, and belt calibration, you can establish a safe, quiet, and highly functional workout setup right in your home or condominium.
When you do not have the original documentation, the key is to proceed methodically. Forcing parts together or skipping electrical checks can lead to mechanical damage or safety hazards. This step-by-step guide provides the universal procedures needed to assemble, wire, align, and maintain your walking pad, ensuring a smooth and safe walking experience even without the factory walking pad treadmill manual.
Pre-Assembly Preparation and Space Planning Without a Manual
Before attempting to assemble your walking pad, prepare a dedicated workspace and gather the necessary tools. Since the original walking pad treadmill manual and its packaged tool kit are missing, you will need to source a few common household implements. Most walking pads utilize metric hardware, so prepare a set of metric Allen wrenches (focusing on 4mm, 5mm, and 6mm sizes), a standard Phillips-head screwdriver to secure plastic shrouds, and an adjustable wrench to tighten any hex nuts. Keep a flashlight nearby to help you inspect the dark recesses of the frame and align internal screw holes.
Products mentioned in this guide
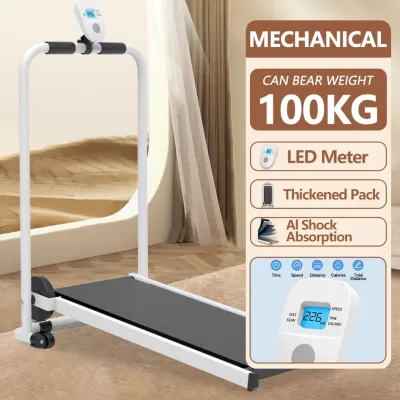
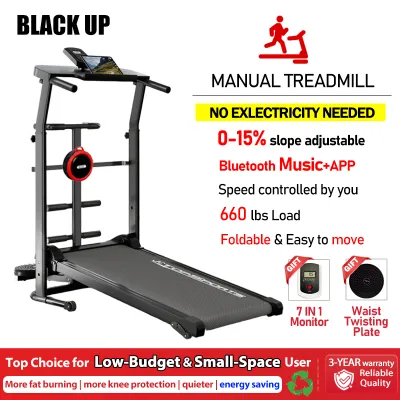
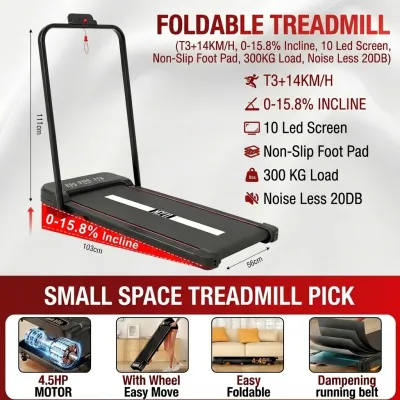
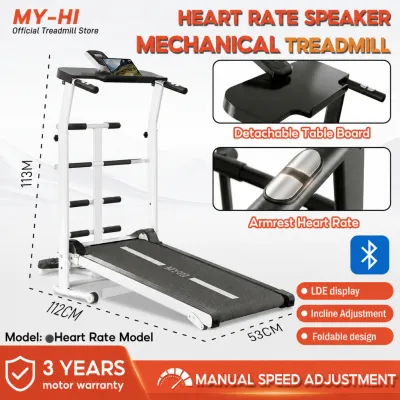
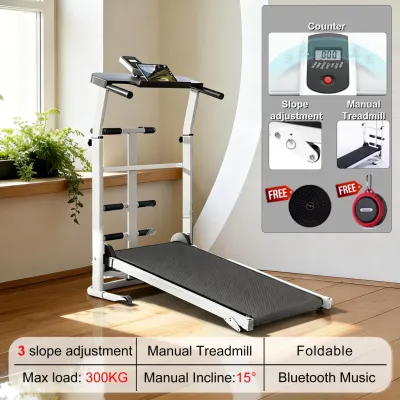
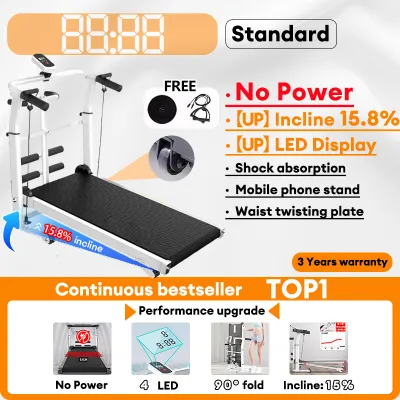
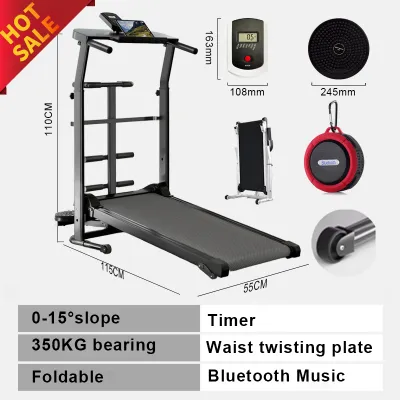
![[COD] Foldable Manual Home Treadmill with Adjustable Slope LED Display Anti-Slip Running Belt Free Twist Disc & Resistance Rope Space Saving Walking Machine for Home Fitness Exercise](https://img.lazcdn.com/g/p/1446617c7dcf63717d1a1640b68a647e.jpg_400x400q80.jpg_.webp)
Prices are valid at publication and may change. Please refer to the product page for the latest price.
Choosing the right location is critical for safety and operational longevity. Measure the physical footprint of the machine and ensure you have at least 0.5 meters of open space on both sides of the walking deck. More importantly, maintain a minimum of 1 to 1.5 meters of clear, unobstructed space directly behind the rear roller. This rear clearance serves as a vital safety zone, allowing you to step off safely or be thrown clear of the moving belt if you lose your balance.
In the Philippines, high-rise condominium living is common in urban areas like Metro Manila. Setting up fitness equipment in these spaces requires extra consideration for your neighbors. Placing a high-density equipment mat underneath your walking pad is highly recommended. This specialized mat protects delicate flooring from scratches, prevents the walking pad from sliding, and dampens the low-frequency vibrations that travel through concrete floors to the unit below.
Electrical safety is another paramount consideration when configuring your home gym. In the Philippines, standard residential power is delivered at 220V and 60Hz. Before connecting your machine, locate the electrical specification label on the frame to confirm that the voltage rating matches your home’s supply. Always plug the walking pad directly into a grounded wall outlet. Avoid using household extension cords or power strips, as they can easily overheat under the continuous electrical load, posing a fire hazard and risking permanent damage to the motor.
Step-by-Step Frame and Motor Assembly
To begin the physical assembly, carefully unbox the walking pad directly on your equipment mat. Lay out all components systematically: the main walking deck, the motor housing, the upright handrails or console posts, and the loose hardware. Organize bolts, washers, and nuts by size. Even without a walking pad treadmill manual, you can match fasteners to their corresponding holes by checking their length and diameter.

Position the upright handrails or console posts over the mounting brackets on the sides of the main deck. If your model features a folding design, raise the handrails and locate the locking levers or pins. For detachable handrails, align the bolt holes on the handrails with the corresponding holes on the deck frame.
When inserting the structural bolts, always thread them by hand for the first three to four turns to prevent cross-threading, which can permanently ruin the metal threads of the frame. Once all bolts are threaded, use your Allen wrench to tighten them hand-tight, ensuring the washers sit flat against the frame. Secure the bolts fully by working in a cross-pattern to distribute physical tension evenly across the joints, preventing the frame from warping and ensuring structural stability.
On most compact walking pads, the motor is pre-secured under the front shroud. However, if your model requires you to mount the motor cover or adjust the motor bracket, verify that no internal electrical wires are pinched beneath the plastic. If the drive belt connecting the motor pulley to the front roller is exposed, verify that it sits perfectly flat and centered on both pulleys without any twists.
Stop Condition: If you find that the structural parts do not align, if the bolt holes are offset, or if the provided hardware does not match the threads, stop the assembly immediately. Forcing components to fit can strip the threads, bend the frame, or cause structural failure during use, which can lead to injury and void your warranty. In this situation, pause and search online for your specific model’s digital manual or contact the seller for assistance.
Wiring the Console and Electronics
Most modern walking pads feature an integrated console on the handrail or a digital display to track your workout metrics. Connecting these electronics requires careful handling of delicate data cables that run from the lower controller board up through the hollow interior of the upright posts.
Gently feed the data cable through the upright post, ensuring it remains straight and untwisted. Pay close attention to the folding joints of the handrail. The cable must be positioned completely clear of any pinch points, hinges, or moving parts where it could be crushed, crimped, or severed when folding or unfolding the machine.
Once the cable is routed to the top of the post, locate the terminal connectors on both the cable and the back of the console. These connectors are usually keyed to fit together in only one specific orientation. Carefully inspect the male connector to ensure that none of the tiny internal metal pins are bent or missing. Align the connector guides precisely and press the plug together until you hear a distinct click or feel it sit flush. Never force the connection; if the plug does not slide together easily, stop and recheck the pin alignment.
Mount the console onto the handrails using the designated brackets or screws. Once the console is secure, manage any excess cable slack to prevent safety risks. Use plastic zip ties or Velcro straps to secure the wire tightly against the handrail frame, keeping it neat and flush with the metal tubing.
Stop Condition: If you notice that the wire colors do not match, if the plastic connectors are cracked, or if the internal pins are bent or missing, do not attempt to connect the electronics or plug the machine into the wall. Attempting to force damaged connectors or guessing the wiring configuration can cause an electrical short circuit, permanently destroying the main control board or posing a fire hazard. Cease the setup immediately and contact a qualified fitness equipment technician or the manufacturer’s support service.
Belt Alignment, Calibration, and Initial Testing
Before your first workout, you must align and calibrate the walking belt to ensure safety and prevent premature wear on the motor. Stand on the side rails of the deck—never stand directly on the walking belt during this initial test. Plug the power cord directly into your grounded wall outlet, flip the main power switch to the “on” position, and ensure the safety key is firmly attached. Use the remote control or console buttons to start the machine at its lowest speed setting, typically around 0.8 to 1.0 km/h.
Allow the walking belt to run empty for two to three minutes. Stand at the rear of the machine and observe how the belt moves relative to the side rails. The belt should run perfectly straight down the center of the deck, with equal gaps on both the left and right sides. Listen closely to the machine; a healthy walking pad should emit a consistent, low-pitched humming sound. If you hear a loud scraping noise or a high-pitched squeal, the belt may be severely misaligned or rubbing against the frame.
If the belt drifts to one side, adjust the rear roller bolts located at the back end caps of the treadmill deck. These bolts control the angle and position of the rear roller, which determines the tracking and tension of the walking belt.
- If the belt drifts to the right: Insert your hex key into the right-side adjustment bolt and turn it clockwise a quarter-turn, or turn the left-side bolt counter-clockwise a quarter-turn.
- If the belt drifts to the left: Turn the left-side adjustment bolt clockwise a quarter-turn, or turn the right-side bolt counter-clockwise a quarter-turn.
After making an adjustment, let the belt run at a moderate speed (around 3 km/h) for a full minute to allow the belt to center itself. Avoid making large, multi-turn adjustments at once, as this can easily over-stretch the belt.
To check overall tension, turn off the power switch and slide your hand under the middle of the walking belt. A properly tensioned belt should lift approximately 5 to 7 centimeters off the wooden deck surface. If the belt lifts higher than 7 centimeters, it is too loose and will slip when you walk on it. If it cannot be lifted at least 5 centimeters, it is too tight, putting excessive strain on the motor and control board. To tighten the belt, turn both adjustment bolts clockwise by an equal quarter-turn; to loosen, turn both bolts counter-clockwise by an equal quarter-turn.
Before stepping on the machine, test the emergency safety features. If your walking pad has a safety clip, pull the cord while the belt is moving to verify that the machine stops instantly. For your first walk, step onto the belt carefully while holding the handrails. Start the machine at a slow walking pace of 1.5 to 2.0 km/h. Walk for three to five minutes, paying close attention to the feel of the deck. If you feel the belt hesitate or pause when your foot strikes the surface, the belt is slipping and requires a slight increase in tension. If you hear any rubbing or smell warm rubber, stop the machine immediately and re-inspect the belt alignment.
Condo and Home Gym Maintenance Routine
To protect your investment and ensure your walking pad remains quiet in a shared condo environment, establish a regular maintenance routine. Friction is the leading cause of treadmill motor failure and belt wear. Applying a high-quality, 100% silicone-based treadmill lubricant is the most effective way to keep friction to a minimum.
To check if your walking pad requires lubrication, turn off the machine and unplug it. Slide your hand under the edge of the belt and feel the top of the deck. If it feels dry, it is time to apply lubricant; if it feels slightly oily, no lubrication is needed. Always verify the manufacturer’s specific lubrication requirements, fluid compatibility, and maintenance intervals on the product label or official website.
To apply the lubricant, lift one side of the walking belt and squeeze a thin line of silicone lubricant (approximately 10 to 15 ml) along the center of the deck. Repeat this on the opposite side, then run the machine at a slow speed of 2 km/h for three minutes without walking on it to distribute the fluid.
Cleaning your walking pad regularly prevents sweat and dust from damaging the mechanical and electronic components. After every workout, use a soft, damp microfiber cloth to wipe down the console, handrails, and the exposed side rails of the deck. Never use harsh chemical solvents, abrasive cleaners, or spray water directly onto the machine, as moisture can easily penetrate the electronic enclosures and cause permanent short circuits.
In a shared living space or high-rise condo, keeping your equipment quiet is essential. Keep all structural bolts on the frame and handrails tight, as loose joints are the primary source of annoying squeaks and rattles. Ensure your high-density equipment mat remains centered under the machine to absorb vibrations, and keep the walking belt properly aligned and lubricated to minimize motor noise.
Establish a simple monthly inspection schedule to catch potential issues before they cause mechanical failure. Check the power cord for any signs of cracking or wear, verify that the walking belt remains centered and tensioned correctly, and inspect all structural bolts to ensure they have not vibrated loose.
Frequently Asked Questions (FAQ)
What should I do if the walking belt slips during use?
If the walking belt slips or hesitates when your foot strikes the deck, the belt is too loose and lacks the tension to grip the drive roller. To resolve this, turn off the power switch and unplug the machine. Locate the two rear roller adjustment bolts at the back of the deck and turn both the left and right bolts clockwise by an equal quarter-turn using your hex key. Plug the machine back in, start it up, and test the tension by walking on it at a slow speed. Repeat this process incrementally, making only quarter-turns at a time, until the slipping stops. Avoid over-tightening the belt, as excessive tension will strain the motor, wear out the roller bearings, and can cause the electronic control board to overheat and fail.
Can I use a walking pad on a carpeted floor?
Using a walking pad directly on a carpeted floor is highly discouraged. Carpet fibers, dust, and pet hair can easily be sucked into the motor compartment and underneath the walking belt due to static electricity and the vacuum effect of the moving belt. This buildup clogs the motor’s cooling vents, increases friction between the belt and deck, and can lead to motor overheating or electrical short circuits. Furthermore, plush carpets do not provide a perfectly stable, level surface, which can cause the frame to flex and make the walking belt drift off-center. To protect your carpet, ensure proper airflow underneath the motor housing, and maintain a stable, safe footing, always place a solid, flat, high-density equipment mat designed specifically for fitness gear under your walking pad.
How do I reset the console if it displays an error code without a manual?
If your walking pad’s console displays an error code and you do not have the original manual, you can perform a universal hard system reset to clear temporary electronic glitches. First, turn off the main power switch near the power cord and unplug the unit from the wall outlet. Wait at least 60 seconds to allow the capacitors on the control board to discharge completely. While the unit is unplugged, inspect all visible cable connections along the handrails and frame to ensure they have not vibrated loose. Plug the machine directly back into the wall outlet, ensure the magnetic safety key is firmly and correctly seated on the console, and turn the power switch back on. If the error code persists, search online for the specific error code number along with your walking pad’s brand and model name, or contact the manufacturer’s customer support for technical assistance.
Community discussion
Share your experience or ask a question. Comments are reviewed before publication.