
Achieving neutral buoyancy is the foundation of safe and enjoyable scuba diving, yet determining the exact amount of dive weights you need is rarely a one-size-fits-all calculation. Your ideal weight load shifts based on your physiology, exposure protection, and the specific dive environment. Rather than relying on unverified universal formulas, this guide walks you through the practical steps to estimate, test, and fine-tune your weight configuration for every dive. Remember that proper training, physical comfort, and situational awareness are paramount; no piece of equipment or mathematical estimate can replace sound diver judgment and certified instruction. If you ever feel unstable or unable to control your depth, you must safely abort the dive or seek assistance from a qualified dive professional.
Understand the Variables That Affect Your Buoyancy
To determine your ideal weight configuration, you must first understand the physical forces acting upon your body and gear. Buoyancy is governed by Archimedes’ principle: an object submerged in fluid is buoyed up by a force equal to the weight of the fluid it displaces. Your body composition plays a significant role in this equation. Muscle tissue and bone density are relatively dense and sink, while body fat is less dense and floats. Consequently, two divers of identical height and weight may require vastly different amounts of lead to submerge comfortably, depending on their physical fitness and natural body density.
Your exposure suit is another major variable. Neoprene is filled with tiny, gas-filled bubbles that provide insulation but also create significant positive buoyancy. A thicker suit, such as a 5mm full suit, requires substantially more weight to submerge than a thin 3mm shorty or a simple rash guard. Furthermore, as you descend, the ambient water pressure compresses these gas bubbles, reducing the suit’s volume and its buoyancy. This means a suit that is highly buoyant at the surface will lose some of its lifting force at depth, a transition you must anticipate when planning your weight distribution.
Products mentioned in this guide
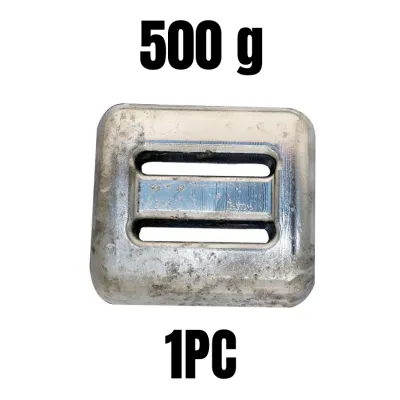
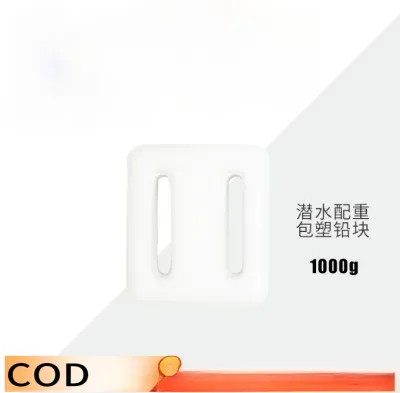
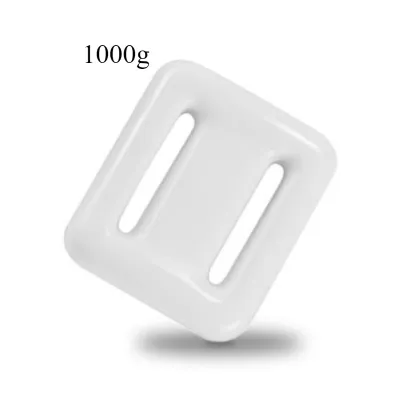
Prices are valid at publication and may change. Please refer to the product page for the latest price.
The salinity of the water also dictates how much weight you need. Saltwater is denser than freshwater because of dissolved minerals, which increases the upward buoyant force on your body and gear. If you transition from a freshwater lake to a tropical marine environment, you will need to add weight to offset this increased density.
Finally, your scuba cylinder’s material and gas consumption affect your overall buoyancy loop. Aluminum tanks are lighter and become positively buoyant as you breathe down the air inside them, typically toward the end of your dive. Steel tanks are heavier and tend to remain negatively buoyant throughout the entire profile. You must account for this shifting weight of your breathing gas—which can weigh several pounds when full—to ensure you do not become too light during your safety stop.
Establish a Safe Baseline Weight Before You Dive
Before stepping onto a boat or entering the water, you need a logical starting point. Rather than guessing or copying a buddy’s setup, begin by checking the exposure suit manufacturer’s sizing and buoyancy charts. Many manufacturers provide specific weight recommendations based on suit thickness and user weight. These guidelines serve as an excellent baseline, but they should always be treated as a starting point for verification rather than an absolute rule.

A common baseline estimation method for tropical saltwater diving in a thin neoprene suit (such as a 3mm full suit) is to start with approximately 8% to 10% of your body weight, adjusting for the specific tank type you are using. For example, if you weigh 70 kilograms, a starting estimate might be around 5.6 to 7 kilograms of weight. However, this ratio must be adjusted immediately based on your personal fitness, body fat percentage, and lung capacity. Divers with larger lung volumes or higher body fat percentages generally require more weight to overcome their natural buoyancy, while highly muscular individuals may require less.
When traveling to tropical destinations, it is wise to plan for flexibility. Packing heavy lead weights in your luggage is impractical and costly due to airline weight limits. Instead, prioritize a slightly lighter personal gear setup and plan to use local rental weights at your destination. Most dive centers provide standard lead blocks or shot pouches. By knowing your baseline requirements, you can easily request the correct amount of weight from the local dive operator and make minor adjustments on-site.
Verify Your Load With a Surface Buoyancy Test
Never descend without verifying your weight configuration through a standardized surface buoyancy test. This check must be performed in water that is too deep to stand in, with your regulator in your mouth and your buddy nearby. Begin by deflating your buoyancy control device (BCD) completely while holding a normal breath of air. Do not kick or move your arms, as any physical movement can artificially push you upward.
In a properly weighted configuration, you should float at eye level with the water’s surface while holding a normal breath. When you exhale completely, you should begin to sink slowly and smoothly. If you float high above eye level even after exhaling, you are under-weighted and will struggle to descend or maintain your depth. Conversely, if you sink rapidly like a stone while holding a full breath, you are over-weighted.
Over-weighting is a serious safety hazard that can lead to rapid, uncontrolled descents, increased air consumption, and difficulty maintaining a stable depth. It forces you to keep excess air in your BCD to compensate, which creates a highly unstable buoyancy profile as you change depths. To avoid this, make incremental adjustments to your weight belt or integrated pockets in small steps—such as adding or removing 1 to 2 pounds (approximately 0.5 to 1 kilogram) at a time—until you achieve the correct eye-level balance.
Validate and Adjust Your Weight Underwater
A successful surface test is only the first step; you must also validate your buoyancy behavior throughout the actual dive. The most critical moment to assess your weighting is at the end of the dive during your safety stop, typically at a depth of 5 meters (15 feet). At this point, your scuba cylinder is near its reserve pressure (around 50 bar or 700 psi), making the tank lighter than it was at the beginning of the dive.
If you can maintain a stable safety stop at 5 meters with an empty BCD and a relaxed breathing pattern, your weight configuration is correct. However, if you find yourself constantly kicking downward, holding onto a mooring line, or fighting an uncontrolled ascent as your tank empties, you are under-weighted. For future dives, you will need to add enough weight to offset the weight of the gas you consumed during the dive.
Conversely, watch for signs of over-weighting during your dive. If you must constantly add large amounts of air to your BCD to stay neutral at depth, or if you feel heavy and drag your fins near the bottom, you are carrying too much lead. This excess weight increases drag, ruins your streamline, and forces your body to work harder, which rapidly depletes your air supply. Keep a detailed record in your dive log after every dive, noting the water type, suit thickness, tank material, amount of weight used, and how easy it was to maintain your safety stop. This log becomes an invaluable reference for your future underwater adventures.
Configure Your Gear for Safe and Balanced Trim
Once you determine the correct amount of weight, how you distribute that weight across your body is crucial for comfort and safety. Traditional weight belts are a simple and cost-effective option, but they can slip down your hips as your exposure suit compresses at depth. Integrated BCD weight pockets offer a more comfortable alternative, distributing the load directly to your harness and reducing strain on your lower back. Many modern BCDs also feature non-releasable trim pockets located on the tank bands or upper shoulders, which help fine-tune your center of gravity.
Regardless of the system you choose, safety must remain your top priority. Any weight system you use must feature a reliable, easily accessible quick-release mechanism that can be operated with one hand in an emergency. Ensure that your buddy is familiar with your specific weight release system during your pre-dive safety check. Nothing should obstruct the release handles, and you must be able to ditch your weights instantly if you need to establish positive buoyancy at the surface.
To achieve optimal horizontal trim—the ideal swimming position where your body is parallel to the bottom—distribute your weights evenly between your left and right sides. If you tend to float feet-first, moving some weight higher up on your tank band or BCD trim pockets can help level your body. Proper weight distribution reduces water resistance, lowers your air consumption, and protects fragile marine environments by keeping your fins safely away from the reef.
Frequently Asked Questions (FAQ)
Choose Between Lead Shot and Solid Block Weights
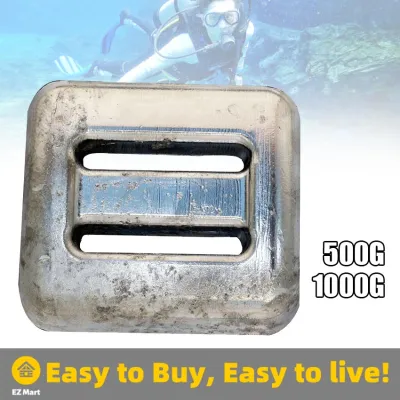
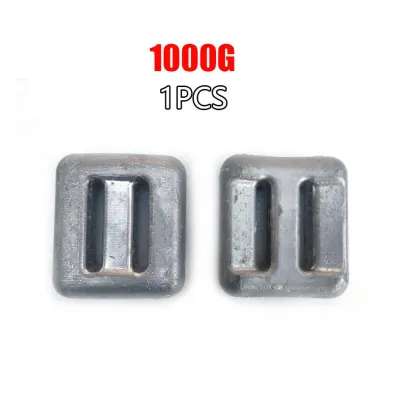
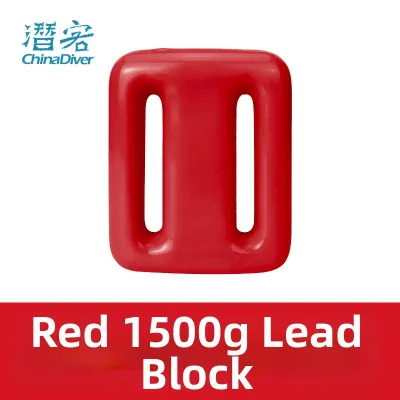
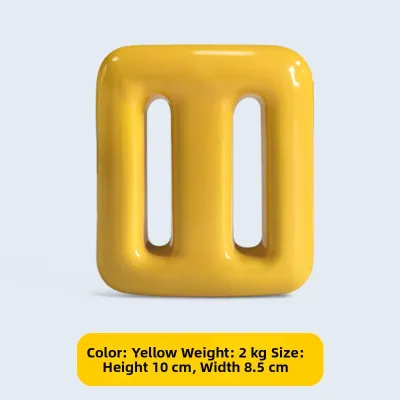
Lead shot weights consist of small lead pellets sealed inside mesh pouches, which conform comfortably to your body shape and fit easily into integrated BCD pockets. Solid block weights are rigid, cast-lead blocks threaded onto a traditional webbing belt; while less flexible, they are highly durable, widely available at dive centers worldwide, and generally less expensive. When traveling, check airline baggage restrictions, as carrying heavy lead weights in checked luggage can quickly trigger expensive overweight baggage fees. Most divers prefer to rent standard blocks or shot bags at their destination rather than transporting their own.
Adjust for Saltwater Diving in the Philippines
Diving in the warm, highly saline waters of the Philippines requires more weight than diving in freshwater lakes or brackish environments. The high salt concentration increases water density, making your body and gear more buoyant. When transitioning to these tropical marine environments, expect to add approximately 2 to 4 pounds (1 to 2 kilograms) of weight to your baseline freshwater configuration. Always perform a fresh surface buoyancy check at your local dive site before your first descent to ensure your weighting is perfectly calibrated for the local salinity.
Community discussion
Share your experience or ask a question. Comments are reviewed before publication.