
Selecting the right camping water bottle requires balancing durability, weight, and ease of use against the specific demands of your outdoor environment. A reliable bottle must withstand accidental drops on rocky trails, keep your water clean and accessible, and fit seamlessly into your packing system. Rather than searching for a single universal winner, the key is matching the bottle’s material, insulation properties, lid style, and capacity to your specific activity, whether you are setting up a basecamp or embarking on a multi-day trek.
Core Material and Capacity Decisions
When selecting a camping water bottle, the material you choose dictates how much weight you will carry, how well the bottle survives a fall, and whether your water will retain an unpleasant aftertaste. Stainless steel is highly favored for its exceptional durability and taste neutrality. High-grade food-safe stainless steel does not retain flavors from previous drinks, making it easy to switch from water to electrolyte mixes. However, metal bottles are heavier than their plastic counterparts and can dent when dropped on hard surfaces, though they rarely crack or puncture.
Hard plastic bottles, particularly those made from co-polyester materials like Tritan, offer an excellent balance of lightweight performance and impact resistance. These bottles are virtually shatterproof under normal trail conditions, transparent enough to let you monitor your water levels, and relatively inexpensive. While modern outdoor plastics are formulated to be BPA-free and BPS-free, some users still report a subtle plastic taste when water is left in them under hot sun.
Products mentioned in this guide
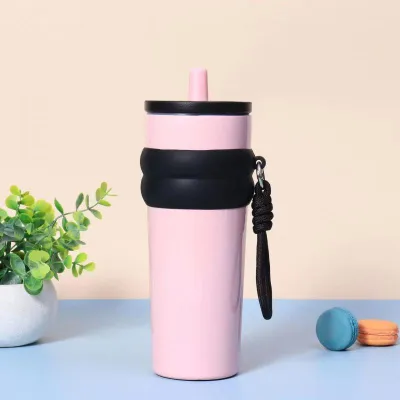
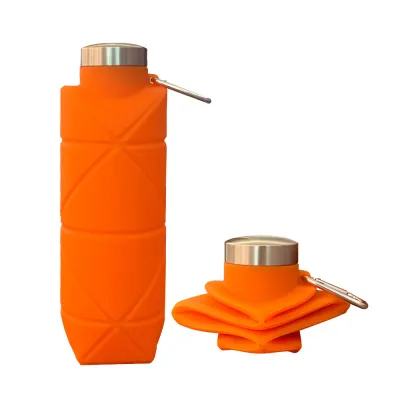
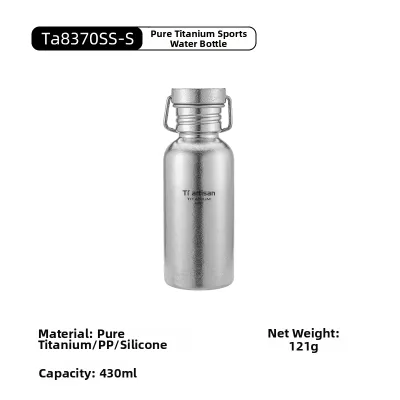
Prices are valid at publication and may change. Please refer to the product page for the latest price.
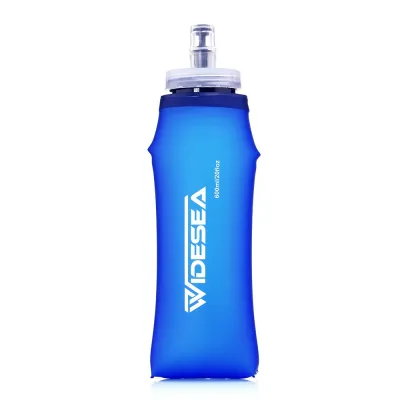
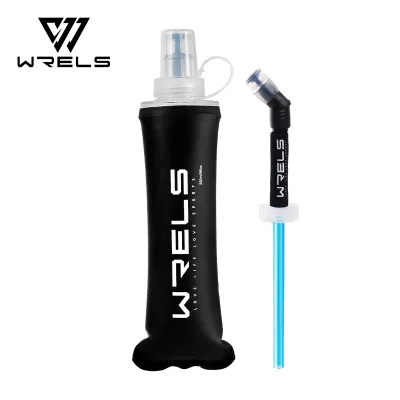
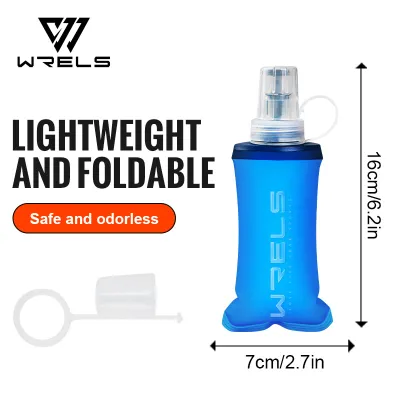
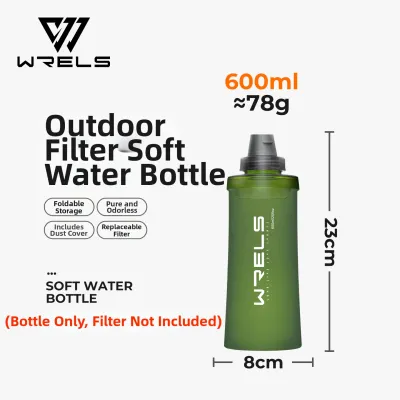
Collapsible silicone bottles represent the ultimate space-saving option for weight-conscious hikers. These flexible containers can be rolled up or compressed flat when empty, freeing up valuable space inside your backpack. They are incredibly light and cannot crack or dent. However, silicone is highly flexible, which can make the bottle floppy and difficult to hold or drink from with one hand when it is only partially full. Additionally, silicone can sometimes absorb odors from flavored drinks or soapy dishwater if not cleaned promptly.
Calculating your baseline hydration needs is critical to avoiding dehydration without overloading your pack. In hot, humid tropical environments, your body loses fluids rapidly through sweat, even during moderate physical activity. As a general guideline, active hikers should plan to consume approximately 500 milliliters of water for every hour of moderate trekking in warm weather. Because water weighs exactly one kilogram per liter, carrying excessive amounts can quickly fatigue your muscles. To optimize your pack weight, research your trail’s water sources beforehand to determine if you can carry a smaller bottle and filter water along the way, or if you must carry a larger capacity to bridge dry stretches.
The diameter of the bottle’s mouth opening significantly affects its daily usability on the trail. Wide-mouth bottles, typically featuring an opening of around 63 millimeters, are highly versatile. They allow you to easily drop in ice cubes, pour in powdered drink mixes without spilling, and thoroughly scrub the interior with a bottle brush. More importantly, wide-mouth threads are the standard interface for many outdoor water filters and purification pumps, allowing you to screw the filter directly onto the bottle for a spill-free fill. Standard-mouth or narrow-mouth bottles are easier to drink from while walking because they restrict the water flow, reducing the risk of splashing your face, but they are much harder to clean and cannot be easily filled from shallow natural streams.
Insulation and Temperature Control
Deciding between an insulated bottle and a single-wall bottle depends heavily on your camping environment and how much weight you are willing to carry. Double-wall vacuum insulation works by creating a vacuum gap between two layers of stainless steel, which prevents heat transfer by conduction or convection. This technology is incredibly effective at keeping drinks ice-cold for up to 24 hours or hot for up to 12 hours, providing a refreshing cold drink during a humid midday trek or a warm beverage during a chilly night at a high-altitude campsite.

However, this thermal performance comes with a significant weight penalty. An empty double-wall insulated bottle can weigh three to four times more than a single-wall bottle of the same capacity. This extra weight can become a major drawback during long-distance backpacking trips where every gram matters. Furthermore, the double-wall construction increases the external dimensions of the bottle, making it bulkier and sometimes more difficult to fit into standard backpack side pockets.
Single-wall metal or plastic bottles are the preferred choice for ultralight backpackers and thru-hikers who prioritize a minimal pack weight. Because they lack the secondary outer wall and vacuum gap, they are exceptionally light and compact. Single-wall bottles also allow for faster heat transfer, which can be an advantage if you want to use your bottle as a makeshift hand warmer by filling it with warm water at night. Additionally, unpainted single-wall stainless steel bottles can serve as emergency water boiling vessels directly over a camp stove or campfire, a life-saving capability that insulated bottles do not possess.
When evaluating temperature retention, avoid relying on vague marketing claims like “keeps cold all day.” Instead, consult the manufacturer’s official specifications, which often detail the exact number of hours the bottle can maintain specific temperature ranges under controlled testing conditions. Keep in mind that these ratings are based on starting with a bottle completely filled with ice or boiling water; real-world performance will vary depending on ambient temperatures, how often you open the lid, and whether the bottle is exposed to direct sunlight.
Lid Designs and Trail Usability
The lid of your camping water bottle is your primary interface for hydration, and its design directly impacts how easily you can drink while on the move. Screw caps are the most traditional and reliable option. Because they have no complex moving parts, they are highly durable and virtually leak-proof when tightened correctly. However, they require two hands to operate and can be easily dropped or lost if they are not tethered to the bottle neck.
Flip-top and push-button lids offer convenient, one-handed operation, allowing you to take a quick drink without stopping or dropping your trekking poles. Many of these designs feature a secondary locking metal bail to prevent the lid from popping open accidentally inside your pack. The primary drawback of these lids is their mechanical complexity; the small plastic hinges, springs, and latch mechanisms are vulnerable to breaking if the bottle is dropped onto hard rocks, and they can be difficult to operate if you are wearing thick gloves.
Straw lids and bite valves allow you to drink without tilting the bottle, which is excellent for maintaining your forward vision on technical trails. They are highly convenient for quick sips but are notoriously difficult to keep clean. The internal silicone straws and flexible bite valves have tiny crevices where dirt, dust, and backwashed organic matter can accumulate, creating a breeding ground for mold and bacteria, especially in warm, humid climates.
To prevent catastrophic leaks that can soak your sleeping bag or spare clothing, look for lids equipped with high-quality, replaceable silicone gaskets. A good gasket creates a tight, airtight seal that prevents water from escaping even when the bottle is subjected to the pressure changes of high-altitude climbs. Before purchasing, check if the manufacturer sells replacement gaskets and lids separately, as these soft components will eventually wear out, stretch, or degrade over years of use.
The ease of disassembling the lid for cleaning is a crucial factor in maintaining water quality. Complex lids with multiple nested parts, slide locks, and internal straws require regular, meticulous cleaning with specialized small brushes. If you plan to go on extended trips where clean running water and cleaning tools are unavailable, a simple, single-piece screw cap is the safest choice, as it has no hidden cavities where mold can grow unnoticed.
Matching Features to Your Camping Style
To narrow down your choices, it is helpful to match the bottle’s features to the specific style of outdoor activity you plan to pursue. Car camping and established basecamps allow you to prioritize comfort and capacity over weight. Because your vehicle handles the heavy lifting, you can opt for large-capacity, heavily insulated stainless steel bottles or growlers. These models keep large volumes of water or ice-cold beverages fresh for days, reducing the need to constantly access a melting cooler. Look for rugged powder-coated finishes that resist scratches from camp tables and gravel.
For backpacking, thru-hiking, and long-distance trail running, your primary focus should be on minimizing weight and pack volume. In these scenarios, collapsible silicone bottles or ultralight, single-wall plastic bottles are highly advantageous. These options keep your base pack weight low and can be compressed as you consume your water, preventing the sloshing sound of half-empty rigid bottles and freeing up space for gear. If you choose a rigid bottle for backpacking, ensure it has a slim profile that slides easily in and out of your pack’s side pockets without snagging.
Day hiking and active outdoor sports require a balanced approach that combines moderate insulation with high usability. A medium-capacity bottle (typically between 700 milliliters and 1 liter) provides sufficient hydration for a few hours on the trail without becoming excessively heavy. Look for bottles featuring integrated carry loops, molded finger grips, or carabiner attachment points, which allow you to secure the bottle to the outside of your pack for quick access or carry it comfortably in your hand during short walks.
Pre-Purchase Checks and Care Requirements
Before finalizing your purchase, perform a few physical checks to ensure the bottle integrates seamlessly with your existing outdoor gear. Measure the outer diameter of the bottle’s base and compare it to the side pockets of your favorite hiking backpack; a bottle that is too wide will stretch and damage the mesh, while one that is too narrow may slip out when you bend over to tie your boots. If you plan to use the bottle during your drive to the trailhead, verify that it fits into your vehicle’s standard cup holders.
Carefully read the manufacturer’s labels and product specifications to verify material safety and certification standards. Look for clear indications of food-grade materials, such as 18/8 stainless steel or BPA-free plastics. Check the warranty terms provided by the brand; many premium outdoor manufacturers offer limited lifetime warranties that cover manufacturing defects, broken lids, or failed vacuum seals, which adds significant long-term value to your purchase.
In the local market, camping water bottles can range in price from budget-friendly options around ₱300 to premium, high-performance insulated models costing upwards of ₱2,500. While a cheaper bottle may seem attractive initially, investing in a high-quality bottle from a reputable brand often proves more economical over time. Premium bottles are built to withstand years of rugged trail abuse, and the availability of replacement lids, gaskets, and accessories means you can easily repair your bottle rather than replacing the entire unit if a single part breaks.
Proper care and maintenance are essential to preserving the performance and lifespan of your camping water bottle. Never expose vacuum-insulated bottles to extreme heat sources, such as dishwashers, freezers, or direct campfires, as this can permanently damage the vacuum seal and destroy its insulating properties. To clean your bottle without damaging its materials, use warm water, mild dish soap, and a soft bottle brush; avoid harsh chlorine bleach or abrasive steel wool, which can scratch the protective inner lining of stainless steel bottles and lead to corrosion.
Frequently Asked Questions (FAQ)
Can I boil water directly in a camping water bottle?
You can only boil water directly in a single-wall, unpainted, non-insulated stainless steel or titanium water bottle, and only if the manufacturer explicitly states it is safe to do so. You must remove the lid, silicone gaskets, and any plastic parts completely before placing the bottle over a campfire or camp stove. Never attempt to heat a double-wall vacuum-insulated bottle, as the sealed air chamber can expand rapidly, causing the bottle to deform, rupture, or explode violently. Plastic and silicone bottles will melt or release toxic chemicals when exposed to direct flame.
How do I prevent my water bottle from freezing in cold weather?
When camping in cold, high-altitude areas like Mt. Pulag or Mt. Dulang-dulang, water inside your bottle can freeze overnight. To prevent this, store your water bottle upside down in your tent or pack; ice forms from the top down, so this keeps the liquid water near the lid, allowing you to open it in the morning. You can also use an insulated neoprene bottle sleeve to slow down heat loss. For extreme cold, keep the bottle inside your sleeping bag near your feet overnight, ensuring the lid is sealed perfectly to prevent leaks. Avoid adding unverified chemical anti-freeze agents, which can make the water unsafe to drink.
Is a hydration bladder better than a water bottle for camping?
A hydration bladder offers hands-free drinking through a tube, encouraging regular sipping and distributing water weight evenly along your spine inside your backpack. However, bladders are more difficult to refill from natural water sources, harder to clean, and prone to punctures or hose leaks. Rigid water bottles are far more durable, easier to fill, simple to clean, and can hold hot liquids or ice. Many campers use a hybrid approach: a hydration bladder for active hiking and a durable water bottle at camp for mixing drinks, cooking, and backup storage.
Community discussion
Share your experience or ask a question. Comments are reviewed before publication.