
Selecting a specialized holster—often referred to in shooting sports as a spider holster or minimalist rig—requires balancing rapid accessibility with reliable firearm security. For beginners entering competitive shooting or tactical training, the ideal setup hinges on verifying exact firearm compatibility, understanding the retention mechanics required by your specific discipline, and ensuring the mounting system can withstand long days on the range. In hot, humid tropical environments like the Philippines, factors like sweat resistance, material durability, and belt stability become even more critical to prevent gear shift during rapid movement.
Understand Your Shooting Discipline and Carry Needs
Before purchasing any holster, you must identify the specific rules of your chosen shooting sport or training program. Organizations such as the International Practical Shooting Confederation (IPSC) and the International Defensive Pistol Association (IDPA) enforce strict guidelines regarding holster design, placement, and distance from the shooter’s body. A highly specialized, dropped-and-offset rig that is ideal for open-class competition may be completely prohibited in a defensive pistol division. Beginners should always consult the official rulebook of their local club or national association to ensure their gear is fully compliant before arriving at a match.
Your physical build and preferred carry position also dictate how a holster performs during dynamic movement. Strong-side hip carry is the most common starting point for beginners due to its intuitive draw path and widespread acceptance in introductory training courses. However, some multi-gun matches or tactical scenarios may require a dropped thigh rig to clear bulky chest rigs or load-bearing vests. Each position alters your center of gravity and changes how you must clear your cover garment, meaning you must select a mounting style that matches your physical mobility and range of motion.
Products mentioned in this guide
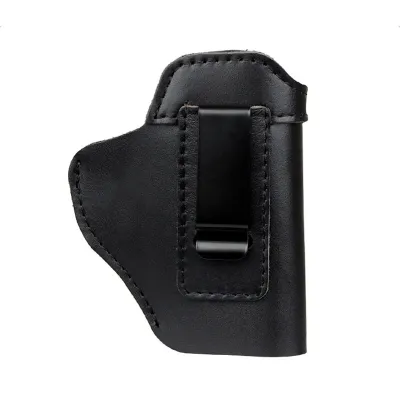
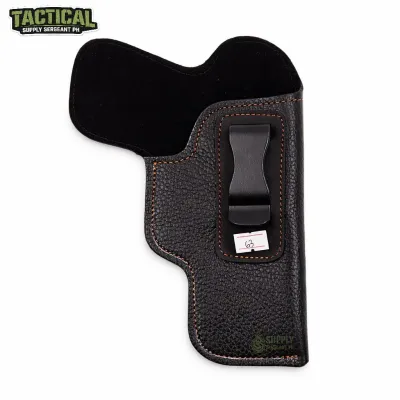
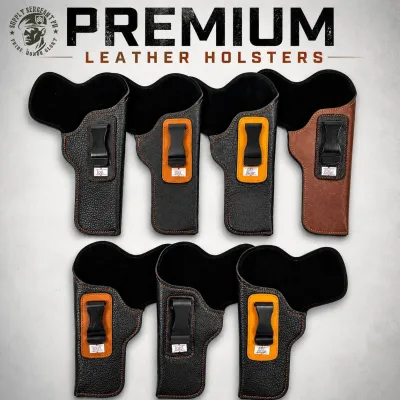
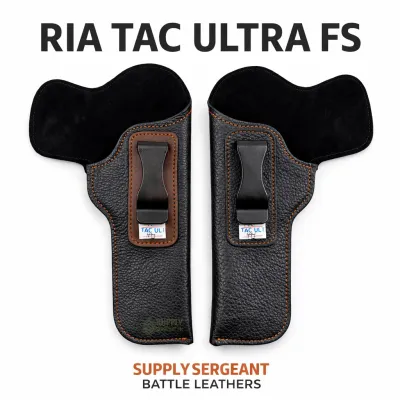
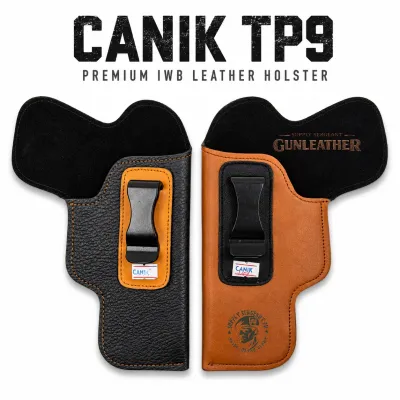
Prices are valid at publication and may change. Please refer to the product page for the latest price.
Concealment requirements represent another critical decision point that influences holster selection. While open-carry style holsters offer the fastest access for timed sports, practical self-defense training often demands realistic concealment under a light shirt or jacket. In tropical climates where heavy outerwear is impractical, choosing a low-profile holster that rides close to the body without snagging on lightweight linen or cotton clothing is essential. This balance ensures you can practice realistic draw strokes without your clothing interfering with the presentation of the firearm.
Verify Firearm Compatibility and Fit
A holster must fit your specific handgun with high precision to ensure safe operation on the range. Never rely on generic sizing charts or assume that a holster designed for one model will securely fit a different generation or variant of the same firearm. Even minor differences in slide width, frame geometry, or trigger guard shape between different production generations can prevent a holster from securing the firearm properly. Always cross-reference the holster manufacturer’s official compatibility database, matching the exact make, model, barrel length, and generation of your handgun.

Modern shooting sports frequently utilize modified firearms, which introduces additional compatibility challenges. If your handgun features suppressor-height iron sights or a slide-mounted red dot optic, you must verify that the holster’s sight channel is cut deep enough and that the optic hood clears your specific red dot. A holster that pinches the front sight or presses against the optic housing can prevent the firearm from seating fully, which compromises the locking mechanism and can lead to accidental drops.
Weapon-mounted lights and lasers present another critical compatibility checkpoint that beginners often overlook. Holsters designed for bare handguns will not accommodate a light-equipped model, and vice versa. When selecting a holster for a light-equipped firearm, the retention is often engineered around the body of the light itself rather than the trigger guard. This makes it vital to match the exact light model to the holster specification, as even a minor variance in light dimensions will prevent the firearm from locking securely into place.
Evaluate Retention Mechanisms and Draw Speed
Retention mechanisms are categorized into passive and active systems, each serving a distinct purpose depending on your shooting activity. Passive retention relies entirely on friction and tension, holding the firearm in place through the molded shape of the holster material. Active retention, on the other hand, incorporates a mechanical lock—such as a thumb-activated lever, a push button, or a rotating hood—that you must manually disengage during the draw sequence. Beginners must weigh the speed of a passive system against the enhanced security of an active system.
Adjusting passive retention is typically achieved through one or more tension screws located along the trigger guard seam of the holster. Tightening these screws increases the clamping force on the firearm, while loosening them eases the draw. Beginners should aim for a balanced setting where the firearm remains seated during moderate physical activity but releases smoothly without requiring excessive upward force that pulls the entire belt upward. If you must strain or jerk the firearm to release it, the tension is too high and must be adjusted.
Your choice of retention level must align directly with your safety requirements and sport regulations. For highly dynamic sports involving running, climbing, or physical obstacles, an active retention system provides essential protection against accidental drops. Conversely, for stationary or purely speed-focused timed shooting events, a finely tuned passive retention holster minimizes drag and maximizes draw efficiency. Regardless of the system you choose, safety remains the primary priority; a fast draw is useless if the firearm is not secure during movement.
Assess Material, Comfort, and Belt Attachment
The choice of holster material directly impacts its durability, maintenance, and comfort during long training sessions. Kydex and injection-molded polymers are highly favored in shooting sports due to their rigid structure, resistance to moisture, and consistent retention properties. In humid tropical climates, polymer materials excel because they do not absorb sweat, warp, or rot, unlike traditional leather holsters which require meticulous drying and conditioning to prevent mold. Polymer holsters also maintain their shape when empty, allowing for safe, one-handed reholstering.
A holster is only as stable as the belt supporting it, making the attachment system a critical component of your gear. When selecting a holster, ensure the mounting clips, loops, or paddles match the exact width and thickness of your shooting belt—typically 1.5 inches to 2 inches. Any play or shifting between the holster mount and the belt will cause the holster to tilt during a draw, leading to a binding effect that can completely stall your presentation. A rigid, dedicated shooting belt is highly recommended to distribute the weight of the firearm evenly.
Sweat guards are another critical comfort feature to evaluate, especially during extended outdoor practice sessions. A full sweat guard extends up the inner side of the holster, creating a protective barrier between the firearm’s slide and your body. This not only prevents the metal components of your firearm from corroding due to salty perspiration but also shields your skin from sharp edges, slide serrations, and hot metal during extended practice sessions under the sun. For beginners, a mid-to-full sweat guard offers an optimal balance of protection and comfort.
Step-by-Step Fitting and Adjustment Guide
Once your new holster arrives, you must systematically test and adjust it before attempting any live-fire exercises. Begin by selecting a dedicated, safe practice area completely free of live ammunition. Double-check and triple-check that your firearm is completely unloaded, removing the magazine and visually inspecting the chamber to ensure safety. Never perform holster adjustments or dry-fire practice with live ammunition in the room.
With your unloaded firearm, perform a series of slow, deliberate insertion and extraction tests. Pay close attention to how the firearm seats into the holster. You should feel a clean, positive engagement without any scraping, binding, or excessive resistance. If the draw feels sticky or requires you to pull your belt upward, locate the tension adjustment screws and make minor adjustments—no more than a quarter-turn at a time—until the movement is smooth and consistent.
To verify that the retention is sufficient, perform a controlled inversion test over a soft surface, such as a bed or a padded mat. Insert the unloaded firearm fully into the holster, then carefully turn the holster upside down. The firearm should remain securely in place under the influence of gravity. If it slips out easily, tighten the tension screws immediately and repeat the test until the firearm is held firmly. If your holster features an active retention lock, verify that the lock engages automatically and cannot be bypassed without pressing the release.
Before transitioning to live-fire training at the range, commit to extensive dry-fire practice to build consistent muscle memory. Practice drawing from your chosen carry position slowly, focusing on a clean grip, a straight upward draw path, and a smooth presentation to the target. Gradually increase your speed only when you can perform the entire sequence safely and consistently without fumbling or looking down at your holster. If you experience any binding or difficulty during dry-fire, stop immediately and re-evaluate your holster tension and belt alignment.
Frequently Asked Questions (FAQ)
How do I clean and maintain a polymer or Kydex holster?
Maintaining a polymer or Kydex holster is straightforward but essential for preventing wear on your firearm’s finish. Over time, internal surfaces collect dust, lint, and unburned powder residue, which can act like sandpaper against your handgun. To clean it, wipe the interior and exterior with a damp microfiber cloth and mild soapy water, then dry it completely. Avoid harsh chemical solvents, aerosol sprays, or high heat sources like hair dryers, as these can warp or degrade the polymer structure. Regularly inspect all mounting hardware and tension screws, applying a small drop of medium-strength thread-locking compound if you notice them backing out.
Can I use the same holster for different firearms?
Using a single holster for multiple different firearms is generally not recommended and can introduce serious safety risks. High-quality holsters are molded to the exact dimensions of a specific firearm model to ensure the trigger guard is fully covered and the retention mechanism engages correctly. Attempting to force a different handgun into a non-compatible holster can result in inadequate retention, exposing the trigger, or causing the firearm to fall out during movement. Unless a manufacturer explicitly certifies a holster for a specific family of highly similar models, always purchase a dedicated, custom-fit holster for each firearm in your collection.
Community discussion
Share your experience or ask a question. Comments are reviewed before publication.