
Finding the right bike size for a child between the ages of 2 and 5 is the single most important step in launching their cycling journey. At this developmental stage, children typically require a bike with 12-inch or 14-inch wheels, but age alone is never a reliable indicator of fit. Instead, the correct bike size depends entirely on your child’s height and inseam measurement. A properly fitted bike ensures your child can comfortably touch the ground, control their steering, and stop safely, turning what could be a frustrating experience into a fun, confidence-building outdoor activity.
Why Proper Bike Fit Matters for Toddlers and Preschoolers
When a child rides a bike that does not fit their body, they face immediate physical and safety hurdles. An oversized bike presents severe balance and control risks. If a toddler cannot easily plant both feet flat on the ground while seated, they will struggle to stop, leading to frequent tips and falls. These early accidents can damage a child’s confidence, turning an exciting milestone into a source of fear.
Conversely, an undersized bike introduces its own set of problems. When a bike is too small, the child’s knees rise too high during the pedal stroke, often hitting the handlebars during sharp turns. This cramped posture causes pedaling inefficiency and rapid muscle fatigue. In tropical climates where afternoon heat and humidity are common, an inefficient riding position makes outdoor play exhausting very quickly, causing children to lose interest in riding.
Products mentioned in this guide


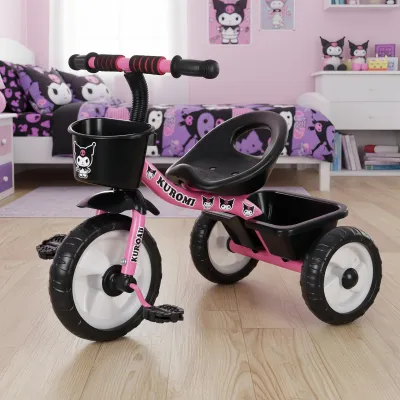
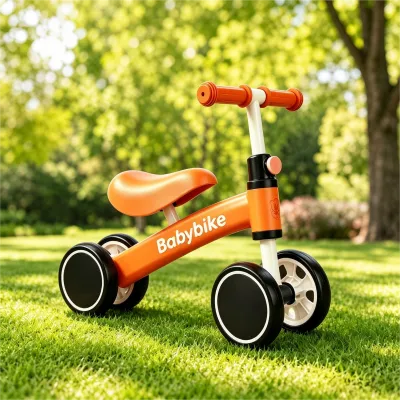
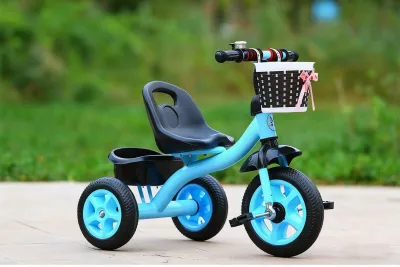
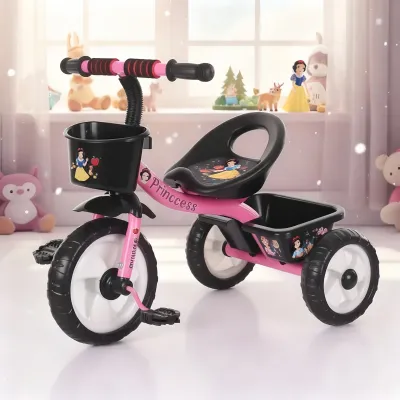
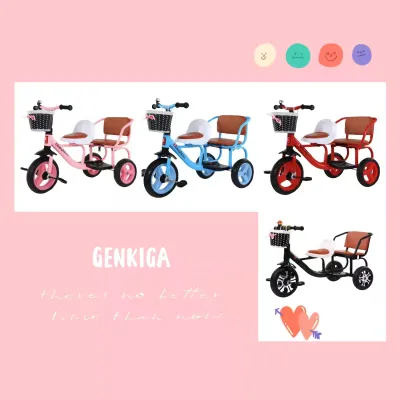
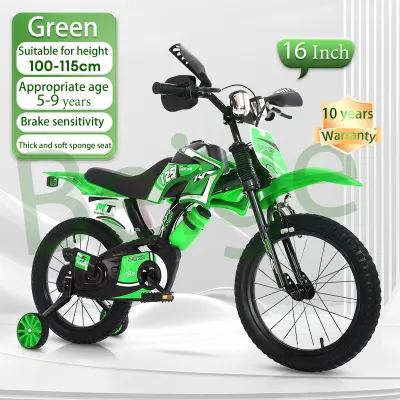
Prices are valid at publication and may change. Please refer to the product page for the latest price.
A properly sized bike builds immediate riding confidence. When a child feels stable and in control, they are much more willing to experiment, balance, and pedal. This sense of security allows them to focus on developing their coordination and spatial awareness, turning rides around the local subdivision or park into joyful, active adventures.
How to Measure Your Child for a Kids Bike
To find the perfect bike size, you must move past age recommendations and obtain precise physical measurements. Measuring your child at home is a straightforward process that requires only a few basic household items. Gather a metal tape measure, a flat hardcover book, and find a flat wall with smooth flooring.

Start by measuring your child’s total height. Have them stand barefoot with their back, shoulders, and heels flat against the wall. Ensure they are looking straight ahead and standing as tall as possible. Place the hardcover book flat on top of their head, keeping it perfectly level with the floor, and make a light pencil mark on the wall at the bottom edge of the book. Measure the distance from the floor to the pencil mark.
Next, measure their inseam, which is the most critical measurement for determining standover clearance and seat height. Have your child stand in the same barefoot position, slightly straddling the hardcover book as if it were a bike saddle. Gently slide the book up between their legs until it firmly meets their crotch, mimicking the pressure of a real bike seat. Measure the distance from the top edge of the book straight down to the floor. Note this measurement down carefully, as it will dictate the frame and seat height limits your child needs.
Matching Measurements to Wheel and Frame Sizes
Once you have your child’s height and inseam measurements, you can begin comparing them to actual bike specifications. It is vital to consult the specific manufacturer’s sizing chart for any bike you are considering, rather than relying on generic online guides. Different brands design their frames with unique geometries, meaning a 12-inch wheel bike from one manufacturer may feel much larger or smaller than a 12-inch bike from another.
To ensure a safe fit, you must understand the relationship between your child’s inseam, the bike’s standover height, and its minimum seat height. The standover height is the distance from the ground to the top of the frame’s top tube. For safety, your child’s inseam must be at least one to two inches longer than the standover height, ensuring they can stand over the frame with both feet flat on the ground without touching the metal bar.
For toddlers aged 2 to 5, wheel sizes generally fall into the 12-inch and 14-inch categories. A 12-inch wheel bike is typically suitable for children measuring between 85 and 100 centimeters tall, while a 14-inch wheel bike often fits children between 95 and 110 centimeters tall. However, treat these wheel sizes as general reference points; always prioritize the inseam and seat height compatibility over the wheel diameter.
Key Bike Features to Check for Young Riders
Selecting the right bike involves evaluating several physical design features beyond the basic wheel size. First, examine the seat post adjustability. Children in the 2 to 5 age bracket grow rapidly, so you want a seat post with a wide adjustment range. Verify the minimum and maximum insertion limits marked on the seat post to ensure the frame can safely accommodate your child’s height both now and over the coming months.
Handlebar reach and height adjustments are equally important for comfortable steering. Your child should be able to grip the handlebars comfortably without leaning excessively forward or locking their elbows straight. Look for handlebars that allow minor angle or height adjustments, which help maintain an upright, relaxed riding posture that prevents strain on their lower back and shoulders.
The overall weight of the bike is a critical factor that many parents overlook. Many inexpensive kids’ bikes are constructed from heavy steel alloys, sometimes weighing up to 70 or 80 percent of the child’s total body weight. A heavy bike is incredibly difficult for a small child to push, steer, and lift after a fall. Whenever possible, look for lightweight aluminum frames, which are much easier to maneuver and control, especially during warm, humid outdoor sessions.
Finally, check the brake lever reach if the bike is equipped with hand brakes. Toddlers have small hands and limited grip strength. Test the levers to ensure they are positioned close to the grips and can be easily squeezed by tiny fingers. If the levers are too far away or too stiff, your child will not be able to stop safely, making coaster brakes (pedaling backward to stop) a safer alternative for their first pedal bike.
How to Test the Bike Fit Before Riding
Before letting your child ride on paved paths or public spaces, perform a practical, observable fit test at home or at a local bike shop. This checklist ensures the bike is adjusted correctly for their current physical proportions. Always ensure they wear a properly fitted helmet and closed-toe shoes before testing, and conduct these checks in a safe, traffic-free environment like a flat backyard or a quiet subdivision street.
Begin with the standover test. Have your child stand completely flat-footed over the top tube of the frame. Observe the clearance between their crotch and the frame. There should be a clear gap of at least one inch for paved riding, and up to two inches if they are riding on uneven grass or dirt paths. If they must tilt the bike or stand on their tiptoes to clear the bar, the bike is too large and unsafe to ride.
Next, conduct the seated pedaling test. Have your child sit on the saddle with their feet on the pedals. Rotate the pedals until one foot is at the absolute bottom of the pedal stroke. At this point, observe their leg extension; there should be a slight, comfortable bend in the knee of about 15 to 20 degrees. If their leg is completely straight or their hips rock from side to side to reach the pedal, the seat is too high. If their knee is bent sharply and pointing outward, the seat is too low.
Finally, check their handlebar reach. With your child sitting on the saddle and gripping the handlebars, their elbows should be slightly bent, and their shoulders should be relaxed. They should be able to turn the handlebars fully to the left and right without stretching their torso forward or losing their balance on the seat.
When to Size Up or Transition to a Larger Bike
As children grow, their riding posture will change, and they will eventually outgrow their first bike. Keep a close eye on physical signs of discomfort. If your child’s knees are consistently hitting the handlebars while turning, or if their knees rise above their hip joint at the top of the pedal stroke, the bike has become too small.
Another clear indicator is the seat post height. If you have raised the saddle to its maximum safety limit—indicated by the safety line etched into the metal post—and your child still looks cramped, it is time to transition to a larger size. Riding with a seat post extended past this safety line risks damaging the frame or causing a sudden mechanical failure.
When transitioning from a balance bike to a pedal bike, do not automatically jump to a much larger wheel size. Keep the sizing rules consistent. Even if your child has mastered balance, they still need to be able to touch the ground comfortably to manage the added weight and complexity of pedaling and braking. If you are ever unsure about the fit, consult the manufacturer’s detailed geometry charts or visit a local bike shop for professional guidance.
Frequently Asked Questions (FAQ)
Should I buy a bigger bike so my child can grow into it?
No, buying an oversized bike for a young child is a significant safety hazard. A bike that is too large is difficult to steer, heavy to balance, and prevents the child from putting their feet flat on the ground during a sudden stop. This lack of control often leads to frequent falls, which can cause injuries and severely damage their confidence. It is always safer and more enjoyable for your child to ride a bike that fits them perfectly right now, even if they outgrow it in a season or two.
Do all bikes in the same wheel category fit the same way?
No, bikes with the same wheel size can fit very differently depending on the brand and model. Frame geometry, bottom bracket height, and seat tube angles vary widely across manufacturers. For example, a 12-inch bike designed with a low-step frame may have a much lower standover height than a 12-inch bike with a traditional straight top tube. Always check the specific manufacturer’s sizing chart and compare your child’s inseam to the bike’s minimum seat height rather than relying solely on the wheel diameter.
Is a balance bike better than a pedal bike with training wheels for this age?
For most children aged 2 to 5, a balance bike is highly recommended as a starting point. Balance bikes teach children how to steer and balance on two wheels without the distraction of pedaling. This builds core coordination much faster than a pedal bike equipped with training wheels, which can create a false sense of stability and delay balance development. Once your child can confidently coast on a balance bike, they can usually transition directly to a pedal bike without ever needing training wheels.
Community discussion
Share your experience or ask a question. Comments are reviewed before publication.