
When selecting a bike for kids girl, prioritizing her current height and inseam length over her age is the most critical decision you will make. While age-based charts are widely available, children grow at highly individualized rates. A child who is tall for her age might struggle on a bike recommended strictly for her demographic, while a shorter child may feel intimidated and unsafe on a frame that is too large. Finding the correct size ensures she can easily control the steering, comfortably reach the brake levers, and touch the ground securely when stopping.
In the Philippines, young riders frequently navigate neighborhood streets, subdivision roads, or local parks. The tropical climate introduces unique riding conditions, such as high humidity and sudden rain showers that can make asphalt and concrete pathways slippery. These environmental factors demand immediate braking response and absolute control over the bicycle. This guide provides a step-by-step framework to help you measure your daughter accurately, match her to the perfect wheel size, and adjust the frame components to ensure a safe, comfortable, and confidence-building cycling experience.
Choosing a bicycle that fits her perfectly today—rather than one she will grow into tomorrow—is the foundation of safe riding. When a child feels physically compatible with her equipment, she can focus on developing her balance, steering, and braking skills without fighting an unmanageable machine. Let’s look at why precise sizing is so vital before moving into the exact measurements you need to take.
Products mentioned in this guide
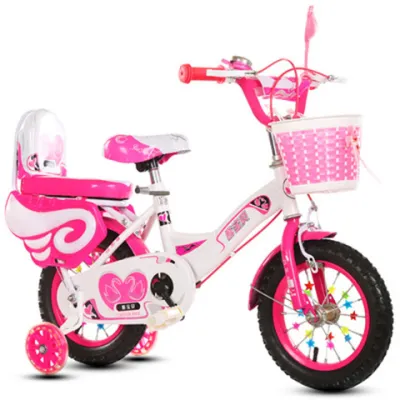
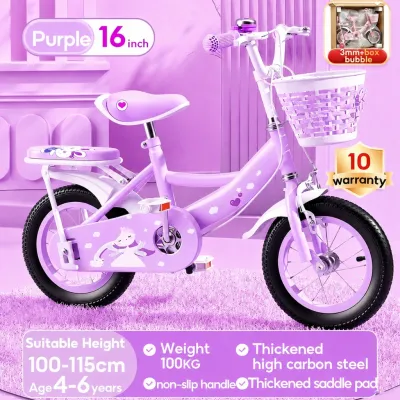
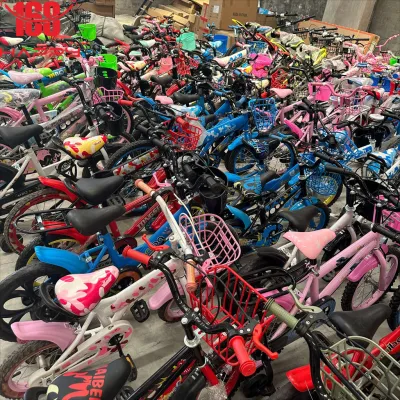
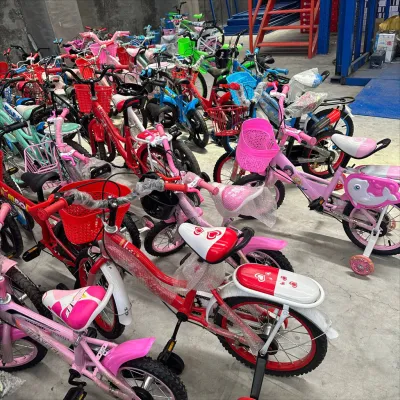
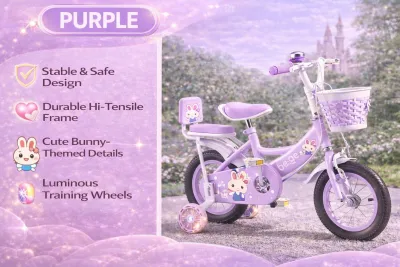
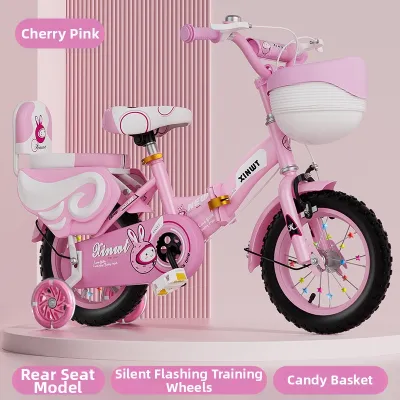

Prices are valid at publication and may change. Please refer to the product page for the latest price.
Why Proper Sizing of a Bike for Kids Girl Matters for Safety and Confidence
Many parents are tempted to purchase a larger bicycle with the expectation that their daughter will “grow into” it over a year or two. While this approach seems economical, it introduces severe safety hazards that can turn a fun outdoor activity into a stressful and dangerous experience. A bicycle that is too large prevents a child from touching the ground with her feet when stopping, leading to frequent falls, scrapes, and a loss of balance.
When a child cannot comfortably reach the handlebars or the brake levers, her reaction time is severely compromised. She will struggle to apply enough force to the brakes during sudden stops, which is particularly hazardous on sloping driveways or wet pavement. The physical strain of stretching to reach the pedals and handlebars also causes rapid fatigue, leading to muscle soreness, poor posture, and joint strain. Over time, this discomfort can cause her to associate cycling with physical pain rather than fun.
Beyond the physical risks, an oversized bike damages a young rider’s confidence. Instead of feeling in control, she will feel dominated by a heavy, unmanageable machine. This anxiety often leads to a reluctance to ride, causing the bike to sit unused in the garage. Starting with the correct size ensures she feels secure from her very first pedal stroke, fostering a lifelong love for cycling and outdoor adventure.
Step 1: Accurately Measure Her Height and Inseam
To find the perfect bike for kids girl, bypass generic age charts and obtain precise physical measurements. Because children have different torso and leg proportions, total height alone does not tell the whole story. You need both her standing height and her inseam measurement to determine the correct frame clearance.

To measure her total height correctly, have her stand straight against a flat wall without shoes. Ensure her heels, buttocks, and shoulders touch the wall, and her head is facing forward. Use a flat ruler or a hardcover book placed flat on top of her head to mark the wall gently, then measure from the floor to that mark using a metal tape measure. Avoid using soft fabric tape measures, as they can stretch over time and yield inaccurate readings.
To measure her inseam, which is the most critical metric for determining standover clearance, follow these steps:
- Prepare the setup: Have her stand against the wall with her typical riding shoes or sneakers on, as the sole thickness affects how her feet reach the ground on a bike.
- Position the guide: Place a hardcover book between her legs, sliding it up gently until it rests against her crotch to simulate the pressure of a bike saddle. Ensure the spine of the book is facing upward to mimic a seat.
- Mark and measure: Ensure the book is level against the wall, mark the top edge of the book on the wall, and measure the distance from that mark down to the floor.
This inseam measurement represents her actual leg reach and will prevent you from choosing a frame that is too tall for her to stand over safely. Keep this measurement handy when comparing different bike models online or in local bike shops, as it is the single most important factor in preventing painful mounting and dismounting errors.
Step 2: Match Her Measurements to the Correct Wheel Size
Unlike adult bicycles, which are sized by the frame height, children’s bicycles are categorized by their wheel diameter. The most common sizes for young riders are 12-inch, 14-inch, 16-inch, 20-inch, and 24-inch wheels. Each step up in wheel size accommodates a larger frame and different handling characteristics.
The following reference table maps these standard wheel sizes to typical height ranges, inseam measurements, and approximate age groups. Always prioritize height and inseam over age when these indicators conflict:
| Wheel Size | Child's Height Range | Inseam Range | Approximate Age |
|---|---|---|---|
| 12-inch | 85 cm to 100 cm | 35 cm to 42 cm | 2 to 4 years |
| 14-inch | 95 cm to 110 cm | 40 cm to 48 cm | 3 to 5 years |
| 16-inch | 105 cm to 120 cm | 45 cm to 53 cm | 4 to 6 years |
| 20-inch | 115 cm to 135 cm | 50 cm to 62 cm | 6 to 9 years |
| 24-inch | 130 cm to 150 cm | 60 cm to 72 cm | 8 to 12 years |
While age is a convenient starting point for browsing, individual growth spurts mean a seven-year-old might easily require a 16-inch or a 20-inch bike depending on her physical build. Always measure first to ensure accuracy, especially if she is transitioning from a balance bike directly to a pedal bike.
As your daughter transitions from a 20-inch to a 24-inch wheel size, the frame design begins to shift significantly. At the 24-inch mark, bikes start incorporating adult-style features, such as multiple gears, front suspension forks, and hand brakes for both front and rear wheels. This transition requires a higher level of coordination and hand strength, making a precise physical fit even more critical to prevent handling issues on public roads or trails.
Step 3: Evaluate Frame Geometry and Standover Clearance
Once you narrow down the appropriate wheel size, you must evaluate how her body interacts with the bicycle’s frame geometry. The most vital safety measurement to check is the standover height, which is the distance from the ground to the top of the bicycle’s top tube (the horizontal bar connecting the seat to the handlebars).
To check the standover clearance, have your daughter stand flat-footed over the top tube with the bike upright between her legs. There must be a clear gap between her crotch and the metal tube. For general recreational riding on paved surfaces, a minimum clearance of 1 to 2 inches (approximately 2.5 to 5 centimeters) is necessary. If she plans to ride on uneven dirt paths or grassy parks, aim for a larger clearance of 2 to 3 inches to prevent painful contact during sudden, unexpected dismounts.
The frame style also plays a major role in how easily she can handle the bike. You will typically choose between two main designs:
- Step-Through Frames: These frames feature a low, sloping top tube or a curved down tube, eliminating the high bar between the seat and handlebars. This design makes it incredibly easy for younger or less experienced girls to mount and dismount without tipping the bike over. It is highly recommended for building early confidence and is especially convenient in hot weather when wearing casual, loose clothing.
- Traditional Diamond Frames: These feature a straight or slightly sloping top tube. While they offer high structural rigidity and a sporty look, they require the rider to swing her leg over the back of the saddle or tilt the bike significantly to get on and off, which can be intimidating for beginners.
Step 4: Verify the Fit with a Test Ride and Adjustments
Before allowing your daughter to ride freely, perform a hands-on fit check while she is sitting on the saddle. A stationary test allows you to make micro-adjustments to the seat height, handlebars, and brake levers to ensure maximum control and safety.
- Seat Height Adjustments: The correct seat height depends heavily on her riding experience. For absolute beginners or those still using training wheels, adjust the saddle so both feet can rest flat on the ground when she sits upright. This provides immediate stability and reassurance. For experienced riders who can balance independently, raise the saddle so that only her tiptoes touch the ground. When her foot is on the pedal at the lowest point of the pedal stroke, her knee should have a slight, comfortable bend of about 10 to 15 degrees.
- Handlebar Reach: Observe her posture while she holds the grips. She should sit in a comfortable, slightly forward-leaning position with a relaxed bend in her elbows. If her elbows are completely locked straight, or if she has to hunch her shoulders and strain forward, the handlebars are too far away. Conversely, if her knees hit the handlebars while pedaling, the cockpit is too cramped.
- Brake Lever Reach: If the bike is equipped with hand brakes, she must be able to wrap her fingers fully around the levers and squeeze them with enough force to stop the bike. Many children's bikes feature adjustable reach screws on the brake levers; use a screwdriver to bring the levers closer to the handlebar grips if her fingers struggle to reach them.
- Safety Stop Condition: If during the test ride she cannot easily reach the ground with her feet, struggles to squeeze the brake levers, or exhibits a wobbly, unstable posture, stop the session immediately. Do not allow her to ride on public pathways until these components are adjusted or a smaller frame size is secured.
Common Sizing Mistakes to Avoid When Buying
When shopping for a bike for kids girl, avoiding common purchasing pitfalls will save you money and protect your child from injury. The most frequent error is relying solely on the age recommendations printed on retail boxes or online listings. These age ranges are broad generalizations that do not account for individual growth rates, leading to many parents purchasing bikes that are far too large or heavy.
Another critical mistake is ignoring the overall weight of the bicycle. Many budget-friendly children’s bikes are constructed from heavy steel alloys, sometimes weighing up to 50% of the child’s total body weight. A heavy bike is incredibly difficult for a young girl to steer, push up hills, or balance, especially when starting from a complete stop. Prioritize lightweight aluminum frames when budget allows, as they offer much better maneuverability and control.
Finally, do not overlook the adjustability range of the bike’s components. Ensure the seat post has ample room to be raised as she grows, and verify that the handlebars can be adjusted for both height and angle. In the local market, high-quality, adjustable aluminum models typically range from ₱8,000 to ₱15,000, while basic steel models start around ₱3,000. Investing in a bike with a wide adjustment range will comfortably accommodate your daughter through several growth spurts, maximizing the lifespan of your investment without sacrificing her safety.
Frequently Asked Questions (FAQ)
What should I do if her measurements fall between two bike sizes?
If her height and inseam place her exactly between two wheel sizes, evaluate her riding experience and confidence level. For beginners, timid riders, or those transitioning away from training wheels, always size down to the smaller wheel option. The smaller bike is lighter, easier to control, and allows her to place her feet flat on the ground, which is essential for building confidence. If she is already an experienced, highly confident rider who can stop and start without assistance, you can opt for the larger size, provided she still has at least one inch of standover clearance.
Does the weight of the bike matter as much as the size?
Yes, the weight of the bike is just as important as its physical dimensions. Ideally, a child’s bicycle should not weigh more than 30% to 40% of her total body weight. If a bike is too heavy, your daughter will struggle to balance, steer around corners, or pedal up slight inclines, which can quickly lead to frustration and falls. When comparing models, always check the manufacturer’s technical specifications for the total weight, and choose the lightest option within your budget to ensure a safer and more enjoyable riding experience.
Community discussion
Share your experience or ask a question. Comments are reviewed before publication.