
Selecting the right carabiner depends entirely on the specific climbing task—whether you are clipping bolts on lead, securing a partner on belay, or constructing a multi-point anchor. No single carabiner can safely or efficiently handle every role on the wall. For lead climbing, lightweight non-locking carabiners optimized for quick clipping are standard. Belaying demands robust, large-capacity locking carabiners to manage friction and prevent accidental gate opening. Anchoring requires a mix of high-capacity lockers and versatile shapes to distribute loads evenly.
Climbing is an inherently high-risk sport where equipment cannot replace proper training, certified instruction, and sound personal judgment. Before leaving the ground, you must understand the limits of your gear, perform rigorous safety checks, and know when environmental conditions require you to adjust your setup. When climbing in tropical, high-humidity environments like the limestone cliffs of Cantabaco or the humid crags of Montalban, gear maintenance becomes even more critical. Sweat, moisture, and airborne salt can affect gate mechanisms, making regular inspections a non-negotiable part of your routine.
Understanding Carabiner Basics and Safety Checks
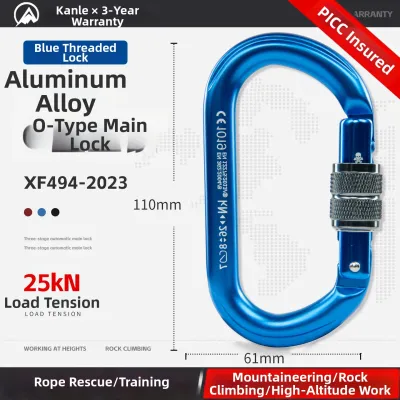
Carabiners are broadly divided into locking and non-locking categories. Locking carabiners feature a sleeve that secures the gate in the closed position, preventing accidental opening. These are categorized by their locking mechanisms: manual screwgates, which require the climber to manually thread the sleeve over the gate, and auto-locking gates (such as twist-lock or pull-and-twist designs) that automatically spring shut and lock when released. Locking carabiners are mandatory for any critical single-point connection, such as attaching your belay device to your harness, building anchor master points, or rappelling.
Products mentioned in this guide
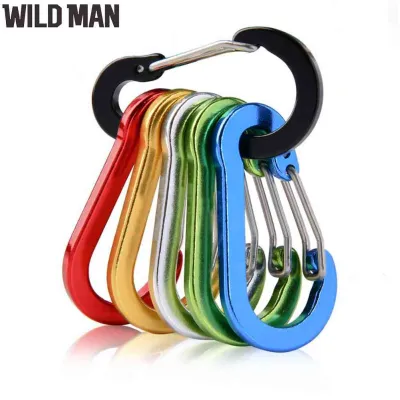
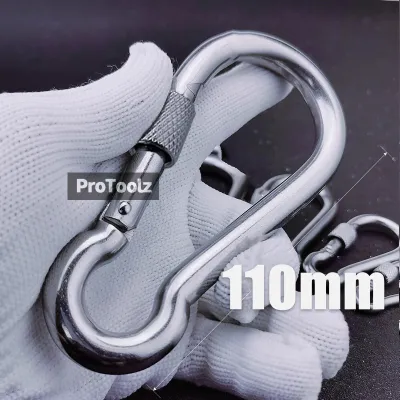
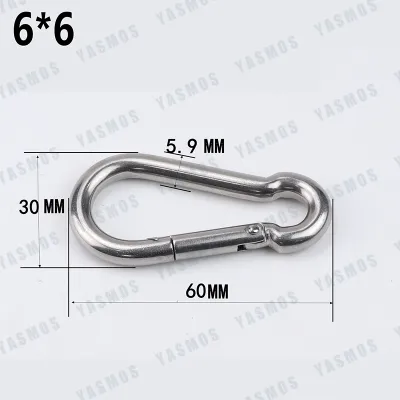
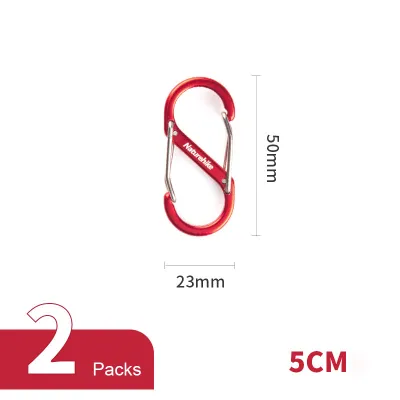
Prices are valid at publication and may change. Please refer to the product page for the latest price.
The shape of a carabiner dictates how it distributes weight and how much gear it can hold. Symmetrical oval carabiners distribute loads evenly and are excellent for organizing gear or using with pulleys, but they are generally heavier and weaker than other shapes. D-shaped carabiners are highly efficient because they force the load along the stronger, non-gated spine of the carabiner. Asymmetric D-shapes modify this design by tapering one end, which increases the gate opening clearance while keeping the weight low. Pear-shaped carabiners, often referred to as HMS (Heumuskelsicherung) carabiners, feature a wide, open top basket designed specifically for belaying with devices or hitch knots.
Before every climbing session, perform a thorough visual and tactile inspection of every carabiner on your rack. Start by checking the gate action: open the gate fully and let it go to ensure it snaps shut quickly and completely without sticking. For locking carabiners, verify that the locking sleeve moves smoothly along its entire track and engages fully. Inspect the metal body for deep grooves worn by rope friction, sharp burrs, cracks, or corrosion. In humid tropical climates, salt air and sweat can cause oxidation; any sign of structural pitting or a sluggish gate spring that does not resolve with proper cleaning is an immediate reason to retire the gear.
Selecting Carabiners for Lead Climbing
When lead climbing, your primary interface with protection consists of quickdraws—two non-locking carabiners connected by a stitched sling. The carabiner that clips into the bolt hanger is typically a solid-gate model, which offers a robust feel and is easy to grab. The carabiner that receives the climbing rope is often a wiregate. Wiregate carabiners use a loop of stainless steel wire instead of a solid aluminum bar, which significantly reduces the overall weight of your rack. More importantly, the lower mass of a wiregate reduces the risk of “gate flutter,” a phenomenon where the inertia of a fall causes a solid gate to momentarily vibrate open, drastically reducing the carabiner’s holding strength.

Another critical feature to look for in lead climbing carabiners is a keylock nose design. Traditional carabiners use a notch-and-pin gate closure, which can easily snag on bolt hangers, wire nuts, or slings during clean-up or when you are trying to clip in a high-stress situation. A keylock nose features a smooth, interlocking interface between the gate and the nose, eliminating the notch entirely. This smooth profile ensures that the carabiner glides cleanly onto hangers and off your gear loops without catching, saving valuable energy and reducing frustration on difficult leads.
Handling and size are highly personal considerations that depend on your hand size and the climbing venue. On lead, you must be able to clip the rope quickly and securely with one hand while holding onto the rock with the other. Carabiners that are too small can be difficult to manipulate, especially when your hands are sweaty or pumped. Conversely, oversized carabiners add unnecessary weight to your harness. Test different gate tensions and body profiles to find a balance that allows you to execute clean clips consistently under pressure.
Choosing the Right Belay Carabiner
Belaying is a critical safety link where a locking carabiner is absolutely mandatory. Because the belay carabiner connects your belay device directly to your harness belay loop, any accidental gate opening could lead to a catastrophic system failure. A large pear-shaped (HMS) or wide asymmetric D-shape is the standard choice for this application. The wide top basket of an HMS carabiner provides ample space for the belay device’s cable to slide freely, ensuring the device remains oriented correctly and the rope runs smoothly without binding.
When selecting a belay carabiner, pay close attention to the gate clearance and basket capacity. The basket must be large enough to accommodate not only your belay device but also the potential use of a Munter hitch knot in emergency backup scenarios. If the basket is too narrow, the rope can pinch against the sides of the carabiner, creating excessive friction that makes paying out slack difficult and accelerates wear on both the rope and the metal.
Always verify the manufacturer’s strength specifications, which are laser-etched onto the spine of the carabiner in kilonewtons (kN). Pay particular attention to the major axis strength, minor axis (cross-load) strength, and open-gate strength. Carabiners are designed to be loaded along their major axis (lengthwise). If a carabiner rotates during use and becomes cross-loaded—where the load pulls sideways against the gate—its strength is reduced by more than half. To mitigate this risk, consider using a belay-specific locking carabiner equipped with an internal wire gate or a plastic captive bar that locks the carabiner onto your belay loop, keeping it perfectly aligned along the major axis.
Building Anchors: Locking Carabiners and Load Distribution
Constructing a secure, multi-point climbing anchor requires carabiners that can handle complex rigging and distribute loads evenly. For the master point of your anchor—the central hub where all forces converge—large pear-shaped (HMS) or oval locking carabiners are highly recommended. The master point must accommodate multiple slings, rope strands, and your personal anchor system. A wide-basket carabiner prevents these components from crowding and pinching each other, which can cause uneven loading or make adjusting your setup difficult.
If you find yourself in a situation where you run out of locking carabiners for your anchor system, standard safety protocols allow the use of two non-locking carabiners as a substitute. However, these non-lockers must be configured “opposite and opposed.” This means the carabiners are placed back-to-back so that their gates face in opposite directions and their spines are on opposite sides. This configuration ensures that if the rope or a sling rubs against one gate, it cannot open both gates simultaneously, maintaining a redundant safety margin.
When clipping carabiners into bolt hangers or master point slings, always verify that the gates have sufficient clearance to lock fully and rotate freely. If a carabiner is wedged tightly against a rock edge, a bolt hanger, or another piece of hardware, it can be subjected to dangerous leverage forces during a fall. This leverage can cause the carabiner to break at a fraction of its rated strength. Always position your carabiners so that they can self-align with the direction of the pull without contacting external obstructions.
Cross-Scenario Compatibility and Gear Optimization
Optimizing your climbing rack involves selecting versatile gear that can serve multiple roles without compromising safety. For example, a large asymmetric D locking carabiner is highly versatile; it is strong enough for anchor construction, compact enough to carry easily on your harness, and can serve as a backup belay carabiner if needed. Carrying a few of these multi-purpose lockers allows you to adapt to unexpected rigging challenges on multi-pitch climbs while keeping your overall gear weight manageable.
However, there are strict limits to cross-compatibility that you must respect to protect your life and your gear. Never mix the carabiners used on the bolt-end of your quickdraws with those used on the rope-end. The steel hangers on sport routes often leave tiny, sharp metal burrs and scratches on the inside of the bolt-end carabiner. If you subsequently use that same carabiner for your climbing rope, those sharp burrs can slice or severely abrade the rope’s sheath under tension. Keep your quickdraws assembled consistently, and use color-coded tape or distinct carabiner colors to keep bolt-end and rope-end hardware separated.
Organizing your gear sling or harness loops systematically is key to efficiency and safety on the wall. Group your gear by function: keep your quickdraws arranged by length on your front gear loops, place your alpine draws and slings on the middle loops, and store your locking carabiners and anchor rigging gear at the back. This consistent organization allows you to locate the exact tool you need by touch alone, reducing the time you spend searching for gear while pumped on a difficult section of the climb.
Frequently Asked Questions (FAQ)
When should I retire a climbing carabiner?
You must retire a climbing carabiner immediately if you observe any visual signs of structural damage, such as cracks, deep corrosion, or deep grooves worn into the metal by rope friction (generally when the wear exceeds 10% of the metal’s original thickness). A sticky gate spring that does not snap shut instantly, or a locking sleeve that fails to engage smoothly, are also critical failure points that require retirement. If a carabiner is dropped from a significant height onto a hard surface, it should be retired; while micro-fractures are difficult to detect without specialized testing, the risk of hidden structural weakness is not worth taking. Always consult the manufacturer’s stated lifespan guidelines, and err on the side of caution when your safety is on the line.
Can I use a non-locking carabiner for an anchor master point?
A single non-locking carabiner must never be used as an anchor master point because it lacks the necessary redundancy to prevent accidental gate opening from rope movement or rock contact. If a locking carabiner is unavailable, you must use two non-locking carabiners configured opposite and opposed. This setup ensures that the gates face in opposite directions and the spines are on opposite sides, creating a redundant system. However, using a dedicated locking carabiner remains the standard and safest practice for master points, especially in high-friction scenarios or when the anchor is out of your direct line of sight.
Community discussion
Share your experience or ask a question. Comments are reviewed before publication.