
Finding the right exercise band resistance is the key to an effective, safe workout at home or in the gym. To select the correct resistance level, you must match the band’s tension to your current physical strength for each specific movement. The ideal band allows you to complete 10 to 12 repetitions of an exercise with perfect form, where the final two or three reps feel highly challenging but still achievable. Choosing a band that is too light will stall your fitness progress, while selecting one that is too heavy compromises your biomechanics and increases your risk of joint strain or muscle tears. By understanding how elastic tension works, evaluating your baseline strength, and performing simple movement tests, you can safely customize your workouts and build muscle over time.
Decoding Exercise Band Resistance: Colors, Tension, and Types
Unlike traditional free weights, an exercise band does not have a static mass. Its resistance is measured in kilograms (kg) or pounds (lbs), representing the tension generated when the band is stretched. Typically, the labeled weight indicates the maximum resistance produced when the band is stretched to a specific limit, often two to three times its resting length. A band rated at 5 kg to 15 kg will offer very little resistance at the beginning of a movement and reach its full 15 kg of tension only at the peak of the stretch.
To help users quickly identify different tension levels, most manufacturers employ a color-coding system. In a standard set, lighter colors like yellow or green often represent light to medium resistance, while darker colors like blue, red, or black indicate heavy to extra-heavy resistance. This visual system allows for fast transitions during high-intensity training sessions.
Products mentioned in this guide
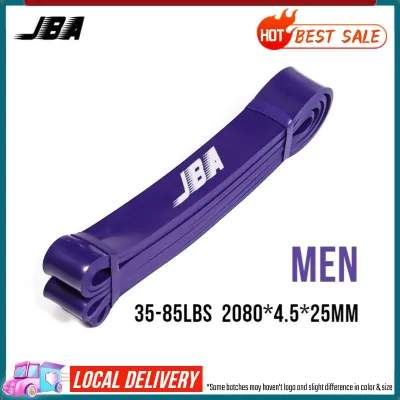
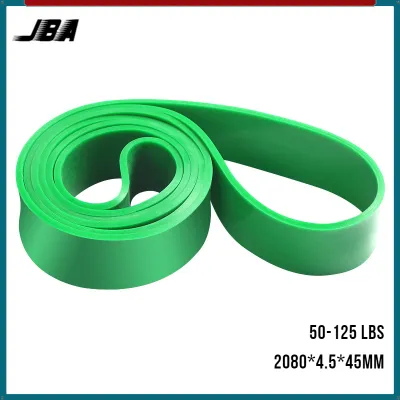
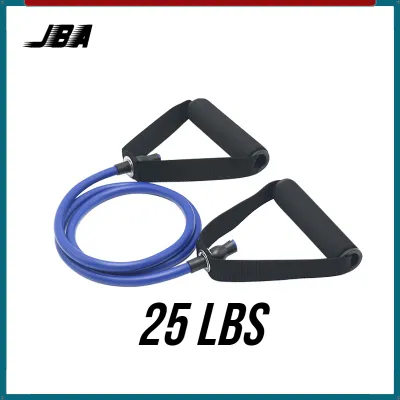
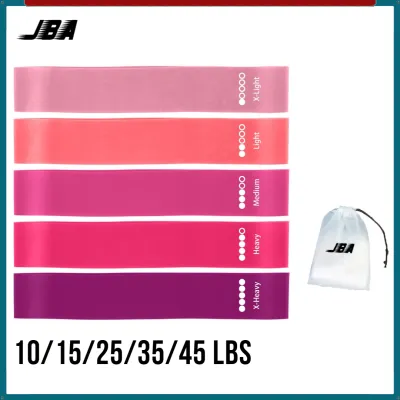
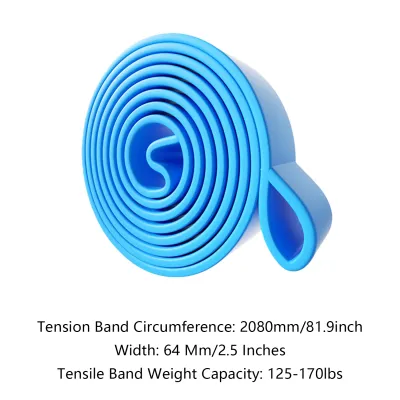
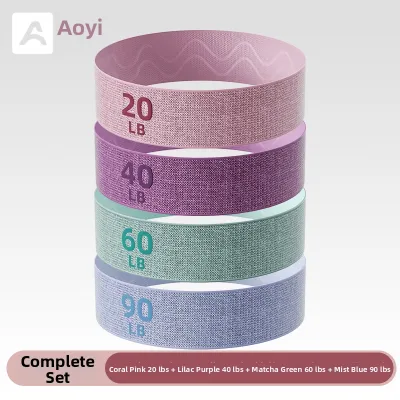
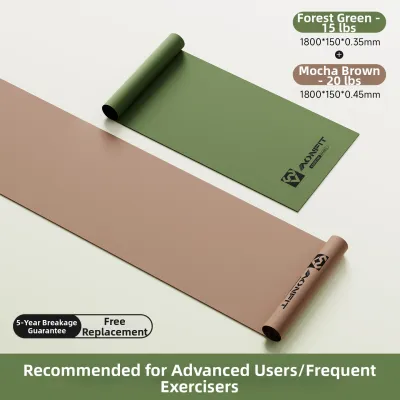
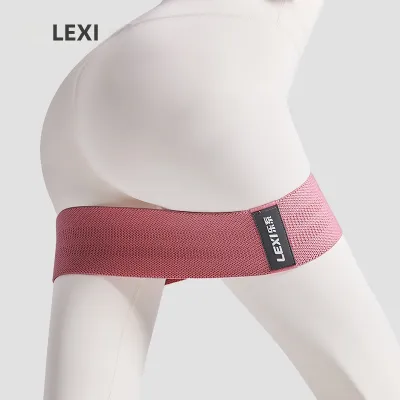
Prices are valid at publication and may change. Please refer to the product page for the latest price.
However, color standards are not universal across brands. A black band from one manufacturer might offer 15 kg of peak tension, while a black band from another brand could be rated for 30 kg or more. Relying solely on color can lead to unexpected strain or ineffective workouts. Always verify the exact tension specifications printed on the packaging, the product tag, or the manufacturer’s website before starting your workout.
Additionally, the physical shape of the exercise band changes how the resistance feels and determines which exercises it suits best:
- Continuous Loop Bands: These wide, circular bands are excellent for lower-body movements like squats and lateral walks. Longer loop bands are also commonly used to assist with pull-ups or to add resistance to barbell lifts.
- Tube Bands with Handles: Made of hollow cylindrical rubber, these bands feature plastic or foam handles at each end. They are ideal for mimicking cable machine exercises, such as chest presses, bicep curls, and shoulder presses.
- Flat Therapy Bands: These thin, wide, non-loop sheets of latex or synthetic rubber are highly flexible. They are primarily used in physical therapy, mobility drills, and gentle stretching routines where precise, low-tension control is required.
Matching Resistance to Your Fitness Level and Muscle Groups
Selecting the right starting resistance requires an honest assessment of your current physical strength. Fitness levels are generally categorized into three tiers for resistance training:

- Beginner: Individuals who are new to strength training or returning after a long break. Starting tension typically ranges from 2 kg to 8 kg.
- Intermediate: Those who have consistently performed strength exercises for six months or more. Starting tension typically ranges from 8 kg to 18 kg.
- Advanced: Experienced athletes with years of consistent resistance training. Starting tension often exceeds 18 kg to 30+ kg.
Your body consists of different muscle groups with vastly different load capacities. Large muscle groups, such as the glutes, hamstrings, quadriceps, and latissimus dorsi, are built to move heavy loads. Conversely, small muscle groups, such as the anterior deltoids, biceps, triceps, and rotator cuffs, are designed for fine motor control and lighter workloads.
Because of these biomechanical differences, a single exercise band cannot serve your entire body. A heavy loop band that provides an excellent challenge for lower-body squats will be nearly impossible to pull overhead for a shoulder press. To train effectively, you need a variety of bands: heavier options for your lower body and lighter options for your upper body.
To estimate your starting point, look at your experience with other training modalities. If you can easily perform 20 consecutive bodyweight squats, you should start with a medium-to-heavy loop band for lower-body movements. If you struggle to complete five standard push-ups, start with a light therapy band or a light tube band for upper-body pressing movements to ensure you do not overload your shoulder joints.
How to Test and Select the Perfect Band for Your Workout
Before committing to a full working set of any exercise, perform this systematic four-step test to ensure your chosen band matches your target movement.
Step 1: Establish Form with a Light Band
Always begin by performing the target movement with the lightest band available. This step serves as a dynamic warm-up and allows you to map the correct path of motion. Focus on keeping your joints aligned, your core engaged, and your posture stable. If you cannot perform the movement perfectly without resistance, adding a heavier band will only worsen your form and increase your risk of injury.
Step 2: Apply the "Last Few Reps" Rule
Once your form is established, switch to the band you believe matches your current strength level. Perform a test set of 10 to 12 repetitions. The resistance should feel manageable and smooth during the first five reps. By the time you reach reps 10, 11, and 12, your muscles should feel highly challenged, and you should feel a deep burn. If you can complete 12 reps easily without losing your posture or slowing down, the band is too light. If you cannot reach rep 8 without shaking or cheating, the band is too heavy.
Step 3: Evaluate the Full Range of Motion
Because elastic tension increases as the band stretches, the hardest part of the exercise occurs at the peak of the movement. Pay close attention to this peak phase. If the tension becomes so intense at the top of a bicep curl or lateral raise that you are forced to cut the movement short, you are using too much resistance. You must be able to complete the full, natural range of motion for every single repetition.
Step 4: Verify Joint Comfort and Stability
Observe how your joints behave under the band’s tension. The resistance should pull your muscles, not strain your joints. If a heavy band pulls your shoulders into an unnatural, shrugged position during a row, or causes your knees to cave inward during a squat, the resistance is too high. Your joints must remain stable and follow a natural, pain-free path throughout the entire movement.
Recognizing Warning Signs and Preventing Band-Related Injuries
Using the wrong resistance level or neglecting your equipment can lead to painful injuries. Establishing clear boundaries for when to stop or adjust your workout is essential for long-term joint health.
Signs the Resistance is Too Heavy or Too Light
When a band is too heavy, your body will naturally try to compensate by using momentum. If you find yourself swinging your hips, arching your lower back, or snapping your joints to complete a repetition, the resistance is too high. Another major warning sign is breath-holding; if you must hold your breath to complete a rep, you are straining excessively. Most importantly, if you experience sharp, sudden, or pinching joint pain, treat this as a hard stop condition. Release the band tension slowly and immediately stop the exercise.
Conversely, a band that is too light fails to stimulate muscle growth or cardiovascular adaptation. If you can easily complete 15 or more repetitions with zero muscle fatigue, or if the band feels completely slack at the start of the movement, you are not providing enough stimulus. While light bands are excellent for active recovery, they will not help you build strength or tone muscle during a dedicated workout.
Equipment Inspection and Failure Risks
Before every single workout, you must visually and physically inspect your exercise bands. Look closely for micro-tears, small nicks, white stress marks, or areas where the material has become thin or brittle. This inspection is especially important in hot, humid climates like the Philippines, where high ambient humidity and heat can accelerate the degradation of natural latex and rubber, leading to dry rot.
If you discover any physical damage, dispose of the band immediately. Do not attempt to repair a torn band with tape, glue, or knots. A damaged band under high tension can snap unexpectedly, causing severe eye injuries, skin contusions, or dental damage.
Additionally, practice safe anchoring habits. Never loop or tie your bands around sharp metal edges, rough wooden posts, or unstable furniture that could tip over. Ensure any door anchors used are placed on the side of the door that closes away from you, so the door frame acts as a physical barrier. Always refer to the manufacturer’s safety instructions for approved anchoring methods.
Applying Progressive Overload: When and How to Increase Tension
To continue making physical progress, you must gradually increase the stress placed on your muscles over time. This concept is known as progressive overload.
When to Upgrade
To determine when it is time to step up your resistance, use the “two-for-two rule.” If you can perform two additional repetitions past your target goal on your final set, and you can repeat this feat for two consecutive workouts with perfect form, your muscles have adapted. It is now time to increase the tension to keep challenging your body.
How to Upgrade Without Buying New Gear
If you do not own a heavier band, you can temporarily increase the resistance of your current gear using these simple techniques:
- Choke the Band: Shorten the active length of the band by wrapping it around your hands, feet, or an anchor point. This increases the starting tension of the movement.
- Combine Bands: Layer two lighter bands together. For example, using a light band and a medium band simultaneously creates a custom, heavier resistance level.
- Slow Down the Tempo: Perform the eccentric (lowering) phase of the exercise very slowly, taking three to four seconds to return to the starting position. This increases the muscle's time under tension without changing the physical band.
When to Buy the Next Level
While physical modifications are useful, they have limits. Choking a band too tightly can overstretch the material past its safety threshold, increasing the risk of snapping. If you find yourself combining three bands or shortening a band to the point where you lose range of motion, it is time to invest in the next resistance tier. High-quality exercise band sets generally range from ₱300 for basic light loops to ₱1,500 or more for comprehensive heavy-duty tube sets, making them a highly cost-effective addition to your home fitness setup.
Frequently Asked Questions (FAQ)
Can I use the exact same resistance band for my upper and lower body?
No, using a single band for your entire body is highly inefficient. Your lower-body muscles, such as your glutes and thighs, are much larger and stronger than your upper-body muscles, like your shoulders and arms. A band heavy enough to challenge your legs will likely be too stiff for you to perform upper-body movements safely. To ensure a balanced and effective full-body workout, it is highly recommended to purchase a set containing at least three to five distinct resistance levels.
How do I know if my exercise band has lost its original resistance over time?
Over time, constant stretching and environmental exposure cause material fatigue and permanent stretching, a process known as plastic deformation. If your band feels noticeably loose or slack at the beginning of an exercise that used to feel tight, or if the band does not return to its original resting length when laid flat, the material has degraded. When this occurs, the band can no longer provide accurate resistance and is much more likely to snap, meaning it should be replaced immediately.
Community discussion
Share your experience or ask a question. Comments are reviewed before publication.