
To choose the correct golf ferrule size, you must match the ferrule’s inner diameter to your club shaft’s tip diameter and its outer diameter to the outer diameter of the clubhead’s hosel. Selecting the right dimensions ensures a secure, flush fit that prevents moisture from weakening the epoxy bond, especially in high-humidity tropical environments.
Understanding Golf Ferrule Dimensions
A golf ferrule serves as a critical transition piece between the clubhead hosel and the shaft. The two primary dimensions to consider are the inner diameter (ID) and the outer diameter (OD). The inner diameter must correspond to the shaft’s tip diameter so the ferrule slides securely onto the shaft without sliding or splitting.
The outer diameter of the ferrule must align with the outer diameter of the clubhead’s hosel neck. A flush transition prevents a noticeable lip or gap. In humid tropical climates, a tight, seamless fit is essential to prevent moisture from seeping into the hosel joint, which can degrade the epoxy and compromise structural integrity.
Products mentioned in this guide
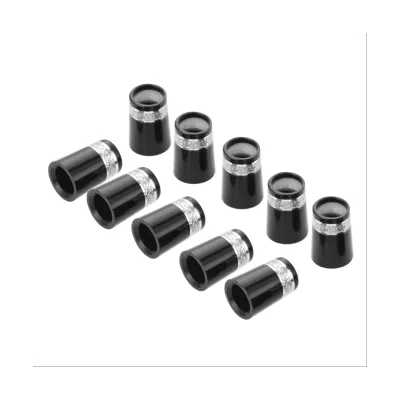
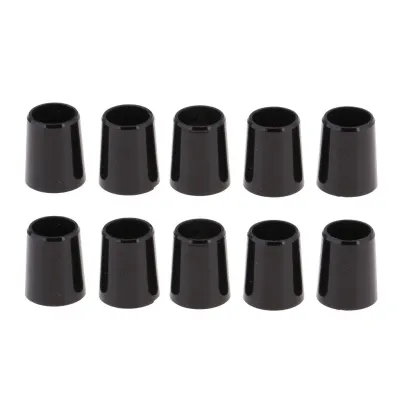
![[LIXIAOJU] 10pcs Plastic Golf Ferrules With Double Ring Golf Shaft Adapter 9.5*19*13.4](https://img.lazcdn.com/g/p/d150f4accd18590d650edb63c1e12c6c.jpg_400x400q80.jpg_.webp)
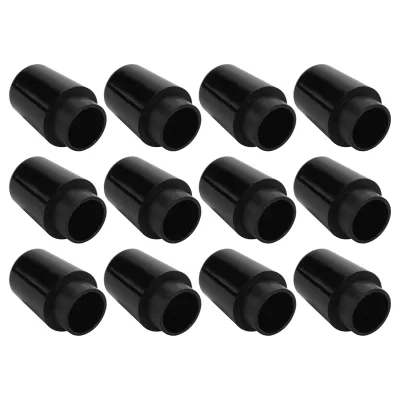
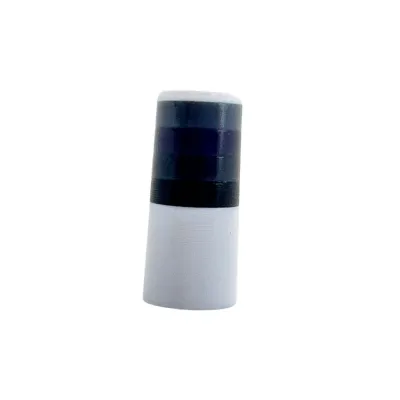
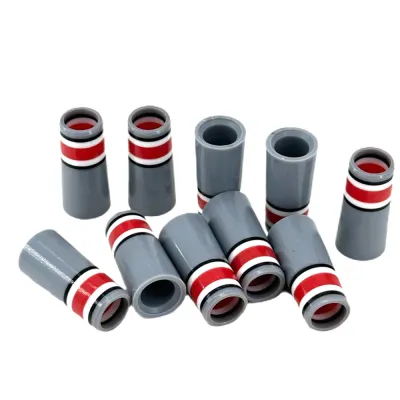
Prices are valid at publication and may change. Please refer to the product page for the latest price.
Ferrule length also affects aesthetics and structural support. While longer ferrules offer a classic look and more surface area to distribute stress, shorter modern options provide a minimalist appearance. Choosing the correct length depends on your club type and visual preference, provided the diameters match.
Sizing Ferrules for Different Club Types
Irons and Wedges
Irons and wedges typically feature either tapered or parallel hosel designs, which dictate the shaft tip and ferrule inner diameter you need. Taper-tip shafts, common in many steel-shafted iron sets, usually require a ferrule with a matching tapered inner diameter, often measuring 0.355 inches. Parallel-tip shafts, frequently found in graphite or custom steel setups, generally require a straight 0.370-inch inner diameter ferrule.

Before purchasing, verify your specific shaft model’s tip specifications to ensure a snug fit. Additionally, check the club manufacturer’s specifications for the exact outer diameter of the hosel neck. Because iron hosel outer diameters vary slightly between game-improvement models and classic blades, matching this measurement prevents excessive manual sanding.
Woods and Hybrids
Woods and hybrids often utilize specialized hosel designs, including collared configurations that feature a small counterbore or step inside the top of the hosel. Collared ferrules have a small plastic extension at the base that fits directly into this counterbore, providing extra stability and centering the shaft within the hosel. Using a standard non-collared ferrule on a collared hosel can lead to shaft play or premature epoxy failure.
Furthermore, wood hosels generally have a larger outer diameter and a different neck profile than irons, requiring contoured or stepped ferrules to match their shape. Attempting to force a standard iron ferrule onto a wood shaft or hosel is highly discouraged, as the plastic is likely to split under tension or fail to cover the hosel opening completely. Always select ferrules specifically labeled for woods or hybrids to accommodate these distinct dimensions.
Putters
Putter hosels present a wide variety of configurations, many of which do not require a traditional ferrule at all. For instance, putters with double-bend or single-bend shafts that insert directly into the clubhead typically rely on a clean shaft-to-hosel joint without any plastic transition. In these designs, the shaft is secured directly with epoxy, making a ferrule unnecessary.
However, some putters feature stepped hosels or over-the-post plumbing necks that may require specialized putter ferrules or spacers to achieve a clean look. If your putter design does require a ferrule, it is crucial to measure both the shaft tip and the hosel neck carefully, as putter shafts often use unique diameters that differ from standard irons. When in doubt, consult the manufacturer’s schematic to confirm whether a ferrule is part of the original assembly.
How to Measure and Verify the Correct Fit
To ensure a precise fit, avoid relying on visual estimates and instead use a digital caliper to take exact measurements. Measure the outer diameter of the clubhead’s hosel neck at its highest point, and measure the shaft’s tip diameter just above the prep area. These measurements serve as your primary guide when selecting replacement ferrules.
Before applying any epoxy, perform a dry fit by sliding the ferrule onto the prepped shaft and inserting the shaft into the clubhead. Inspect the junction closely for any visible gaps, overhang, or misalignment. The ferrule should sit snugly against the top of the hosel without any wobbling or tilting, which indicates an incorrect inner diameter or an uneven shaft cut.
If the ferrule’s outer diameter is slightly larger than the hosel, you can carefully turn or sand the plastic down to achieve a flush finish after installation. Use fine-grit sandpaper or a specialized finishing cloth, working slowly around the circumference to avoid flat spots. Stop immediately if you begin to scratch the shaft material or the clubhead’s finish, as over-sanding can permanently damage graphite shafts or ruin the club’s protective coating.
Installation and Finishing Boundaries
Proper installation requires using specialized golf club epoxy formulated to withstand the high-impact forces of a golf swing. Standard household adhesives lack the shear strength needed for golf clubs and may fail during use. Always follow the manufacturer’s instructions regarding mixing ratios and allow the epoxy to cure completely—typically 24 hours in warm, humid conditions—before handling or playing.
When preparing or finishing the ferrule, avoid using excessive heat or harsh chemical solvents to soften the plastic, as this can degrade both the ferrule and the underlying shaft epoxy. Excessive heat is particularly dangerous for graphite shafts, as it can delaminate the composite fibers and lead to structural failure during a swing.
Establish clear safety boundaries before attempting a DIY installation. If you observe a damaged hosel, if the manufacturer’s specifications are unclear, or if the ferrule remains loose even after checking the sizes, stop the process immediately. In these scenarios, consult a professional club builder to prevent damaging your equipment or risking a clubhead detaching during play.
Frequently Asked Questions (FAQ)
Can I use the exact same ferrule size for every iron in my set?
While most standard iron sets share a consistent hosel outer diameter and shaft tip size across all clubs, progressive set designs or mixed utility irons may feature slight variations. It is always safest to verify the specifications of each club individually, especially if you are blending different iron models or using custom shafts in your long irons.
Do I need a specialized tool to turn down a plastic ferrule for a flush fit?
Specialized turning machines make the blending process faster, but they are not required for occasional DIY projects. You can achieve a flush fit by hand-sanding carefully with fine-grit sandpaper or using a mild solvent on a lint-free cloth. However, hand-sanding carries a risk of scratching the shaft or clubhead, so proceed slowly and protect the surrounding areas with masking tape.
Community discussion
Share your experience or ask a question. Comments are reviewed before publication.