
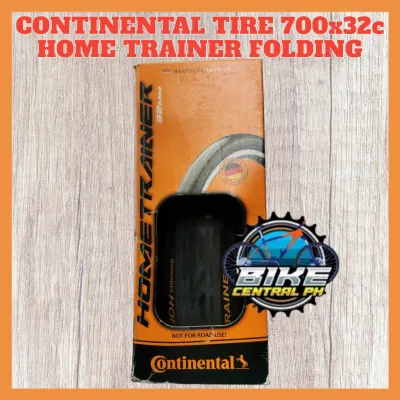
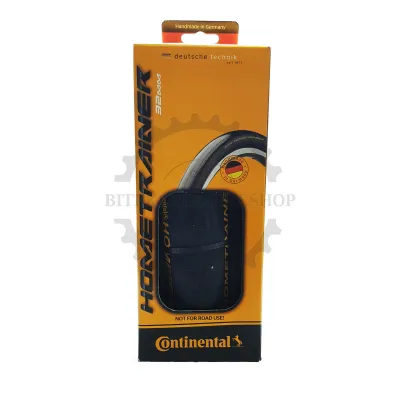
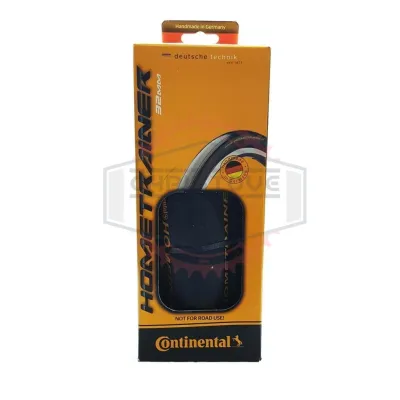
Setting up an indoor cycling space requires careful attention to the interface between your bicycle and your training equipment. For a wheel-on trainer, where the rear tire spins directly against a metal or gel roller, using a standard outdoor tire can quickly lead to excessive noise, accelerated wear, and a room covered in fine black rubber dust. Choosing a dedicated indoor trainer tire is the most effective way to resolve these issues, ensuring a quiet, clean, and consistent workout.
To find the right indoor trainer tire, you must verify your bike’s wheel dimensions, confirm your trainer’s mechanical compatibility, and select a hard, heat-resistant compound designed specifically for roller contact. In tropical climates like the Philippines, where indoor humidity can be high and workouts often take place in enclosed condo spaces or home gyms, managing heat buildup and noise is particularly important. Taking the time to match your equipment specifications will protect your investment and keep your training sessions smooth.
Verify Trainer and Bike Compatibility Before Buying
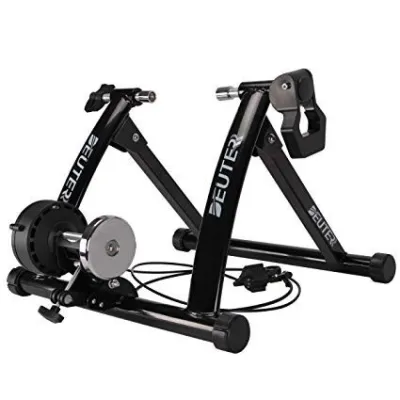
Before purchasing an indoor trainer tire, you must identify the mechanical specifications of both your bicycle and your wheel-on trainer. Wheel-on trainers secure the rear axle of your bike to keep the frame stable while allowing the rear wheel to spin freely. Because different bicycle designs use different axle standards, you must first check how your bike secures its rear wheel to ensure it can mount safely into the trainer’s clamping mechanism.
Products mentioned in this guide
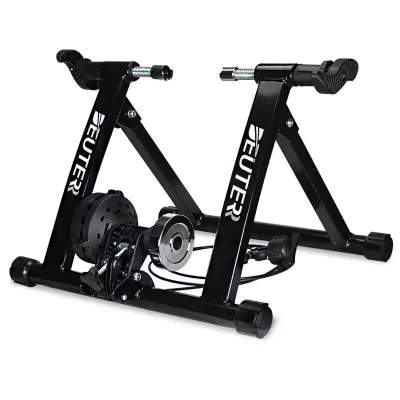
Prices are valid at publication and may change. Please refer to the product page for the latest price.
Traditional road and hybrid bikes typically use a quick-release (QR) skewer, which measures 130mm or 135mm in width. Most wheel-on trainers are packaged with a heavy-duty steel QR skewer designed specifically to fit securely into the trainer’s mounting cups. If your bike uses a modern thru-axle system—common on disc-brake road, gravel, and mountain bikes—you cannot use a standard QR skewer. Instead, you must verify the thread pitch and length of your rear axle and purchase a compatible trainer-specific thru-axle adapter to prevent the bike from slipping out during use.
Frame and brake clearance are also critical factors to evaluate. Disc-brake calipers can sometimes protrude and interfere with the clamping arms of older trainer models. Inspect the area around your rear dropouts to ensure there is sufficient space for the trainer’s mounting cups to lock onto the axle without pressing against your frame or brake components. Additionally, check the clearance between your bike’s chainstays and seatstays to ensure a trainer tire will not rub against the frame when fully inflated.
Finally, determine if your trainer requires a proprietary tire format or if it accepts standard clincher tires. The vast majority of wheel-on trainers are designed for standard clincher wheels, which use an inner tube and a hook-bead rim. If your bike is currently set up as tubeless, be aware that the high heat generated by a trainer roller can dry out liquid sealant much faster than outdoor riding. For tubeless setups, using a dedicated trainer wheel with a standard inner tube is often the most practical approach.
Match Tire Size and Width to Your Roller Drum
Selecting the correct tire size requires looking beyond general marketing labels like 26-inch, 27.5-inch, or 700c. To ensure a perfect fit on your rim and proper alignment with the trainer’s roller, you should locate the European Tyre and Rim Technical Organisation (ETRTO) reference number printed on the sidewall of your current outdoor tire. This international standard uses a two-part number, such as 25-622 for a standard road tire, where 25 represents the tire width in millimeters and 622 represents the bead seat diameter.

Matching the bead seat diameter is non-negotiable; a tire with a 559mm diameter (standard 26-inch) will not fit on a 584mm rim (standard 27.5-inch). Once you have confirmed the diameter, compare the tire width against the physical limits of your trainer’s roller drum. Most wheel-on trainers feature a roller drum that is optimized for road tire widths ranging from 23mm to 32mm. If you attempt to mount a wide gravel or mountain bike tire, the tire may overhang the edges of the roller, leading to uneven wear, instability, and potential damage to the trainer frame.
Inflation pressure is another critical variable that directly affects how the tire interacts with the roller drum. Indoor trainer tires are engineered to operate at much higher pressures than typical outdoor tires, often ranging from 100 to 120 PSI for road setups. This high pressure minimizes the contact patch, which reduces rolling resistance and prevents the tire from slipping against the metal roller. Always check the maximum pressure rating printed on both your tire sidewall and your wheel rim to ensure you do not exceed the safe operating limits of your equipment.
Select the Right Compound and Tread for Indoor Conditions
Outdoor bicycle tires are formulated with soft, grippy rubber compounds designed to deform slightly to grip asphalt, dirt, or wet roads. When subjected to the intense, localized friction of a smooth steel or elastogel trainer roller, these soft compounds overheat rapidly. In warm, humid indoor environments, this heat causes standard rubber to break down, shedding tiny black rubber particles that can stain your floors, walls, and fitness mats.
To prevent this mess, look for manufacturer labels indicating “trainer-specific” or “indoor” compounds. These tires are constructed from a much harder, specialized rubber compound that resists heat buildup and eliminates rubber shedding. Because they do not need to provide traction on wet asphalt or loose gravel, these compounds are optimized solely for durability and heat dissipation under continuous roller pressure.
In addition to the compound, the tread pattern plays a decisive role in noise generation. Any tread texture, including minor water-dispersion sipes or aggressive mountain bike knobs, will create a loud, high-frequency hum when spun against a metal roller. In a shared apartment or condo, this vibration can easily travel through the floorboards and disturb neighbors. A completely smooth, slick tread is essential for quiet indoor training, as it maximizes surface contact with the roller while minimizing vibration.
Install and Align the Tire on Your Trainer Safely
Because indoor trainer tires are constructed with exceptionally stiff, heat-resistant rubber compounds, mounting them onto your wheel rim can require more physical effort than installing a standard outdoor tire. To make the installation process easier, fully deflate your inner tube and dust it with a small amount of talcum powder to prevent it from sticking to the inside of the tire. Work one side of the tire bead over the rim edge, insert the tube, and then carefully work the second bead into the rim channel, using plastic tire levers only when necessary to avoid pinching the tube.
Once the tire is mounted, inflate it to approximately half of its recommended pressure and inspect the bead on both sides of the wheel. Ensure the tire is seated evenly around the entire circumference of the rim before inflating it to its final target pressure. After achieving the correct pressure, mount the rear wheel back onto your bicycle frame, ensuring the axle is fully aligned in the dropouts and the rear brake caliper is centered.
Next, secure the bicycle into the trainer’s clamping mechanism. Lift the bike and guide the rear axle ends into the trainer’s mounting cups, then tighten the clamping lever until there is zero lateral play. Give the saddle a firm shake from side to side to verify that the bike is locked securely in place. If the bike wobbles, loosen the clamp, realign the axle cups, and tighten the mechanism again.
Finally, adjust the tension of the trainer roller against the tire. Turn the adjustment knob until the roller just touches the tire surface, then turn the knob further according to your trainer manufacturer’s exact specifications—typically 1.5 to 2 full rotations. If the roller is too loose, the tire will slip during hard efforts, generating extreme heat that can melt the rubber. If the roller is too tight, it will place excessive load on your rear hub bearings and the trainer’s internal mechanism, leading to premature wear.
Test the Setup and Maintain Your Indoor Tire
Before starting an intense training session, perform a manual spin test to validate your installation. Lift the rear wheel and spin it slowly by hand, watching the tire from behind to check for any lateral wobble or vertical hops. A tire that is not seated evenly in the rim will vibrate excessively at high speeds. If you notice any irregularities, deflate the tire, massage the bead into the center channel of the rim, and re-inflate.
Once the manual test is successful, mount the bicycle and begin pedaling at a low resistance. Listen closely for any squealing sounds, which indicate that the tire is slipping against the roller. You can test for slippage by holding the flywheel stationary (if safe to do so) and attempting to rotate the rear wheel by hand, or by performing a quick acceleration while riding. If the tire slips, stop pedaling immediately and increase the roller tension slightly.
Maintaining your indoor training setup is essential for long-term performance, especially in humid tropical climates where sweat can accumulate quickly. Wipe down your bicycle frame, handlebars, and the trainer’s roller drum after every workout to prevent sweat corrosion. Periodically clean the surface of your trainer tire and the roller drum with a damp cloth and mild rubbing alcohol to remove any accumulated sweat, dust, or oil, ensuring a clean contact patch for your next ride.
Frequently Asked Questions (FAQ)
Can I use my regular outdoor road bike tire on a wheel-on trainer?
While it is physically possible to use a standard outdoor road tire on a wheel-on trainer, doing so is not recommended for regular training. Outdoor tires are made from softer rubber compounds designed for road grip, which degrade quickly under the high heat and concentrated friction of a trainer roller. This rapid wear results in fine black rubber dust shedding all over your training area and can wear out a standard tire in just a few weeks.
Additionally, outdoor tires with tread patterns or sipes will generate significant noise and vibration, making your indoor workouts much louder. Some tire manufacturers also specify that using their outdoor tires on stationary trainers voids the warranty due to the unnatural heat buildup. Investing in a dedicated indoor trainer tire keeps your training space clean, quiet, and cost-effective over time.
Do I need a dedicated rear wheel for my indoor trainer?
Using a dedicated rear wheel for your indoor trainer is highly convenient but not strictly mandatory. If you only have one rear wheel, you will need to swap your outdoor tire for your indoor trainer tire every time you transition between riding outside and training indoors. This process can be time-consuming and physically demanding due to the stiff bead of trainer tires.
If your budget allows, assembling a basic spare rear wheel with a dedicated trainer tire, inner tube, and matching cassette is a highly practical upgrade. While a basic trainer tire might cost around ₱1,500 to ₱3,000, building a spare wheel requires factoring in the cost of an extra rim, hub, and cassette. This setup allows you to transition from outdoor riding to indoor training in under a minute by simply swapping the rear wheel, while ensuring your primary outdoor wheel and cassette do not suffer unnecessary wear.
Community discussion
Share your experience or ask a question. Comments are reviewed before publication.