
Choosing the right mountain bike for your child is the most critical step in ensuring their safety, comfort, and enjoyment on the trail. Unlike adult bikes, which are categorized by frame size, kids’ mountain bikes are primarily classified by wheel size. To find the perfect fit, you must match your child’s current height and inseam measurement to the bike’s physical dimensions rather than relying solely on generic age recommendations.
In the Philippines, where young riders often face varied terrain ranging from loose gravel and muddy provincial paths to steep backyard hills, a well-fitted bike provides the necessary control to navigate these challenges safely. A bike that is too large or too small can quickly lead to frustration, fatigue, and avoidable falls. By taking precise measurements and performing a few simple physical checks, you can select a mountain bike that builds your child’s riding confidence and supports their skill progression.
Why Proper Bike Sizing Matters for Kids
When a child rides a mountain bike that fits correctly, they gain immediate advantages in steering control, balance, and braking leverage. Off-road riding requires constant body weight adjustments to handle uneven terrain, tree roots, and loose dirt. A properly sized bike allows the rider to stand up comfortably over the pedals, shift their weight backward when descending, and steer without overextending their arms.
Products mentioned in this guide
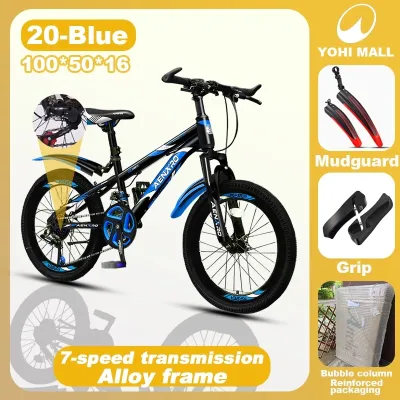
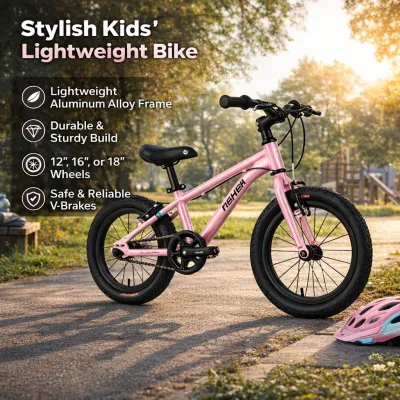
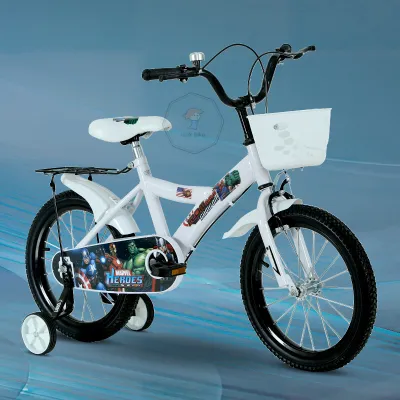
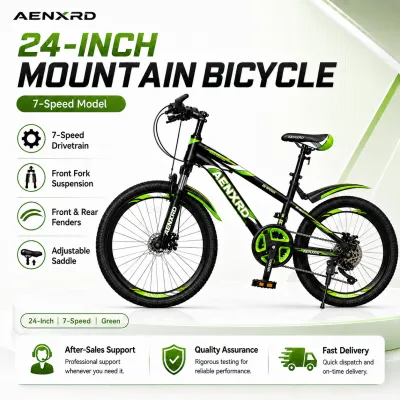
Prices are valid at publication and may change. Please refer to the product page for the latest price.
Conversely, an oversized frame presents significant safety risks. If a bike is too large, the child will struggle to reach the ground with their feet during sudden stops, which can lead to tipping over. A stretched-out riding posture also reduces their leverage on the brake levers, making it difficult to slow down quickly on steep slopes. Additionally, steering becomes slow and heavy, causing rapid fatigue in the arms and shoulders.
It is important to remember that high-quality equipment cannot replace proper training, adult supervision, and rider judgment. If your child is transitioning to more technical trails, their physical ability and comfort level must guide the process. Starting on a bike that fits their current dimensions ensures they can practice basic handling skills, such as standing climbs and controlled braking, without fighting the geometry of the machine.
How to Measure Your Child for a Mountain Bike
To find the correct bike size, you need accurate physical measurements of your child. Avoid guessing based on clothing sizes or age, as children grow at highly individual rates. Prepare a tape measure, a pencil, and a hardcover book, and have your child stand against a flat wall on a hard floor.

First, measure your child’s total height. Have them stand flat against the wall without shoes, keeping their heels, upper back, and head in contact with the vertical surface. Place the hardcover book flat on top of their head, mark the wall gently with a pencil where the bottom of the book meets it, and measure the distance from the floor to the mark.
Next, measure their inseam, which is the most critical measurement for determining standover clearance. Have your child stand with their feet about shoulder-width apart, simulating their stance while riding. Place the spine of the hardcover book between their legs, pulling it up gently to mimic the pressure of a bike saddle. Measure the distance from the top of the book spine straight down to the floor.
Finally, note their arm span and torso length. If your child has a particularly long or short torso relative to their height, this will affect how far they must reach to grasp the handlebars. A child with a shorter torso may require a bike with a shorter top tube or a shorter stem to prevent them from leaning too far forward and losing steering leverage.
Understanding Wheel Sizes and Frame Geometry
Kids’ mountain bikes are generally grouped by wheel diameter, with common sizes including 20-inch, 24-inch, and 26-inch wheels for older children, and smaller 12-to-16-inch wheels for toddlers. Larger wheels roll over trail obstacles like rocks and roots more easily and maintain momentum better, but they require a taller frame and more physical strength to steer and accelerate.
Standover height is the distance from the ground to the top of the bike’s top tube, measured at the midpoint where the rider stands when not seated. For off-road riding, a safe clearance margin is essential. Your child must be able to stand flat-footed over the top tube with a clear gap between their body and the frame to prevent injury during sudden dismounts on uneven dirt trails.
Top tube length and stem configuration determine the bike’s reach, which directly influences the rider’s posture. A mountain bike should encourage a balanced, slightly athletic stance where the elbows are slightly bent and the weight is distributed evenly between the saddle and the handlebars. If the top tube is too long, the child’s weight shifts too far forward, putting excessive pressure on their wrists and reducing rear-wheel traction.
Step-by-Step Guide to Matching Measurements to Bike Specs
Once you have your child’s height and inseam measurements, you can begin comparing them to specific bike models. Always consult the manufacturer’s official size chart for the exact model you are considering, as frame designs and standover heights vary significantly between brands.
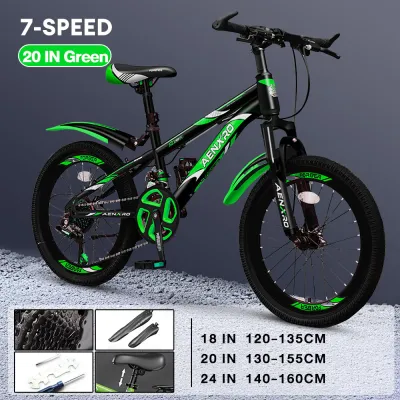
- Step 1: Identify the target wheel size. Use your child's overall height as a starting point to narrow down the wheel size category. For example, children measuring around 115 to 135 centimeters often fit well on 20-inch wheels, while those between 130 and 150 centimeters typically transition to 24-inch wheels.
- Step 2: Verify the standover clearance. Compare your child's measured inseam to the bike's published standover height. For safe trail riding, the inseam should be at least 2.5 to 5 centimeters (1 to 2 inches) greater than the standover height. This gap ensures they can quickly plant both feet flat on the ground if they lose balance.
- Step 3: Assess the reach. Look at the bike's geometry chart for the effective top tube length. If the manufacturer provides a recommended height range, ensure your child falls comfortably within the middle of that range rather than at the absolute minimum or maximum limit.
While it is tempting to buy a larger bike to accommodate future growth, doing so compromises immediate safety and control. Instead, look for bikes that offer adjustable components. Many quality youth mountain bikes allow you to raise the saddle, slide the seat backward on its rails, or swap out the handlebar stem for a slightly longer one as your child grows, extending the usable life of the bike safely.
In-Store and At-Home Fit Checks Before Riding
Before your child takes their first ride on a trail, perform a series of physical checks to confirm the bike fits correctly. These checks should be done on flat, level ground with the child wearing their riding shoes and helmet.
First, conduct the standover test. Have your child stand straddling the top tube with both feet flat on the ground. Ask them to lift the handlebars slightly; there should be a visible gap between their crotch and the frame. If they must tilt the bike to one side or stand on their tiptoes, the frame is too large.
Second, check the saddle height. With your child sitting on the saddle and holding onto a wall for balance, place one pedal at its lowest point. Have them place their heel on the pedal; their leg should be almost completely straight. When they transition to placing the ball of their foot on the pedal, there should be a slight bend in the knee (approximately 15 to 20 degrees) at the bottom of the pedal stroke. This ensures efficient pedaling without straining the knees.
Third, evaluate the handlebar reach and brake lever access. Have your child grasp the grips and look forward. Their elbows should be slightly bent, and they should be able to reach the brake levers comfortably with one or two fingers. Many kids’ mountain bikes feature adjustable-reach brake levers; use the small adjustment screw on the lever body to bring the levers closer to the grips if your child has smaller hands.
Finally, check the controls before every ride. Ensure the tires are inflated to the recommended pressure printed on the sidewall, the brakes bite firmly before the levers touch the handlebars, and the steering moves smoothly without binding. If you notice any slipping, loose bolts, or unusual noises, consult a professional bicycle mechanic before heading to the trail.
Frequently Asked Questions (FAQ)
Should I buy a larger bike so my child can grow into it?
No, you should not buy an oversized mountain bike for your child to grow into. Riding a bike that is too large compromises their safety because they will struggle to reach the ground during sudden stops and will have difficulty controlling the steering. This lack of control increases the risk of crashes and can damage their confidence. To extend the lifespan of a correctly sized bike, choose a model with highly adjustable components, such as a seatpost with a wide height range and handlebars that can be adjusted for angle and height.
What is the difference between a kids' mountain bike and a regular kids' bike?
Kids’ mountain bikes are specifically engineered to handle the impacts and traction demands of off-road riding. Unlike standard pavement bikes, they feature wider, knobby tires for grip on dirt and mud, stronger frame construction, and geometry designed for stability on descents. They also come equipped with more powerful hand brakes rather than coaster brakes (which operate by pedaling backward), allowing for precise speed control on steep hills. Many youth mountain bikes also feature multiple gears with lower ratios to help young riders climb steep inclines.
Community discussion
Share your experience or ask a question. Comments are reviewed before publication.