
Choosing the right resistance level for an archery training band depends on your current bow draw weight, physical strength, and specific training goals. To build consistent muscle memory and maintain proper form, you should select a band that matches or sits slightly below your actual bow draw weight. This approach allows you to focus entirely on your alignment, anchor points, and release mechanics without straining your muscles or risking injury.
Understanding Resistance Levels and Draw Weight
An archery training band does not behave exactly like a traditional bow. While a compound bow has a distinct let-off point and a recurve bow has a linear weight stack, a training band provides progressive resistance. This means the tension increases continuously the further you stretch the band during your draw cycle.
Because of this progressive tension, the stretch distance directly dictates the effective resistance you feel at full draw. If your draw length is relatively short, a band rated for a high draw weight may feel significantly lighter. Conversely, drawing a band past its intended stretch limit can make the resistance feel much heavier than expected.
Products mentioned in this guide
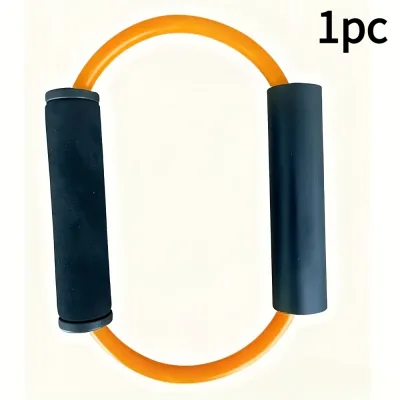
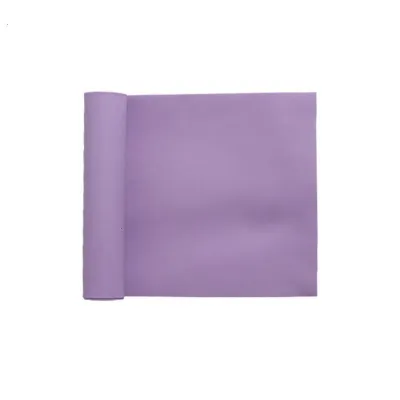
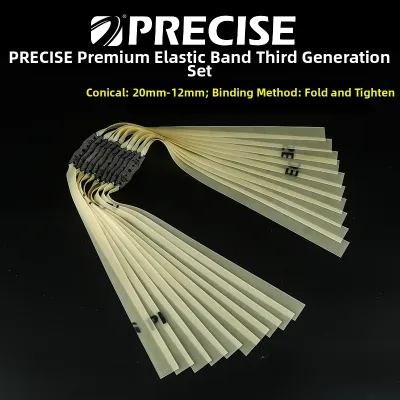
Prices are valid at publication and may change. Please refer to the product page for the latest price.
To establish a solid baseline for form training, aim to match or slightly under-match your bow’s actual draw weight. Under-matching is particularly useful because it allows you to hold the simulated draw longer. This extended hold gives you the time needed to analyze your skeletal alignment and back tension without muscle fatigue interfering.
Matching Resistance to Your Training Objectives
Your choice of resistance should align directly with what you hope to achieve during your practice sessions. Different tension levels serve distinct roles in an archer’s development routine.

Low resistance bands are ideal for warm-ups, injury rehabilitation, and pure form correction. They allow you to isolate specific back muscles, such as the rhomboids, without fighting heavy tension. This low-stress environment is perfect for practicing tricky elements of the shot cycle, such as a clean release or consistent anchor point placement.
Medium resistance bands are best suited for building endurance and retaining muscle memory on days when you cannot make it to the range. They provide enough feedback to simulate a standard shooting session. This level of tension helps you maintain your physical conditioning without putting excessive strain on your rotator cuffs.
High resistance bands are designed specifically for strength conditioning and expanding your maximum draw weight capacity. However, using high resistance carries a significant risk of form breakdown. If the band is too heavy, your body will naturally compensate by using incorrect muscle groups, which can lead to chronic shoulder strain.
Assessing Your Current Strength and Skill Level
Evaluating your physical capability requires paying close attention to how your body reacts during a simulated draw. You must remain objective about your limits to prevent developing bad habits that are difficult to unlearn.
Signs of excessive resistance:
- Shaking or trembling while trying to hold the draw.
- An inability to maintain the anchor point for more than two seconds.
- Raising your front shoulder or collapsing your lower back to complete the draw.
- Feeling sharp pain or joint discomfort in your shoulders or elbows.
Signs of insufficient resistance:
- A complete lack of muscle engagement in your upper back.
- Feeling zero physical fatigue after completing a standard, multi-repetition practice session.
- An inability to feel the distinct transition between your draw and your hold.
For youth archers, absolute beginners, or those returning to the sport after a long hiatus, starting with a lighter band is always the safest path. Beginning with low tension ensures you master the mechanics of back tension before introducing the physical load that can compromise your posture.
Reading Product Labels and Specifications
When browsing an online marketplace or local sports shop, interpreting manufacturer specifications accurately will save you from purchasing an unusable training tool.
Pay close attention to how weight ranges are printed on the packaging. Some manufacturers list a single static weight, which typically represents the tension at a standard draw length of 28 inches. Other brands print a range, such as 15 to 25 pounds, which accounts for the minimum and maximum stretch limits of the material.
Do not rely solely on color-coding systems to determine resistance. While many brands use colors like yellow for light, red for medium, and black for heavy, these systems are not standardized across the archery industry. A blue band from one manufacturer might offer twice the resistance of a blue band from another. Always verify the actual poundage ratings listed in the product specifications.
If you want maximum versatility, look for products that feature adjustable designs or come as a complete set. Multi-band packages often include interchangeable handles and multiple latex bands of varying thicknesses. This setup allows you to increase the tension gradually by combining bands as your strength develops.
Safety Checks and Progression Guidelines
Because training bands are subjected to high tension, maintaining a strict safety routine is essential to prevent sudden equipment failure and subsequent injury.
Perform a thorough visual inspection of your band before every single practice session. Look closely for micro-tears, discoloration, or fraying along the edges. In warm, humid tropical climates like the Philippines, latex and rubber materials degrade much faster due to moisture and heat exposure. If you spot any signs of material degradation, discard the band immediately.
Always use proper anchoring techniques and conduct environmental checks before drawing. Ensure the band is securely anchored to a stable, non-moving structure or held firmly in your bow hand with a non-slip grip. Never release the band like a dry-fired bow, as the resulting snap-back can cause severe facial, eye, or hand injuries.
When deciding to transition to a higher resistance level, rely on performance indicators rather than a calendar timeline. You are ready to progress only when you can complete your entire training routine with perfect form, consistent alignment, and zero joint discomfort. If your form slips even slightly with the heavier band, return to the lighter resistance to protect your joints.
Frequently Asked Questions (FAQ)
Can I use a regular fitness resistance band for archery training?
Grip and Ergonomics: While standard fitness bands can provide resistance, they lack the specialized handle designs required to mimic a real bow grip. Archery-specific training bands are engineered to align with the pressure point of your hand, preventing unnatural wrist torque and promoting a realistic grip angle.
Safety and Durability: Standard loop or tube fitness bands are often not rated for the long stretch distances and specific angles of an archery draw cycle. Using them for archery practice increases the risk of the material snapping unexpectedly, which can lead to painful snap-back injuries.
How do I know when it is time to increase my band resistance?
Form Consistency: You are ready to increase resistance when you can execute your entire shot cycle flawlessly for dozens of repetitions without experiencing muscle fatigue. If the movement feels effortless and you no longer feel your back muscles working, it is time to step up.
Physical Feedback: The transition to a heavier band should always be gradual. If the new resistance level causes your front shoulder to rise, makes you shake, or introduces any joint discomfort, immediately drop back down to your previous band to maintain safe training habits.
Community discussion
Share your experience or ask a question. Comments are reviewed before publication.