
Selecting the right resistance level for your elastic band depends on matching the band’s tension to your current physical strength, the specific muscle groups you are targeting, and your training goals. Because these portable tools rely on progressive tension—where the resistance increases the further the band is stretched—the ideal band should allow you to complete your planned repetitions with controlled, steady form while making the final few movements feel challenging. Starting with a systematic approach to selecting, testing, and adjusting your bands ensures you maximize your workout efficiency while protecting your joints and muscles from strain.
Understand Resistance Levels and Color Codes
Elastic bands generally fall into broad categories ranging from light and medium to heavy and extra-heavy. Light bands are typically suited for physical rehabilitation, dynamic warm-ups, and targeting smaller stabilizing muscles. Medium bands offer a versatile middle ground for general conditioning and moderate strength work, while heavy and extra-heavy bands provide the high tension necessary for compound movements and larger muscle groups.
However, a common pitfall is assuming that a specific color represents the same tension across different manufacturers. Color-coding is not standardized in the fitness industry; a green band from one brand might offer light resistance, while a green band from another could represent a heavy level. You must always verify the specific tension range, usually printed on the band itself or detailed in the manufacturer’s packaging, rather than relying on color memory.
Products mentioned in this guide
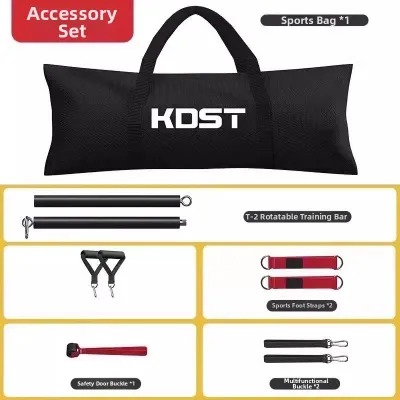
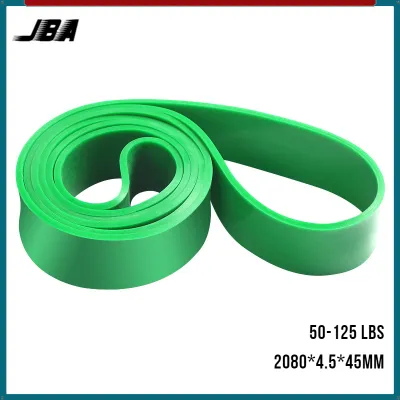
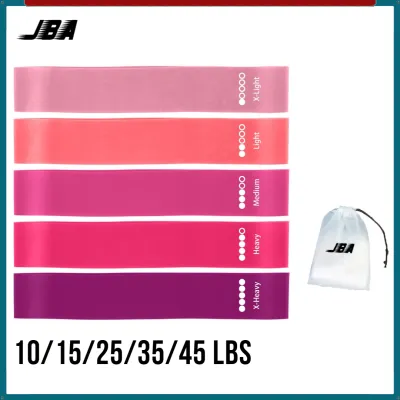
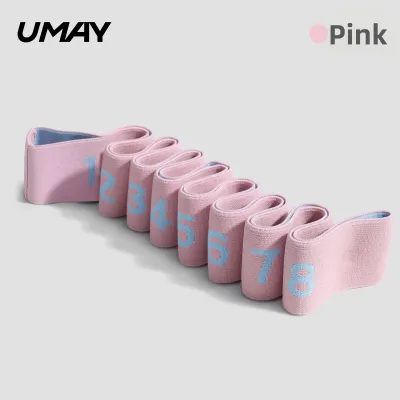

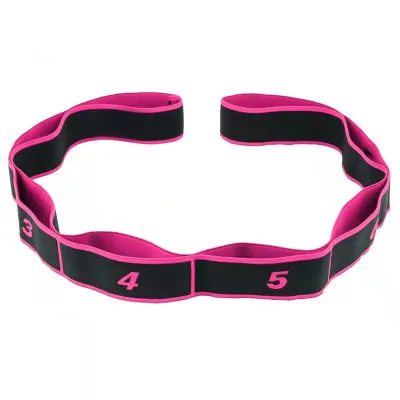
Prices are valid at publication and may change. Please refer to the product page for the latest price.
Additionally, guessing the resistance based solely on the physical width or thickness of the band can be highly misleading. Different manufacturing processes, material compositions, and latex blends can result in a thin band that feels incredibly stiff or a thick band that stretches with minimal effort. Before starting any exercise session, take a moment to check the printed specifications or the product manual to confirm the actual resistance rating.
Match Resistance to Your Fitness Level and Goals
Your training objectives dictate the ideal repetition range, which in turn determines how much resistance your elastic band should provide. If your goal is muscular endurance or physical rehabilitation, you will generally target higher repetition ranges, such as 15 to 20 repetitions per set. For these high-rep routines, a lighter band is necessary to prevent premature fatigue and ensure your muscles can sustain the movement throughout the entire set.

Conversely, if you are focusing on building muscular strength, you will typically target lower repetition ranges, such as 6 to 12 repetitions. This approach requires a heavier band that subjects your muscles to greater tension over a shorter duration. To gauge whether you have selected the correct level, you can use the Rate of Perceived Exertion (RPE) scale, aiming for an effort level where the final two or three repetitions of your set feel highly challenging but remain physically possible without breaking form.
For beginners, the priority must always be mastering the correct movement patterns before adding significant resistance. Starting with a light band allows your nervous system and stabilizing muscles to adapt to the unique, continuous tension of elastic resistance. Rushing into heavy bands too quickly often leads to joint compensation, where your body recruits unintended muscles to complete the movement, significantly increasing the risk of strain.
Select the Right Tension for Specific Exercises
Different muscle groups possess vastly different strength capacities, meaning a single elastic band cannot serve your entire workout routine. Large, powerful muscle groups like your glutes, hamstrings, and back muscles naturally require heavier resistance bands to trigger adaptation. In contrast, smaller, more delicate muscle groups such as your deltoids, rotator cuffs, and forearms require much lighter bands to prevent joint overload and maintain proper alignment.
The physical mechanics of elastic bands also mean that the resistance is not constant; it increases progressively as the band stretches. This means the range of motion of a specific exercise directly impacts the tension you experience. For example, a standing overhead press stretches the band significantly more than a lateral raise, meaning the same band will feel substantially heavier at the top of the overhead press.
To accommodate these variations, building a versatile home setup with a multi-band set is highly recommended. Having access to a progression of light, medium, and heavy bands allows you to transition smoothly between different exercises. You can also look for systems that feature interchangeable handles, allowing you to clip multiple bands together to customize the resistance level for compound movements.
Test and Adjust Your Band During the Workout
The most reliable way to verify your band selection is to perform a brief test set at the beginning of your workout. Pay close attention to your physical form during the final two to three repetitions of your target range. If you can complete the entire set with smooth, controlled movements and a brief pause at the peak of contraction, the resistance level is appropriate for your current fitness level.
If you find yourself jerking your body, arching your back, or using momentum to stretch the band, the resistance is too heavy and you must drop down a level. On the other hand, if you reach the end of your set feeling as though you could easily complete ten more repetitions without any muscular burning or fatigue, the band is too light to stimulate progress.
Fortunately, you can easily fine-tune the tension of an elastic band mid-workout without immediately switching to a different band. To increase resistance, you can shorten the active length of the band by widening your stance on a looped band, wrapping the band around your hands, or gripping it closer to its anchor point. To decrease the tension, simply widen your grip or narrow your stance to allow more slack in the working portion of the rubber.
Inspect Band Condition and Safety Limits
Because elastic bands store a significant amount of kinetic energy when stretched, regular safety inspections are vital to prevent sudden snaps that can cause painful injuries. Before every workout, perform a thorough visual and tactile check of the entire band. Look closely for tiny micro-tears, hairline cracks, areas of discoloration or whitening, and spots where the material has become unusually thin or brittle.
In tropical climates like the Philippines, high humidity and ambient heat can accelerate the degradation of latex and synthetic rubber. This environmental factor makes regular inspections even more critical, as a band that has lost its elasticity or developed dry rot can snap unexpectedly under tension. Always check the manufacturer’s guidelines regarding the maximum safe stretch limit, which is typically three to four times the band’s resting length, and never exceed this boundary.
To preserve the material integrity and consistent resistance of your bands, proper storage is essential. Store your bands in a cool, dry place away from direct sunlight, which can dry out the rubber and cause premature cracking. Avoid leaving them near heat sources or wrapping them around sharp metal objects, and consider applying a light dusting of unscented talcum powder occasionally to prevent the latex from sticking together.
Frequently Asked Questions (FAQ)
Can I combine two lighter bands instead of using one heavy band?
Yes, stacking or combining two lighter bands is a highly effective way to create an intermediate resistance level or increase total tension. When doing this, ensure that both bands are of similar length and material quality so they stretch at a comparable rate. You must also secure both bands to the exact same anchor point and ensure they are aligned flat against each other to prevent slipping, uneven wear, or sudden snapping during your exercise.
How do I know if my elastic band has lost its original resistance?
An elastic band has lost its original resistance if it exhibits permanent deformation, such as remaining stretched out, warped, or saggy when completely relaxed. You might also notice that the band feels unusually soft, offers very little resistance during the initial phase of a stretch, or shows visible signs of dry rot and cracking. If the band no longer snaps back quickly to its original resting length, it is time to replace it to maintain training accuracy and ensure your safety.
Community discussion
Share your experience or ask a question. Comments are reviewed before publication.