
Choosing the right resistance level for your tube resistance bands is the key to a safe, effective, and progressive home workout. Selecting a band that is too light will fail to stimulate your muscles, while one that is too heavy can compromise your form and increase the risk of joint strain. To find your ideal match, you must balance your current physical strength with your specific fitness goals and the muscle groups you plan to target. Because different exercises require different levels of tension, a single band is rarely sufficient for a complete full-body routine.
Understanding Resistance Band Tube Specifications
Tube resistance bands are typically categorized by their tension levels, which are often measured in kilograms or pounds. This rating represents the amount of force required to stretch the tube to a specific length, usually double its resting state. When shopping on an online marketplace, you will notice that these bands are color-coded to indicate their resistance level, ranging from extra-light to extra-heavy.
However, it is crucial to verify the manufacturer’s specific packaging or product manual rather than relying solely on color. There is no universal color-coding standard across the fitness industry; a blue band from one brand might represent medium tension, while from another brand, it could represent heavy or even light resistance. Always check the printed weight equivalent on the band or the product description before starting your workout.
Products mentioned in this guide
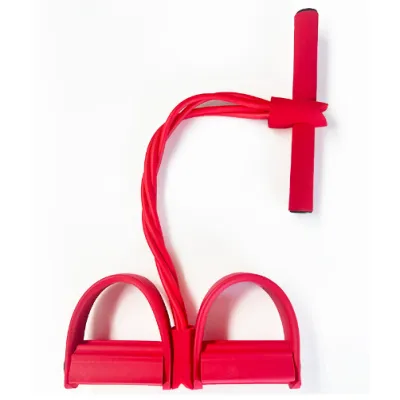
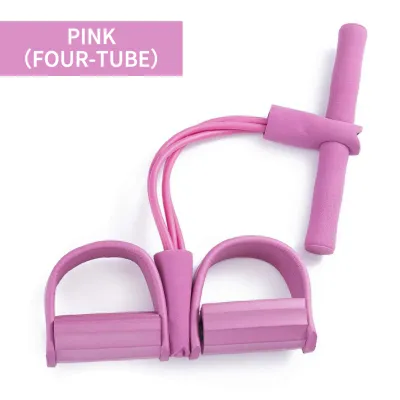
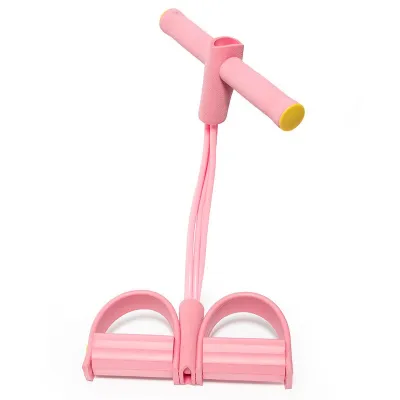
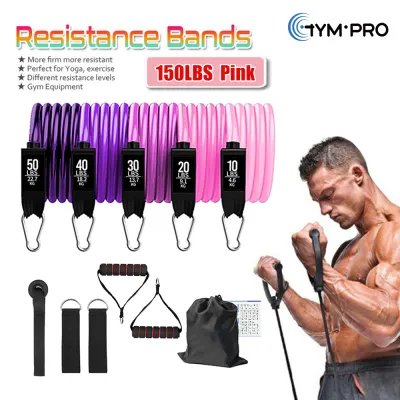
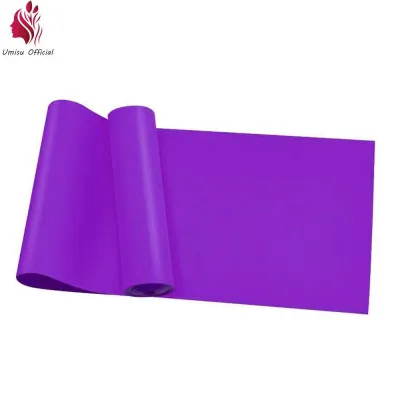
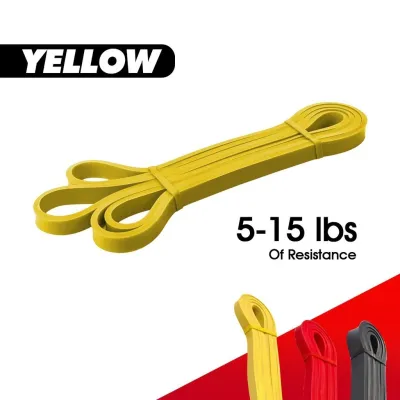
Prices are valid at publication and may change. Please refer to the product page for the latest price.
Additionally, you must distinguish between single-band tension and combined resistance. Many modern tube band sets feature metal carabiners that allow you to clip multiple tubes onto a single pair of handles. This modular design means you can stack bands together to create custom tension levels, giving you a wider range of resistance options without needing to purchase separate, bulky equipment.
Matching Resistance Levels to Your Fitness Goals
Your choice of resistance should align directly with what you want to achieve during your training sessions. If your primary goals are muscle endurance, mobility work, or physical rehabilitation, you should opt for lighter resistance levels. These exercises typically involve high repetitions, often fifteen to twenty reps per set, where maintaining smooth, controlled movement and proper joint alignment is far more important than lifting heavy loads.

For those focusing on muscle hypertrophy or building raw strength, medium to extra-heavy bands are necessary. To stimulate muscle growth, you need to challenge your muscles within a lower repetition range, typically eight to twelve reps, where the final few repetitions feel highly challenging but still achievable with perfect form. Using a band that is too light for these goals will not provide the mechanical tension required to trigger muscle adaptation.
Fortunately, you do not always have to switch bands to adjust the difficulty of an exercise. You can modify the effective resistance of a tube band by changing your physical setup. For example, widening your stance on a foot-anchored band shortens the active length of the tube, which immediately increases the tension. Similarly, shortening your grip or moving further away from a door anchor point will make the exercise significantly harder without requiring a heavier band.
Selecting the Right Level for Different Muscle Groups
A common mistake is attempting to use the same resistance band for every exercise in a routine. Your body consists of muscle groups of vastly different sizes and strength capacities, meaning a one-size-fits-all approach will limit your progress. Smaller muscle groups, such as the shoulders, biceps, triceps, and rotator cuffs, require lighter tubes. Using a band that is too heavy on a lateral raise or tricep extension often forces other muscles to compensate, leading to poor posture and potential shoulder impingement.
Conversely, larger and stronger muscle groups like the glutes, hamstrings, quadriceps, and back muscles require medium to extra-heavy tubes to experience an adequate training stimulus. A light band will barely register during a squat, deadlift, or bent-over row. To target these powerful muscle groups effectively, you need the substantial resistance that only thicker tubes or stacked bands can provide.
For this reason, investing in a versatile starter set is highly recommended over buying a single isolated band. A complete set typically includes four to five tubes of varying resistance levels, along with detachable handles, ankle straps, and a door anchor. This variety allows you to seamlessly transition from a light band for shoulder warm-ups to a heavy combination for lower-body exercises, ensuring every muscle group is trained safely and at the correct intensity.
How to Test and Verify Your Band's Resistance
To ensure your chosen band provides the right level of challenge without compromising your safety, you can use the repetitions-in-reserve (RIR) method. When performing an exercise, aim for a target repetition range, such as ten repetitions. If you reach the tenth rep and feel as though you could easily complete five or more additional reps with perfect form, the resistance is too light. Ideally, you should finish your set feeling as though you have only one to three high-quality repetitions left in reserve.
Safety should always be your top priority when working with elastic tubes. Before every workout, perform a quick physical inspection of the band. Run your fingers along the tube to check for micro-tears, deep scratches, discoloration, or small punctures, especially near the connection points where the tube meets the plastic or metal clips. A compromised band can snap suddenly under tension, which can cause painful snaps against your skin or even serious facial injuries.
In tropical climates like the Philippines, high humidity and heat can accelerate the degradation of natural latex and rubber. To prevent your bands from drying out, becoming brittle, or losing their elasticity, store them in a cool, dry place away from direct sunlight. Avoid leaving them in hot cars, outdoor balconies, or damp laundry areas. Following these simple care instructions ensures your bands maintain consistent tension and remain safe to use for a long time.
Frequently Asked Questions (FAQ)
Can I combine multiple tube resistance bands for a heavier workout?
Yes, you can combine multiple tube resistance bands to increase the total resistance of your workout. When you clip two or more tubes to the same set of handles, the total tension is the sum of the individual bands’ resistance ratings. Before doing this, always inspect the handles, carabiners, and door anchors to ensure they are rated to handle the increased load. Using worn-out accessories with multiple heavy bands increases the risk of mechanical failure during an exercise.
Do tube resistance bands lose their tension over time?
Yes, tube resistance bands will gradually lose their tension and elasticity over time due to material fatigue, stretching, and environmental exposure. Visual signs of wear include micro-tears, a powdery white residue on the surface, or areas where the tube remains permanently stretched out or thin. To prolong their lifespan, keep them clean by wiping them down with a damp cloth after sweaty workouts, and store them away from extreme heat, direct sunlight, and high humidity.

Community discussion
Share your experience or ask a question. Comments are reviewed before publication.