
Selecting the right gymnastics tumbling mat for home practice requires balancing your gymnast’s current skill level, their physical height, and the physical limits of your living space. To practice safely at home, you must choose a mat that provides sufficient shock absorption for specific landing impacts without sacrificing the firm stability needed to protect ankles and wrists. Remember that home practice equipment is meant to support training, not replace professional coaching or spotter supervision; gymnasts should only attempt skills at home that they have already mastered in a supervised gym environment. By measuring your available floor area, verifying foam density specifications, and planning for proper storage, you can create a secure training environment that supports skill progression.
Assessing Your Home Space and Safety Clearances
Before purchasing any training equipment, you must carefully measure the designated practice area to ensure it can accommodate both the mat and a generous safety buffer. Start by clearing the room of all temporary items and measuring the flat floor footprint with a tape measure. Keep in mind that tropical homes in the Philippines often feature tiled, polished concrete, or smooth terrazzo floors. These hard, slick surfaces require mats with non-slip bottom textures or separate rubberized underlays to prevent the entire mat from sliding during high-energy movements.
Ceiling height is another critical factor that is frequently overlooked but vital for safety. You must verify that the ceiling is high enough to allow for full-height jumps, kicks, and flips without the gymnast’s head or hands coming into contact with light fixtures, ceiling fans, or concrete beams. If your home has low ceilings, restrict practice strictly to low-impact floor work and avoid any airborne skills. Always measure the clearance from the top of the mat to the lowest hanging obstacle in the room, rather than just the bare ceiling height.
Products mentioned in this guide
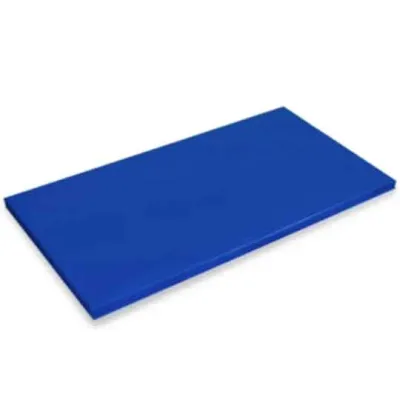
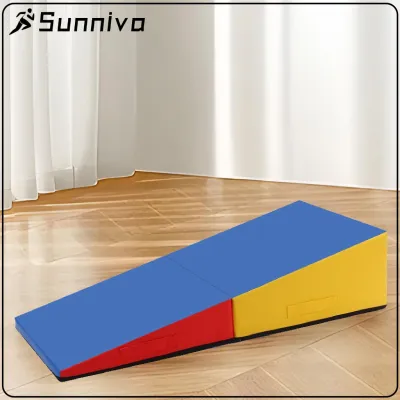
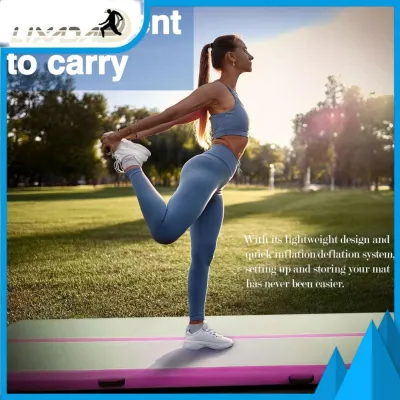
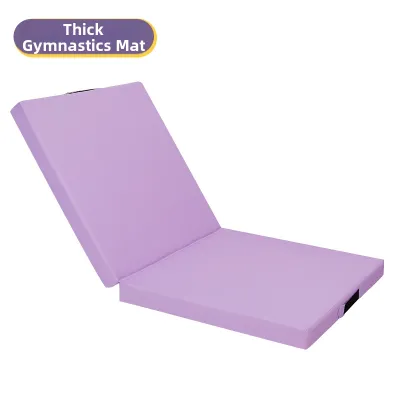
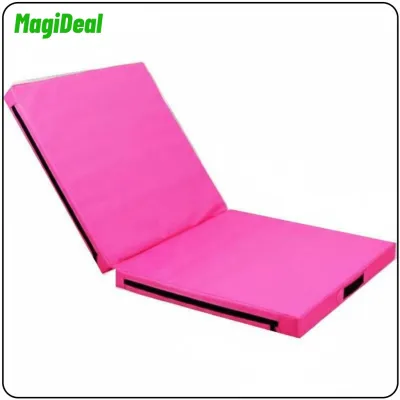
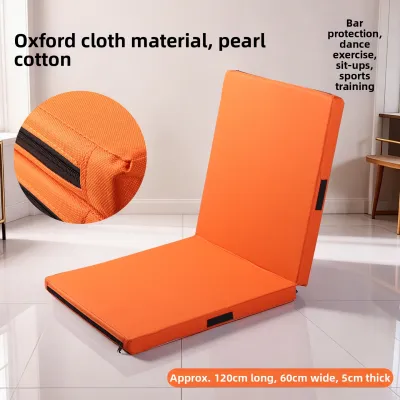

Prices are valid at publication and may change. Please refer to the product page for the latest price.
In addition to the physical dimensions of the mat itself, you must maintain a clear safety margin of at least several feet around all sides of the training area. This buffer zone must be entirely free of walls, doors, sharp furniture corners, and glass windows. A gymnast who overshoots a landing or loses balance during a cartwheel should land on a clear, unobstructed floor rather than colliding with household obstacles. If you cannot guarantee this safety clearance on all sides, you must scale down the size of the mat or choose a different room for practice.
Matching Mat Thickness to Skill Impact and Stability
The thickness of a tumbling mat directly influences how much impact force it can absorb, but thicker is not always better for every skill level. For basic floor exercises, stretching, and simple rolls, a thinner mat is often sufficient because it keeps the gymnast closer to the solid floor, providing a more predictable surface. High-impact tumbling passes, such as handsprings or flips, generate much greater downward force and require thicker, specialized foam to protect joints from repetitive stress.

When evaluating options, do not rely solely on visual thickness, as different foam materials behave differently under load. Check the manufacturer’s product specifications for foam density and impact ratings rather than assuming a thicker mat is automatically safer. High-density cross-linked polyethylene foam offers excellent shock absorption in a relatively thin profile, whereas lower-density open-cell polyurethane foam may bottom out under heavy impact, failing to protect the gymnast’s wrists and ankles.
You must also balance cushioning with surface stability to prevent painful ankle rolls or wrist sprains. A mat that is too soft or pillowy will cause the gymnast’s feet to sink, making it difficult to maintain balance during takeoffs and landings. Look for a firm, supportive surface that yields slightly under impact but immediately recovers its shape to provide a stable platform for consecutive movements. If a gymnast feels their joints sinking deeply into the foam upon landing, stop practice immediately and verify if the mat’s density is appropriate for their weight and skill level.
Calculating the Right Length and Width for Your Routines
To determine the ideal length and width, consider the specific gymnastics routines and skill sequences that will be practiced at home. A single cartwheel or round-off requires a certain minimum length, while connecting multiple skills into a tumbling pass demands a much longer surface. Measure the gymnast’s stride and execution distance to ensure they can complete their entire movement sequence without stepping off the edge of the mat. If the gymnast is still growing, factor in their projected height and stride length over the next few years to avoid outgrowing the equipment too quickly.
Width is equally important for maintaining safety during lateral movements and off-center landings. A standard narrow mat might be fine for straight-line tumbling, but wider mats provide a critical safety margin for cartwheels, handstands, and lateral rolls where the gymnast might drift sideways. Ensure the width allows for a comfortable margin of error on both sides of the central practice line, especially for younger athletes who are still developing their spatial awareness and directional control.
If your home cannot permanently accommodate a single, long tumbling mat, modular or foldable designs offer an excellent alternative. These mats can be folded up when not in use or connected together to customize the length of the runway. This flexibility allows you to maximize your practice area during training sessions and reclaim your living space afterward. When using modular setups, always ensure the connection points are completely secure and flush to prevent any gaps from opening up during active use.
Managing Storage, Folding, and Daily Setup
Managing a large gymnastics mat in a residential setting requires a practical plan for daily setup, teardown, and storage. Look for mats equipped with durable folding hinges and heavy-duty carrying handles, which make it much easier for one or two people to move the equipment without straining. High-quality hinges should lie completely flat when unfolded, preventing any uneven ridges or soft spots on the practice surface that could cause a gymnast to trip.
When the mat is not in active use, store it according to the manufacturer’s guidelines to preserve the integrity of the internal foam. Safe storage options include stacking folding mats flat in a dry closet or leaning them securely against a reinforced wall where they cannot tip over or warp. In humid tropical climates, avoid storing mats in damp, unventilated areas, as trapped moisture can degrade the foam and cover materials over time. Ensure the storage area is free from sharp objects that could puncture the outer vinyl cover.
Before every single practice session, perform a quick safety inspection of the setup. Ensure the mat is fully unfolded, completely flat, and securely positioned on a clean, debris-free floor. Check that any connecting straps are tightly fastened and that no tripping hazards, toys, or household items have migrated into the safety clearance zone. If you notice any tears in the cover, exposed foam, or loose seams, suspend practice until the equipment is repaired or replaced.
Frequently Asked Questions (FAQ)
Can I connect multiple smaller mats instead of buying one large tumbling mat?
Yes, you can connect multiple smaller mats to create a longer tumbling run, provided they are designed for modular connection. Look for mats that feature heavy-duty Velcro hook-and-loop straps along the edges to lock the sections firmly together. Never simply place two standard mats side-by-side without a secure connection mechanism, as they will slide apart during use, creating dangerous seam gaps and tripping hazards that can cause severe injury.
How do I clean and maintain a foam tumbling mat at home?
To clean a foam tumbling mat, wipe down the outer vinyl cover with a soft cloth dampened with water and a mild, non-abrasive soap. Avoid harsh chemical cleaners, bleach, or abrasive scrubbing pads, which can dry out and crack the vinyl surface. Because the Philippine climate can be highly humid, it is critical to let the mat air dry completely in a well-ventilated indoor space before folding or storing it to prevent mold, mildew, and unpleasant odors from developing.
What should I look for when setting a budget for a home tumbling mat?
When setting your budget, prioritize safety and durability over low-cost alternatives. Compare prices in ₱ across reputable sports retailers, focusing your investment on mats with high-density cross-linked foam and tear-resistant vinyl covers. While cheaper options exist, investing in a durable mat ensures the foam will not bottom out under impact, saving you from premature replacement costs and providing reliable protection for the gymnast.
Community discussion
Share your experience or ask a question. Comments are reviewed before publication.