
Selecting a weighted vest requires balancing your current physical conditioning with precise torso measurements. Adding external resistance to your workouts can accelerate your strength and endurance gains, but only if the equipment fits securely and matches your physical capabilities. In the tropical climate of the Philippines, where heat and humidity can rapidly accelerate fatigue, selecting the wrong size or an excessive weight can lead to poor posture, restricted breathing, or joint strain. By evaluating your baseline strength, taking accurate body measurements, and planning a gradual progression, you can safely integrate this training tool into your fitness routine.
Diagnose Your Readiness and Training Goals for Added Load
Before purchasing a weighted vest, you must assess whether your body is prepared for external resistance. Adding load to bodyweight movements is only beneficial when you can perform those movements with perfect form. If your baseline strength is not yet established, adding weight will likely compromise your mechanics and increase your risk of injury.
Observable signs of readiness include the ability to complete multiple sets of standard push-ups, pull-ups, squats, or lunges without losing core stability or experiencing joint pain. If your hips sag during a plank or your knees cave inward during a squat, adding a weighted vest will worsen these movement errors. Master the unweighted versions of these exercises first before introducing external resistance.
Products mentioned in this guide
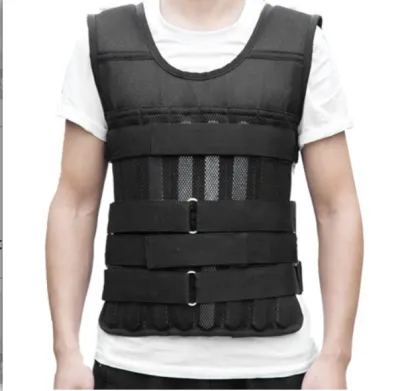
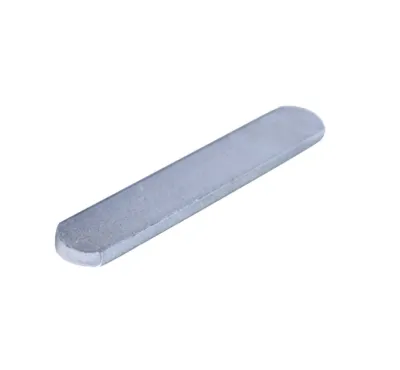
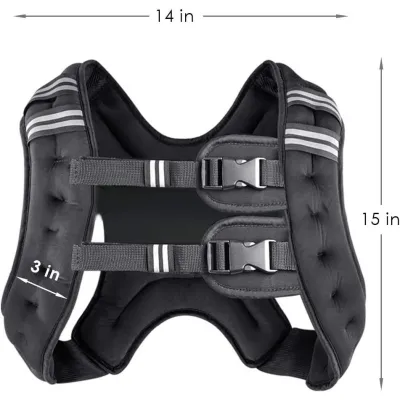
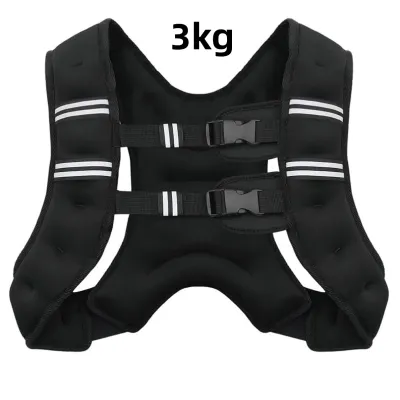
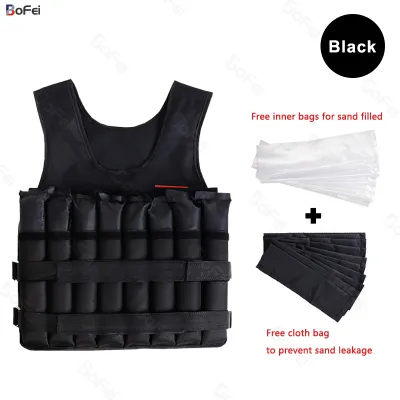
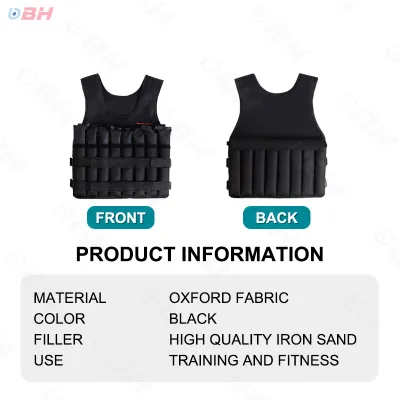
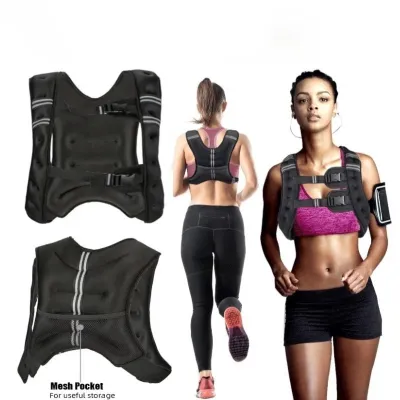
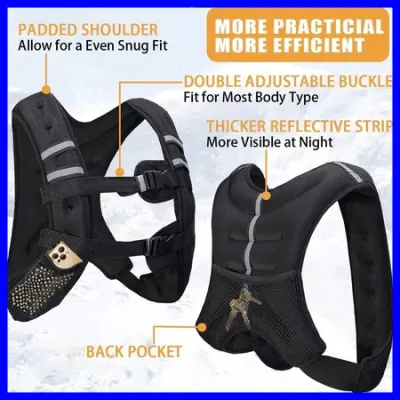
Prices are valid at publication and may change. Please refer to the product page for the latest price.
Your specific fitness goals should dictate the style and weight capacity of the vest you choose. For calisthenics and bodyweight progression, a compact vest that allows full shoulder mobility is essential. If your goal is walking or hiking to increase cardiovascular demand, a vest that distributes weight evenly across your torso is more appropriate.
If you are recovering from an injury, particularly in the shoulders, spine, or knees, you should hold off on purchasing a weighted vest. Focus first on regaining pain-free, unweighted range of motion. Consulting a physical therapist or fitness professional is highly recommended before introducing any vertical loading to your spine.
Measure Your Body for a Secure and Comfortable Fit
A weighted vest must fit snugly against your torso to prevent shifting, chafing, and balance issues during movement. To find your correct size, you need to take three primary measurements using a flexible measuring tape.

First, measure your chest circumference at the widest point, directly under your armpits. Keep the tape snug but not tight, and take the measurement while breathing normally. Second, measure your waist circumference around your natural waistline. Third, measure your torso length from the top of your collarbone down to your belly button to ensure the vest will not sit too low and interfere with your hips or thighs when bending.
Once you have these measurements, compare them directly to the manufacturer’s specific sizing chart. Do not rely on your standard t-shirt or jacket size, as athletic apparel sizing varies significantly from fitness equipment dimensions. A vest that is too large will bounce and cause painful friction, while a vest that is too small will restrict your lung expansion during intense workouts.
Look closely at the adjustability features of the vest before making a decision. High-quality vests typically feature wide hook-and-loop straps, adjustable side buckles, or elastic tension cords. These systems allow you to customize the tightness based on your body shape and the thickness of your workout clothing, which is particularly useful if you transition between light tank tops in hot weather and thicker layers.
Select the Right Starting Weight and Progression Plan
Choosing the starting weight of your vest requires a conservative approach to protect your joints and connective tissues. A common baseline for healthy individuals is to start with a vest weight that is approximately 5% to 10% of their total body weight.
For example, if you weigh 70 kilograms, a safe starting weight would range from 3.5 to 7 kilograms. Starting at the lower end of this spectrum allows your muscles, tendons, and ligaments to adapt to the new vertical load without overloading your spine or knees.
To ensure long-term utility, prioritize a vest that features adjustable weight pockets or removable weight plates. Vests with fixed weights limit your ability to progress and may force you to buy an entirely new vest once your strength increases. Removable increments, such as small iron blocks or sand packets, allow you to add or subtract weight in small, manageable steps as your fitness improves.
Pay close attention to how your body responds during your first few sessions with the vest. Physical warning signs that the weight is too heavy include lower back discomfort, neck strain, a forward-leaning posture, or an inability to control your descent during squats or lunges. If you experience any of these signs, immediately reduce the weight or remove the vest to prevent acute or chronic injury.
Verify Build Quality and Safety Features Before Purchase
The materials and construction of a weighted vest directly impact its durability, comfort, and safety. In the warm and humid climate of the Philippines, breathability is a critical factor to prevent overheating and skin irritation.
Look for vests constructed with heavy-duty nylon or polyester fabrics, such as Cordura, which resist tearing from friction and sweat. The inner lining should feature moisture-wicking mesh panels and thick, padded shoulder straps to distribute the load comfortably and prevent the straps from digging into your collarbones.
Evaluate the weight distribution design of the vest. The weight pockets should be positioned evenly across both the front and back of the torso. An unevenly balanced vest can pull your shoulders forward or strain your lower back, leading to poor alignment and potential injury during dynamic movements.
Finally, verify the maximum weight capacity of the vest’s compartments. Even if you start with a light load, choosing a vest frame that can safely hold heavier plates or inserts in the future ensures that your equipment can grow alongside your strength progression. Check the seams, stitching, and strap attachments to ensure they are reinforced to handle the maximum rated weight.
Frequently Asked Questions (FAQ)
Can I wear a weighted vest for running or high-impact cardio?
Wearing a weighted vest for running or high-impact cardio is generally not recommended unless you have a high level of baseline joint strength and excellent running mechanics. The added load significantly increases the ground reaction forces transmitted through your ankles, knees, hips, and lower back with every stride. If you choose to use a vest for cardio, limit it to low-impact activities like walking, hiking, or stepping exercises. Stop immediately and remove the vest if you experience sharp joint pain, sudden fatigue, or a breakdown in your walking posture.
How do I clean and maintain my weighted vest?
To keep your weighted vest hygienic and free of odor, regular maintenance is essential, especially after sweaty workouts. Always remove all weight plates, iron blocks, or sand inserts before cleaning the vest fabric. Refer to the manufacturer’s care label for specific instructions; most vests should be hand-washed in cold water with a mild detergent and hung to air dry in a well-ventilated area away from direct sunlight. Never machine wash or tumble dry the vest unless the manufacturer explicitly states it is safe to do so, as this can damage the stitching and strap systems.
Community discussion
Share your experience or ask a question. Comments are reviewed before publication.