
Choosing your first adult saranggola (kite) requires matching the design of the sail and frame to your local wind conditions and your personal experience level. While childhood kites are often simple, fragile plastic toys, adult kites are engineered with high-performance materials like ripstop nylon and durable fiberglass spars. Selecting the right model ensures that your kite launches easily, remains stable in shifting breezes, and survives the occasional hard landing. By understanding how different shapes behave in the air and how local geography shapes the wind, you can select a kite that delivers a rewarding, stress-free flying experience.
Assess Your Flying Location and Wind Conditions
Before purchasing a kite, you must evaluate where you plan to fly it. In the Philippines, wind patterns are heavily influenced by the seasons. The Amihan (northeast monsoon) runs from November to April, bringing steady, cool breezes that are ideal for kite flying. The Habagat (southwest monsoon) from June to October brings warmer, more humid air that is often gusty and accompanied by sudden rain showers. Understanding these seasonal shifts helps you anticipate the wind quality at your chosen flying spot.
Beaches, such as those in Zambales, Batangas, or La Union, offer excellent conditions for adult kites. The open water allows the wind to travel unobstructed, creating a smooth, steady flow of air known as laminar flow. This consistent wind makes it easy to launch and maintain flight, even for larger or heavier kites. However, coastal environments expose your equipment to fine sand and corrosive salt spray. When flying at the beach, you must choose a kite made of materials that can be easily rinsed with fresh water and dried without rusting or degrading.
Products mentioned in this guide
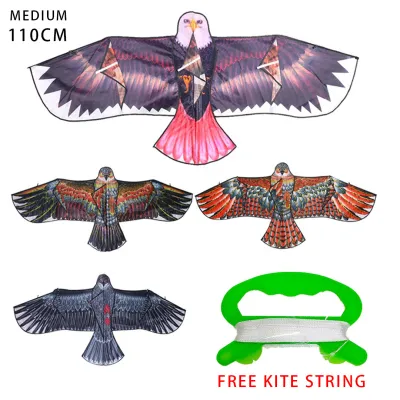
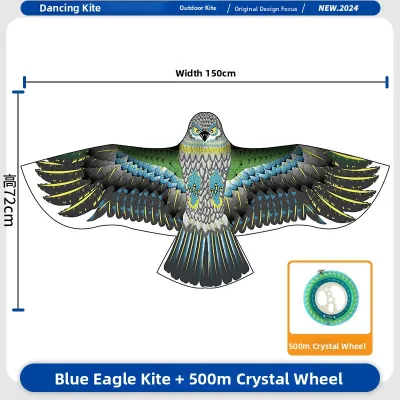
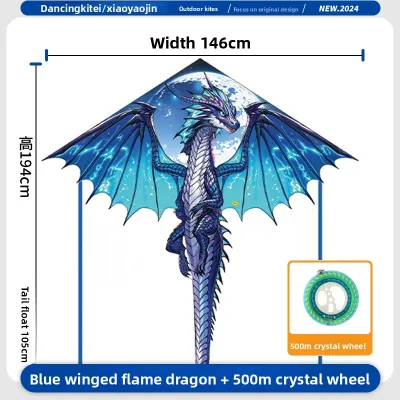
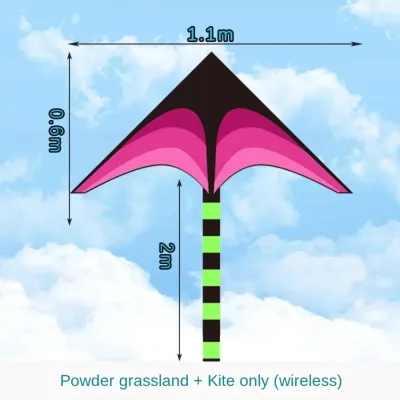
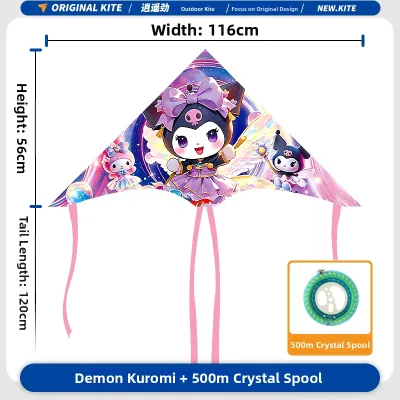
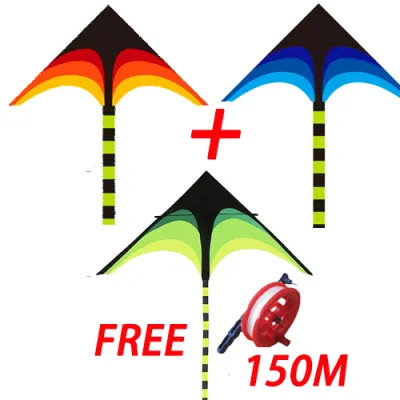
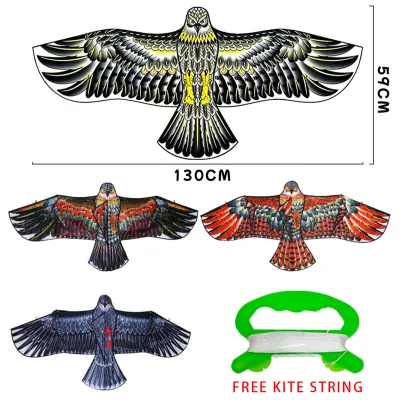
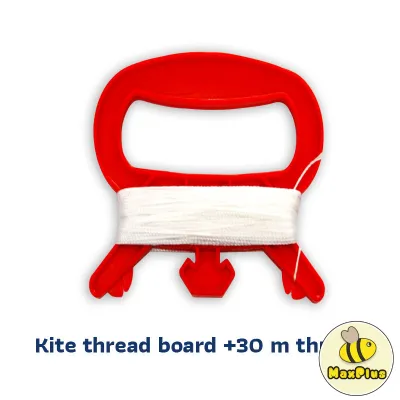
Prices are valid at publication and may change. Please refer to the product page for the latest price.
Urban parks, like Quezon Memorial Circle or Rizal Park, present a different set of atmospheric challenges. Trees, buildings, and monuments block the wind, creating mechanical turbulence. This turbulence results in swirling, unpredictable air currents and sudden drops in wind speed. To fly successfully in a park, you need a highly responsive, lightweight kite that can stay aloft during sudden lulls and quickly recover from unexpected downdrafts.
Open agricultural fields or grassy plains provide a middle ground between coastal and urban environments. These areas generally offer steadier winds than city parks, with fewer obstacles to catch your line. They are ideal for testing larger kites or practicing maneuvers with steerable models.
To assess the wind before launching, observe physical indicators around you. If leaves on the trees are completely still, the wind is likely too light for standard adult kites. If small branches are swaying and flags are fully extended, conditions are optimal, usually falling within the 8 to 24 km/h range. Always check the manufacturer’s recommended wind range for your specific kite model rather than guessing, as flying in winds that are too strong can warp the frame or tear the sail.
Match Kite Designs to Your Skill Level
The shape and structure of your saranggola dictate how it interacts with the wind and how much control you have over its movement. Selecting a design that matches your current skill level prevents frustration and reduces the risk of damaging your equipment.

Best Kites for Beginners
For those new to the hobby, single-line Delta and Diamond kites are the most forgiving and reliable options. Delta kites feature a triangular shape with a wide surface area and a built-in fabric keel underneath. This keel acts as a natural rudder, automatically aligning the kite with the wind direction to maintain stability. Deltas are exceptionally easy to launch, often rising into the air with a simple tug of the line, and they perform well in a wide range of wind speeds.
Diamond kites are a modernized version of the classic childhood design, built with adult-sized dimensions and robust materials. Unlike Deltas, Diamond kites require a tail to fly stably. The tail adds weight and drag at the bottom of the kite, preventing it from spinning or looping when hit by sudden gusts. For beginners, a tail is a crucial stabilizing tool that makes the kite highly visible and easier to manage in shifting inland breezes.
Options for Intermediate and Advanced Flyers
As you gain experience, you can transition to more complex designs that offer unique flight characteristics or require active pilot input. Box kites are three-dimensional structures that look like open boxes or cellular frames. They offer excellent stability in strong, steady winds but generate significant drag. This means they pull much harder on the line than flat kites, requiring a strong grip and a heavy-duty line.
Parafoil kites are completely soft structures with no rigid spars or frames. They feature a series of cells that inflate with air as the wind blows into them, creating a wing shape similar to a paraglider. Because they have no sticks to break, parafoils are virtually indestructible during crashes, making them incredibly durable. They also pack down into a small pouch, making them highly portable for travel. However, they require consistent, moderate-to-strong winds to remain inflated and stable.
For adults seeking an active, engaging experience, dual-line stunt kites are the ideal choice. These kites feature two lines attached to separate handles or wrist straps. By pulling on one line or the other, you can steer the kite left, right, perform loops, and execute precise aerial maneuvers. Stunt kites have a steeper learning curve and require quick reflexes, steady wind, and a wide, clear flying area, as they fly at high speeds and can crash forcefully if misdirected.
Choose the Right Line, Reel, and Accessories
The hardware connecting you to your kite is just as important as the kite itself. Adult-sized kites generate substantial pull, requiring strong, reliable lines and ergonomic reels to ensure safety and control.
- Kite Lines: Kite lines are typically made of braided polyester or twisted nylon. Braided polyester is the preferred choice for adult flyers because it has minimal stretch. This low-stretch property ensures that your physical inputs are transmitted instantly to the kite, which is crucial for steering dual-line models. Twisted nylon is more affordable and offers some stretch, which can absorb shock in gusty winds, but it is highly prone to tangling and can make the kite feel sluggish. Line strength is measured in tensile strength. A standard 1.5-meter delta kite typically requires a line rated between 50 to 80 pounds, while larger power kites or strong-wind flyers may require lines rated at 100 to 150 pounds. Always verify the manufacturer's recommended line strength for your specific model.
- Reels and Spools: When choosing a reel, avoid cheap, small plastic hoops that can cramp your hands and offer poor control. Look for larger, ergonomic hoop reels or wheel reels equipped with smooth ball bearings and integrated locking mechanisms. A reliable brake or lock is essential; when a strong gust catches a large kite, the line can spool out rapidly, causing friction burns if you attempt to stop it with your bare hands.
- Protective Gear and Storage: Investing in a few basic accessories can significantly improve your flying experience. Heavy-duty flying gloves are highly recommended to protect your hands from line burns during strong winds. Additionally, a dedicated, padded carrying bag protects your kite's fiberglass or carbon fiber spars from splintering and prevents the sail fabric from being punctured by sharp frame connectors during transport.
Step-by-Step Guide to Choosing and Testing Your Kite
To ensure a successful and safe first flight, follow this systematic approach to selecting, preparing, and testing your adult saranggola.
- Step 1: Match your location to the kite's specifications. Determine where you will fly most often. If you live near a windy coastline, choose a durable parafoil or a sturdy box kite. If you plan to fly in a local city park, select a lightweight delta kite designed for light-to-moderate winds. Verify that the kite's recommended wind range aligns with the typical weather patterns of your chosen spot.
- Step 2: Inspect the build quality. Before purchasing or launching, examine the materials. The sail should be made of ripstop nylon or polyester, which features a grid pattern of thicker threads designed to stop small punctures from spreading into large tears. The spars should be made of solid fiberglass for flexibility and impact resistance, or lightweight carbon fiber for rigid performance in larger kites. Ensure that the bridle points—the areas where the lines connect to the kite frame—are heavily reinforced with extra stitching or double-layered fabric.
- Step 3: Assemble and rig the kite. Assemble the frame according to the manufacturer's instructions, ensuring all spars are pushed fully into their rubber or plastic connectors. Securely attach your flying line to the bridle loop. For single-line kites, a secure larks head knot or a high-strength metal snap swivel is recommended to prevent the line from slipping under tension.
- Step 4: Launch in a clear area. Stand with your back to the wind, holding your reel securely. Have a friend hold the kite about 15 to 20 meters downwind from you, facing into the wind with the nose of the kite pointing upward. When you feel a steady breeze, signal your friend to release the kite upward while you take a few steps backward and gently pull the line to create lift. Let out the line gradually as the kite climbs into the steadier, higher-altitude air currents.
- Step 5: Observe and make micro-adjustments. Once the kite is airborne, monitor its behavior. If the kite constantly veers to one side or spins out of control, land it safely and check that the frame is perfectly symmetrical and that the bridle is centered. If the kite struggles to climb but spins rapidly in circles, attach a long tail to the bottom loop to add stabilizing drag.
Crucial Safety Rules and Flight Boundaries
Kite flying is a safe and enjoyable outdoor activity, but adult-sized kites carry enough physical force and line tension to cause serious injury or property damage if flown irresponsibly. Establishing strict safety boundaries is essential for every flyer.
Always avoid designated no-fly zones. Never fly a kite near overhead power lines, active highways, railways, crowded public spaces, or within 5 kilometers of an airport. Wet kite lines, carbon fiber spars, and specialized metal-reinforced lines can conduct electricity. If your kite or line makes contact with a power line, it can deliver a fatal electric shock directly to you.
Pay close attention to changing weather conditions. Immediately pack up your gear if you hear thunder, see lightning, or notice a sudden dark storm front approaching. The high humidity and moisture in the air during the Philippine rainy season can turn even a dry polyester line into an electrical conductor. Furthermore, sudden monsoon squalls can produce violent wind gusts that can easily overpower you, snap your line, or destroy your kite’s frame.
If your kite becomes entangled in a tree or on a building roof, assess the situation calmly. Gently tug the line to see if it will slide free on its own. If it is firmly stuck, do not attempt to climb the tree or scale the roof, as this poses a severe fall hazard. Most importantly, if the kite or line is caught anywhere near a power line, utility pole, or transformer, immediately let go of the line, step away, and contact your local electric utility provider to report the issue. Never attempt to retrieve a kite from utility equipment yourself.
Frequently Asked Questions (FAQ)
Do I need a tail for my adult saranggola?
Whether you need a tail depends entirely on the design of your kite. Diamond kites and other flat, symmetrical shapes require a tail to provide the necessary drag and stability to keep them from spinning out of control. Delta kites, which feature a built-in fabric keel, generally do not require a tail to fly stably, though you can add one for visual appeal. Parafoils and box kites also fly perfectly well without tails, as their three-dimensional structures naturally manage wind resistance.
Can I fly a kite if the wind is very light?
Most standard adult kites require a minimum wind speed of 8 to 10 km/h to stay aloft. If your local area frequently experiences very light winds, you should look for specialized light-wind or ultra-light (UL) kites. These models feature oversized sails made of extremely thin, lightweight materials and frames constructed from high-grade, hollow carbon fiber. They are engineered to generate lift in breezes as low as 3 to 5 km/h.
How do I safely retrieve a kite stuck in a tree?
If your kite is caught in a tree, try gently tugging and releasing the line to see if the wind will help shake it free. If it is firmly wedged, do not pull with excessive force, as this can snap the spars or tear the sail. If the kite cannot be reached safely from the ground using a long, non-conductive pole, it is best to cut the line as high as possible to prevent a dangling hazard and accept the loss. Under no circumstances should you climb the tree or use metal ladders if there are any power lines or electrical cables nearby.
Community discussion
Share your experience or ask a question. Comments are reviewed before publication.