
Choosing your first catcher’s mitt is one of the most critical decisions you will make when starting your journey behind the plate. Unlike standard fielders who rely on agility and reach, a catcher is the anchor of the defense, absorbing dozens of high-velocity pitches every single inning. To select the right catcher gloves, you must balance precise sizing, structural protection, and a secure fit that matches your league’s demands. A poorly chosen mitt not only hinders your performance but also exposes your hand to severe impact injuries. By understanding how to measure your hand, evaluate padding styles, and maintain leather in humid tropical climates, you can confidently secure a mitt that acts as a true extension of your arm.
Understand the Basics: Why Catchers Need a Mitt, Not a Glove
To the untrained eye, all baseball handwear might look similar, but a catcher’s mitt is fundamentally different from a standard fielder’s glove. The most obvious structural distinction is that catcher gloves are designed as “mitts,” meaning they lack individual finger stalls on the exterior. Instead, they feature a rounded, thumb-and-claw shape with a thick, continuous edge. This design creates a massive, secure pocket specifically engineered to funnel and trap fastballs. The lack of separate fingers prevents individual digits from being isolated and bent backward by the force of an incoming ball, providing a unified shield for your catching hand.
Beyond shape, the level of padding in a catcher’s mitt is unparalleled. While a shortstop’s glove is thin and lightweight to facilitate quick transfers, a catcher’s mitt is heavily reinforced with thick layers of leather and wool or synthetic felt. This padding is concentrated around the palm and index finger areas, which bear the brunt of repetitive, high-speed impacts. A pitcher’s throw can easily reach velocities that cause bone bruising or fractures if caught with standard gear.
Products mentioned in this guide
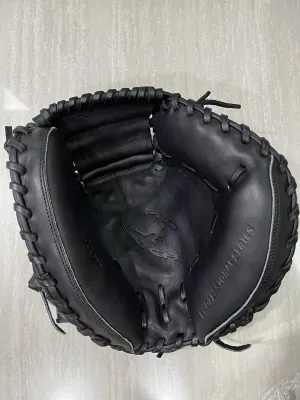
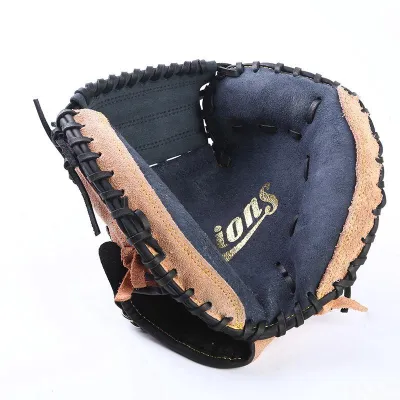
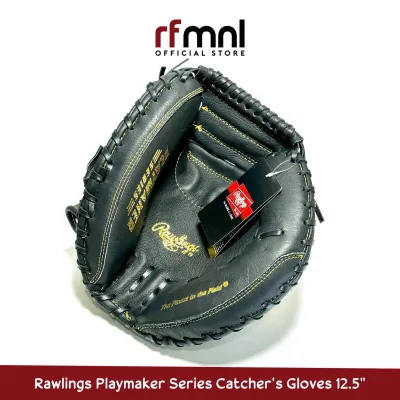
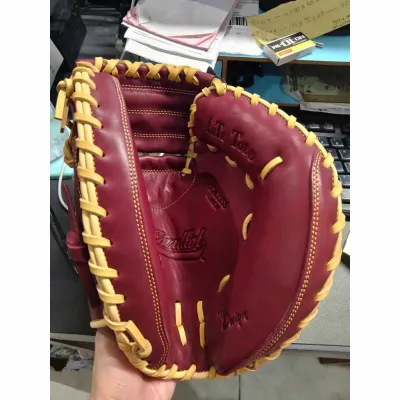
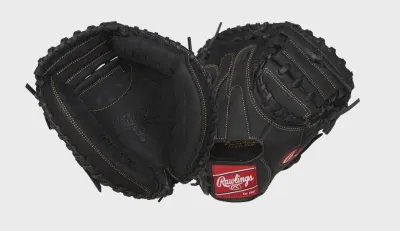
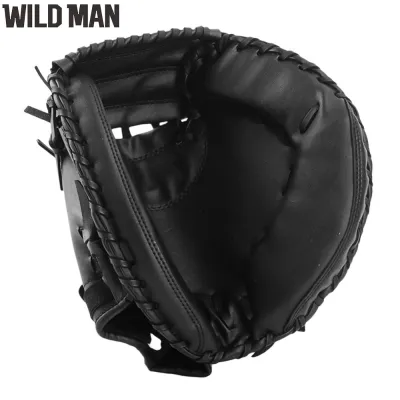
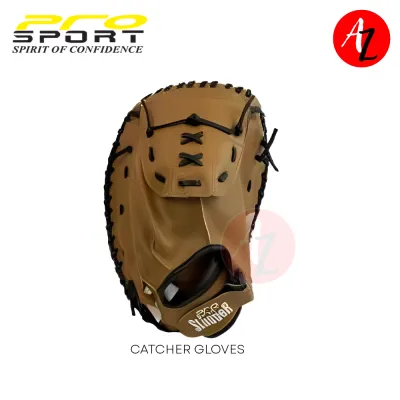
Prices are valid at publication and may change. Please refer to the product page for the latest price.
Using a standard fielder’s glove while playing catcher is highly unsafe and is strictly prohibited in almost all organized baseball and softball leagues. Fielder gloves lack the structural rigidity to withstand the constant pounding of pitches, leading to rapid gear failure and immediate injury risks. Furthermore, local league rules, including those governed by Little League Philippines or school athletic associations, mandate the use of official, position-specific catcher’s mitts to ensure player safety and fair play. It is vital to remember that while a specialized mitt dramatically reduces impact forces, equipment alone cannot replace proper catching technique, framing training, and wearing a complete set of certified protective gear—including a catcher’s helmet, chest protector, throat guard, and shin guards.
Determine the Right Size for Your Age and League
Selecting the correct size for a catcher’s mitt requires a different approach than choosing a standard glove. While regular gloves are measured from the heel to the tip of the index finger in inches, catcher gloves are measured by their outer circumference. This circumference determines the overall target area and pocket size available to secure the ball. Finding the right balance ensures you can control the mitt easily without sacrificing the surface area needed to block wild pitches.

Baseball vs. Softball Sizing
The first step is identifying whether you are playing baseball or fastpitch/slowpitch softball, as the two sports require completely different mitt designs. A standard baseball has a circumference of approximately 9 inches, whereas a softball measures 11 to 12 inches. Consequently, softball catcher’s mitts are constructed with significantly deeper pockets and wider openings to accommodate the larger ball size.
If you attempt to use a baseball catcher’s mitt for softball, the larger ball will struggle to seat properly in the shallow pocket, leading to frequent drops, bobbles, and potential finger injuries. Conversely, using a softball mitt for baseball makes it incredibly difficult to secure the smaller baseball quickly, slowing down your transition times when trying to throw out base-stealers. Always verify the sport designation on the manufacturer’s label before purchasing.
Youth vs. Adult Sizing
Catcher’s mitt sizes are generally divided into youth and adult categories, based on the player’s age, hand size, and physical strength. Youth mitts typically range from 31 to 32.5 inches in circumference. These models are designed with smaller hand openings, shorter finger stalls, and narrower wrist closures to fit younger players, usually under the age of 12. They are also constructed with softer, pre-conditioned leather to make it easier for smaller hands to squeeze the mitt closed.
Adult mitts, designed for players aged 13 and older, generally range from 32.5 to 34 inches (and sometimes up to 35 inches for specialized professional use). These mitts feature larger hand openings and require significantly more hand strength to close, as they are made from stiffer, more durable steerhide or cowhide leather.
To find your starting point, measure your hand from the base of your palm to the tip of your middle finger. Consult the manufacturer’s specific size chart, as fit profiles can vary slightly between brands. Additionally, check your local league’s rulebook. Some youth divisions enforce strict limits on maximum glove dimensions and color patterns to prevent unfair advantages or visual distractions for the batter.
Check the Fit: How the Mitt Should Feel on Your Hand
Even if a mitt is technically the correct size on paper, it must fit your hand perfectly to be effective and safe. When you slide your hand into the mitt, the first checkpoint is the wrist opening. The wrist strap or lacing should feel snug and secure, preventing the mitt from sliding, twisting, or slipping off when you sweat or move your arm rapidly. A loose wrist fit forces your forearm muscles to overwork just to keep the mitt on, leading to premature fatigue.
Next, pay close attention to the internal finger channels. Even though the exterior of the mitt looks like a solid claw, the inside contains individual stalls for your fingers. Your fingers should slide naturally into these channels without being forced into awkward, cramped, or overlapping angles. Your fingertips should come close to the ends of the channels but should not press tightly against them, as this can cause painful bruising when catching heavy pitches.
Finally, examine the “hinge” or heel of the mitt. The thick padding at the base of the palm must sit flush against your hand’s heel. When you close your hand, the mitt should fold naturally along its pre-designed hinge points without leaving a large, hollow gap between your palm and the leather. If there is an excessive gap, the force of a high-speed ball hitting the pocket can cause the entire mitt to twist violently on your hand, potentially spraining your wrist or thumb.
Evaluate Padding, Webbing, and Back Style for Protection
As a beginner, navigating the various technical specifications of catcher gloves can be overwhelming. Focusing on three core components—padding, webbing, and back style—will help you identify a model that offers the best blend of protection and control.
Padding
For your first mitt, always prioritize thick, high-density padding over a lightweight feel. While lightweight materials might feel more agile during your first few practices, they do not offer the shock absorption necessary to handle repeated impacts. Look for mitts that feature reinforced palm pads and index finger protection, as these areas are highly susceptible to “stinger” pains from off-center catches.
Webbing
The webbing of a catcher’s mitt connects the thumb to the fingers and forms the top of the pocket. For catchers, closed webs—such as a solid one-piece piece of leather or a reinforced two-piece design—are the universal standard. Closed webs provide maximum structural strength to withstand heavy impacts, prevent the ball from slipping through, and completely conceal your hand. This concealment is crucial, as it prevents the opposing team’s batters and base coaches from seeing how you are gripping the ball before a pitch.
Back Style
Catcher’s mitts are available in two primary back styles: open-back and closed-back. Open-back mitts feature a space above the wrist strap, similar to a standard infielder’s glove, which offers slightly more flexibility and ventilation. Closed-back mitts, on the other hand, cover the entire back of the hand and typically feature a finger hole for your index finger to rest on the outside of the mitt. For beginners, a closed-back style is highly recommended. The solid construction provides superior wrist support, keeps the hand securely locked in place, and offers an extra layer of leather protection over the back of your hand against stray bats or foul tips.
Step-by-Step: How to Try On and Test a Catcher's Mitt
Whether you are purchasing your mitt at a local sporting goods store or unboxing a delivery at home, you must systematically test its fit and function before committing to using it on the field. Follow this practical sequence to verify that the mitt is right for you:
- Secure the Fit: Slide your hand fully into the mitt. Adjust the wrist strap, pull-tab, or laces until the opening feels comfortably snug against your skin. Your hand should feel locked in, with no slipping when you shake your arm downward.
- Test the Hinge: Attempt to squeeze the mitt closed. A brand-new leather mitt will naturally feel stiff, but you should still be able to initiate a closing motion using reasonable hand strength. If the hinge is completely immovable, or if closing it requires extreme, exhausting effort, the leather may be too stiff for a beginner, or the internal structure may not align with your hand's natural grip.
- Simulate Catching: Extend your arm and mimic the motion of receiving a pitch. Ensure that the pocket of the mitt sits squarely in your line of sight and that you can open and close the pocket naturally. The mitt should feel like a balanced extension of your forearm, not a heavy weight pulling your wrist downward.
- Check for Pressure Points: Keep the mitt on your hand for at least five minutes while occasionally squeezing it. Pay close attention to any localized discomfort. If you feel pinching on your knuckles, excessive pressure on your fingertips, or chafing around your wrist, these issues will only worsen during a long game.
Stop Condition: If the mitt is so rigid that you cannot close it even slightly with both hands, causes immediate pain, pinches your fingers into unnatural positions, or cuts off circulation, stop using it immediately. Do not attempt to force a break-in on an improperly sized or painful mitt; exchange it for a different size or a softer model.
Basic Break-In and Care Tips for Humid Climates
A quality catcher’s mitt is built to last, but its longevity and performance depend heavily on how you break it in and maintain it, especially in the tropical, high-humidity climate of the Philippines. New leather mitts are intentionally stiff to ensure long-term durability, and they require a patient break-in process to form a pocket customized to your hand. When shopping, expect entry-level synthetic or utility leather mitts to range from ₱3,000 to ₱5,000, while premium, game-ready steerhide models often exceed ₱10,000.
Never resort to shortcut methods to speed up the break-in process. Avoid putting your mitt in the microwave, baking it in an oven, or soaking it entirely in water. While these methods may temporarily soften the leather, they permanently damage the structural fibers, dry out the natural oils, and ruin the internal padding. In humid environments, soaking a glove in water also creates a perfect breeding ground for mold and mildew, which can rot the leather from the inside out.
Instead, follow a safe and traditional conditioning routine. Apply a very light, even coat of specialized leather glove conditioner to the pocket and hinge areas, rubbing it in thoroughly with a clean cloth. Avoid over-conditioning, as excess oils will make the mitt heavy and mushy, destroying its protective structure. Once conditioned, place a baseball or softball directly into the pocket, close the mitt around it, and wrap it securely with a glove band or heavy elastic straps.
Store your mitt in a cool, dry indoor space away from direct sunlight, which can dry out and crack the leather. Avoid leaving your gear in the trunk of a car or in a damp gear bag after a sweaty practice. If your mitt gets wet from rain or sweat, wipe it down with a dry towel and let it air-dry naturally in a well-ventilated room.
Frequently Asked Questions (FAQ)
Can I use a baseball catcher's mitt for softball?
Using a baseball catcher’s mitt for softball is highly discouraged and unsafe. Because a softball is significantly larger than a baseball, a baseball mitt’s pocket is too small and shallow to secure it properly. Attempting to catch a fast-moving softball with a baseball mitt often results in the ball popping out of the pocket, leading to dropped catches and a high risk of painful hand or finger injuries due to inadequate pocket depth and padding distribution.
How long does it take to break in a new catcher's glove?
Breaking in a new catcher’s mitt properly typically takes anywhere from several weeks to a couple of months of regular use. The most effective method is consistent catching practice, such as playing catch or receiving pitches from a pitching machine. Patience is key; a gradual, natural break-in process preserves the integrity of the leather and results in a highly durable, custom-fit pocket that will last for multiple seasons.
Community discussion
Share your experience or ask a question. Comments are reviewed before publication.