
Achieving neutral buoyancy is one of the most rewarding yet challenging skills in scuba diving. To find the exact amount of diving weight you need, you must balance your body composition, the thickness of your wetsuit, the salinity of the water, and your specific equipment configuration. While mathematical formulas and manufacturer charts offer a reliable starting point, the only way to perfect your weight is through a hands-on surface buoyancy check and consistent logbook tracking.
It is vital to remember that diving is a high-risk sport where equipment can never replace formal training, physical fitness, or sound underwater judgment. Before adjusting your gear or attempting a dive in unfamiliar conditions, ensure you are certified for the environment and that your physical abilities match the dive profile. If you feel uncomfortable or struggle to control your ascent or descent, stop the dive immediately and consult a certified dive professional.
Why Correct Diving Weight Matters for Safety and Air Consumption
Neutral buoyancy is the state in which your body neither sinks nor floats, allowing you to glide effortlessly through the water column. In tropical marine ecosystems, such as those found throughout the Philippines, precise buoyancy control is your primary tool for reef conservation. A fraction of a second of poor control can cause a diver to crash into delicate coral structures, causing irreversible damage to ecosystems that take decades to recover.
Products mentioned in this guide
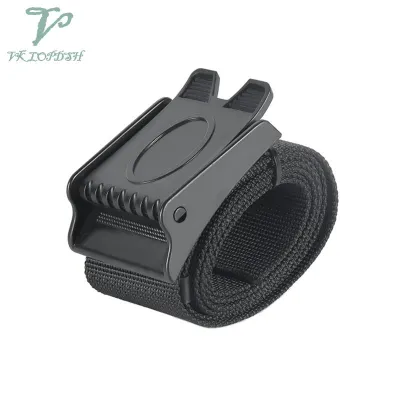
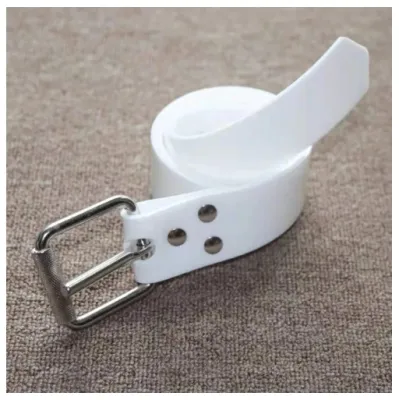
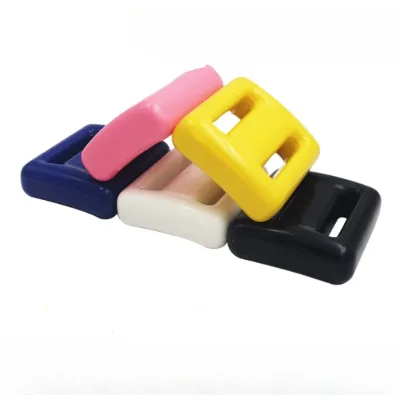
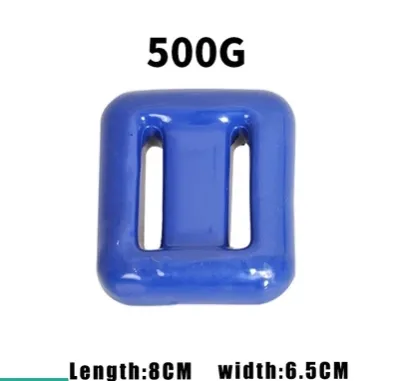
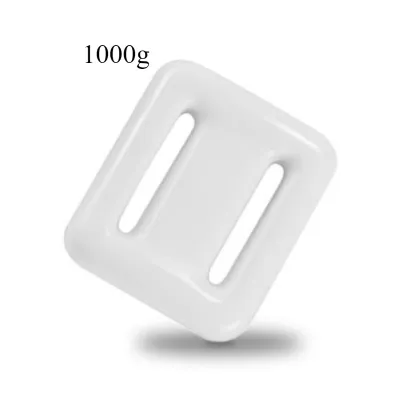


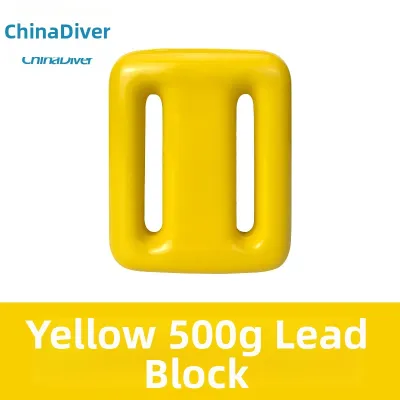
Prices are valid at publication and may change. Please refer to the product page for the latest price.
When you carry too much lead, you are overweighted. To compensate and stay level, you must inflate your buoyancy control device (BCD) with extra air. This creates a highly inefficient, high-drag profile in the water. An overweighted diver must work harder to move forward, leading to rapid air consumption and early fatigue. Furthermore, overweighting carries severe safety risks, including rapid, uncontrolled descents at the beginning of a dive and extreme difficulty maintaining a stable depth during safety stops as the air in your BCD compresses.
Conversely, being underweighted presents its own set of hazards. If you do not carry enough diving weight, you may struggle to submerge at the surface, wasting energy and air before the dive even begins. The most dangerous phase occurs at the end of the dive. As your scuba cylinder empties, it becomes lighter and more buoyant. If you are underweighted, this positive buoyancy can pull you toward the surface, making it impossible to hold your mandatory 3-to-5-meter safety stop and increasing the risk of decompression sickness.
4 Key Factors That Determine Your Diving Weight
To calculate your ideal setup, you must understand the physical variables that influence how your body and gear interact with water. Buoyancy is not a static number; it changes based on physiological, environmental, and equipment-related factors.

Body Composition and Baseline Weight
Your physical makeup plays a significant role in how much lead you need to sink. Human tissue has varying densities: muscle and bone are denser than water and tend to sink, whereas body fat is less dense and naturally floats. Consequently, two divers who weigh exactly 70 kilograms on land may require completely different amounts of ballast.
Lung volume also acts as a powerful, dynamic buoyancy chamber. Divers with larger lung capacities or those who take shallow, tense breaths will experience greater positive buoyancy. Understanding your baseline physiology helps you realize that there is no universal weight that fits every person of your size.
Exposure Protection (Wetsuit Thickness and Type)
Wetsuits are made of neoprene, a synthetic rubber filled with thousands of tiny nitrogen bubbles. These bubbles provide excellent thermal insulation, but they also act as a highly buoyant flotation jacket. The thicker your wetsuit, the more diving weight you must add to counter this upward lift.
In warm tropical waters, you might only wear a 3mm shorty, a full 3mm wetsuit, or even just a Lycra rash guard. These setups require significantly less weight than the 5mm or 7mm suits used in colder climates. Additionally, you must verify how your suit behaves at depth: as water pressure increases, the nitrogen bubbles in the neoprene compress, causing the suit to lose buoyancy and making you naturally heavier the deeper you go.
Water Salinity and Equipment Choices
The density of the water you dive in directly impacts your buoyancy. Saltwater contains dissolved minerals and salts, making it denser and more buoyant than freshwater. As a result, you will need to add more weight when transitioning from a freshwater lake or volcanic crater lake to the ocean.
Your choice of scuba cylinder also alters your buoyancy profile. Aluminum tanks, which are standard at most tropical resort destinations, are lightweight but become highly positive as they empty. Steel tanks are heavier and remain negatively buoyant throughout the entire dive. You must check your specific cylinder’s specifications and adjust your lead weights to compensate for these differences.
How to Calculate Your Baseline Diving Weight
Before stepping onto a dive boat, you need a safe, structured estimate of your initial weight requirements. This baseline prevents you from starting your buoyancy checks completely blind.
Your primary resource should always be the sizing and weighting guidelines provided by your BCD and dive computer manufacturers. These charts are calibrated to specific equipment volumes and offer a reliable starting point. To supplement these instructions, you can use a standard baseline percentage of your body weight as a rough estimate.
For a typical tropical diving scenario in saltwater using a 3mm wetsuit and a standard aluminum cylinder, a common baseline is approximately 4% to 6% of your body weight. If you weigh 70 kilograms, this translates to roughly 3 to 4 kilograms of lead. If you are diving in freshwater or wearing only a rash guard, you can reduce this baseline by 1 to 2 kilograms. If you are using a thicker 5mm suit, you may need to increase the baseline to 8% or 10% of your body weight.
It is critical to treat these calculations as conditional estimates rather than absolute rules. No formula can perfectly predict your physiological density or swimming style. The best way to ensure long-term accuracy is to maintain a detailed dive log. Document the water type, your wetsuit thickness, the tank material, the exact amount of weight used, and whether you felt light or heavy at the end of the safety stop. Over time, this log becomes your personalized buoyancy blueprint.
How to Perform a Surface Buoyancy Check to Fine-Tune Your Setup
Once you have your baseline estimate, you must verify it in the water. A surface buoyancy check is a non-negotiable safety practice that should be performed before your first dive in a new location, or whenever you change any piece of your gear. Always conduct this test in a calm, controlled environment, such as a shallow sandy bay or a quiet pool, with your dive buddy nearby to assist.
- Step 1: Preparation
Equip yourself with your full gear setup, including your mask, fins, regulator, and exposure suit. Ideally, perform this check with a nearly empty scuba cylinder (containing around 50 bar of air) to simulate the end of your dive when the tank is at its most buoyant. If you must use a full tank, add approximately 2 kilograms of temporary weight to your setup to account for the weight of the air you will consume during the dive. - Step 2: Deflation
Enter water that is deep enough that you cannot touch the bottom. Signal your buddy, place your regulator in your mouth, and float vertically. Completely deflate your BCD. Keep your legs still; do not kick or paddle with your hands, as any movement will generate upward lift and invalidate the test. - Step 3: The Breath Test
Inhale a normal, full breath and hold it. Do not over-inhale or gasp. With a completely deflated BCD and a normal breath held, you should float vertically with the water level resting at or slightly above your eye level. - Step 4: The Exhale Test
Exhale fully and passively. As the air leaves your lungs, you should begin to sink slowly and smoothly. The water level should rise above your head, allowing you to submerge without needing to kick or push yourself down. - Step 5: Adjustment
If you sink immediately while holding a full breath, you are overweighted; remove lead in small increments of 0.5 to 1 kilogram and repeat the test. If you remain floating high above eye level even after a full exhalation, you are underweighted; add lead in small increments until you achieve the correct sinking behavior. - Safety Boundary
Never drop your weights during a buoyancy check unless a genuine emergency occurs. Always ensure your final adjusted weight allows you to easily maintain a stable 3-to-5-meter safety stop at the end of your dive, when your tank pressure is low and your BCD is fully deflated.
Adjusting for Tropical Diving and Travel Setups
Diving in tropical regions like the Philippines—home to world-class marine biodiversity in places like Anilao, Moalboal, and Panglao—requires a unique approach to weighting. The warm water temperatures, typically ranging from 27°C to 30°C, mean you can ditch heavy neoprene. Many divers opt for thin 3mm full suits, shorties, or simple rash guards. This reduction in exposure protection drastically cuts down your buoyancy, often requiring as little as 1 to 3 kilograms of lead.
When traveling to these tropical destinations, managing your gear weight is a key logistical concern. Carrying solid lead weights in your luggage is highly impractical and will quickly lead to expensive excess baggage fees at the airport. Instead, plan to rent lead weights directly from your destination’s dive center. Most shops in the Philippines offer standard block weights for a nominal fee, often ranging from ₱150 to ₱300 per day, or include them as part of their standard dive packages. If you prefer to own your weights, consider buying them locally upon arrival, though renting remains the most convenient option for travelers.
Achieving neutral buoyancy is only half the battle; you must also consider weight distribution, known as trim. Instead of placing all your lead on a single waist belt, which can pull your hips down and force you into an inefficient diagonal swimming position, distribute the weight. Use BCD trim pockets located near your shoulders or tank band to shift some weight upward. This helps you maintain a perfectly horizontal, streamlined posture, reducing drag and protecting fragile marine life from accidental fin kicks.
Common Weighting Mistakes and How to Fix Them
Even experienced divers occasionally fall into bad habits that compromise their buoyancy and safety. Recognizing these common mistakes can help you correct your technique and enjoy more relaxed dives.
- The "Just in Case" Habit
Many divers add an extra kilogram or two of lead "just to be safe," believing it will make descending easier. In reality, this extra weight forces you to inject more air into your BCD to stay neutral at depth. This creates a bulky, high-drag profile, increases your effort, and accelerates your air consumption. Always trust your buoyancy check rather than adding arbitrary ballast. - BCD Over-reliance
Relying on your BCD to lift excessive lead is a dangerous habit. If you are heavily overweighted, your BCD must hold a massive bubble of air. If you ascend slightly, that air expands rapidly, risking an uncontrolled, rapid ascent. Always use your weights to achieve neutral buoyancy at the surface, and use your BCD only to make minor adjustments for depth changes. - Ignoring the Tank Shift
An aluminum tank becomes significantly lighter as you breathe down its air supply. If you perform your buoyancy check with a full tank and fail to add compensating weight, you will find yourself dangerously positive and unable to stay down during your safety stop. Always account for this shift by performing your checks with an empty tank or adding the appropriate offset weight.
Frequently Asked Questions (FAQ)
How do I know if I am overweighted during a dive?
You can identify overweighting through several clear physical signs while underwater. If you find yourself constantly adding air to your BCD to stay off the seabed, or if you sink rapidly the moment you stop kicking, you are likely carrying too much lead. Other indicators include a diagonal swimming posture with your feet hanging low, high air consumption rates due to increased swimming effort, and feeling a constant struggle to maintain a stable depth during your safety stops.
Should I use a weight belt or an integrated BCD weight system?
The choice between a traditional weight belt and an integrated BCD weight system depends on your comfort and gear setup. Weight belts are highly durable, inexpensive, and easy to adjust, but they can slip down your hips during a dive as your wetsuit compresses. Integrated BCD systems offer superior comfort by distributing the weight across your shoulders and back, and they feature quick-release pockets for safety. Many divers use a hybrid approach, placing the majority of their weight in their BCD pockets and keeping a small amount on a belt for optimal trim and safety redundancy.
Community discussion
Share your experience or ask a question. Comments are reviewed before publication.