
Quick Answer: Sizing Basics for a 4-Year-Old
For a four-year-old girl, the correct bike size is determined primarily by wheel diameter rather than frame size. Most children in this age group transition into bikes with 12-inch or 14-inch wheels, but age is only a rough starting point.
To find the exact fit, you must measure your child’s height and inseam, then compare these measurements directly against the specific manufacturer’s size chart. A properly sized bike ensures your child can comfortably reach the ground, control the steering, and build confidence without fear of falling.
How to Measure Your Child Accurately
Relying solely on age to buy a bike often leads to a poor fit. Children grow at vastly different rates, and two four-year-olds can have completely different leg lengths and torso heights. Taking precise physical measurements is the most reliable way to ensure a safe ride.
Products mentioned in this guide
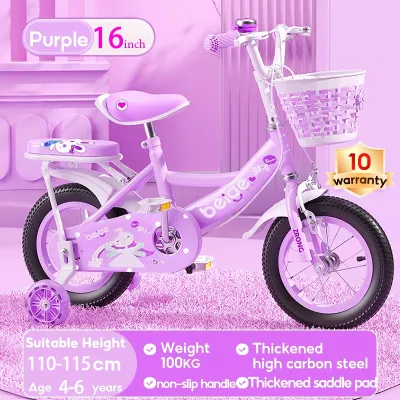
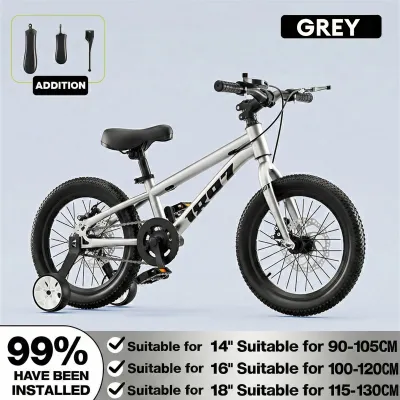
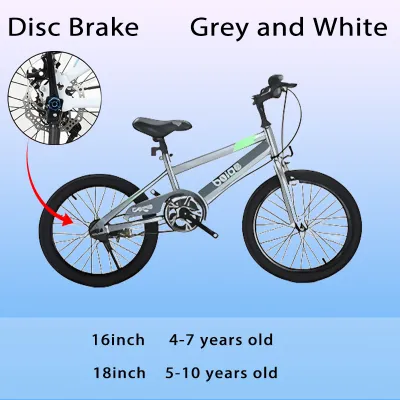
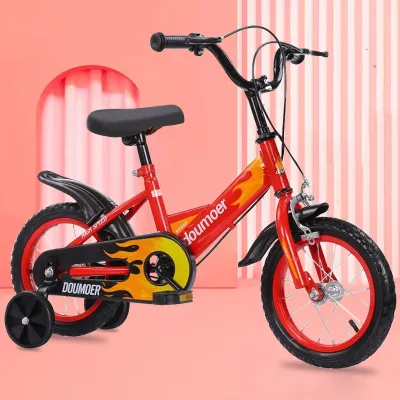
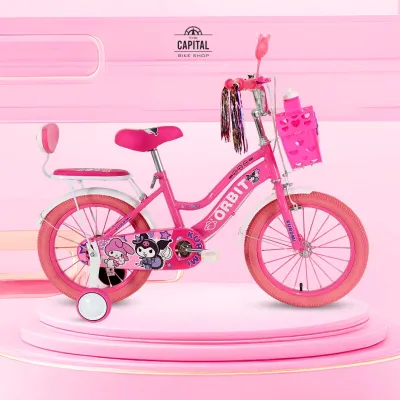
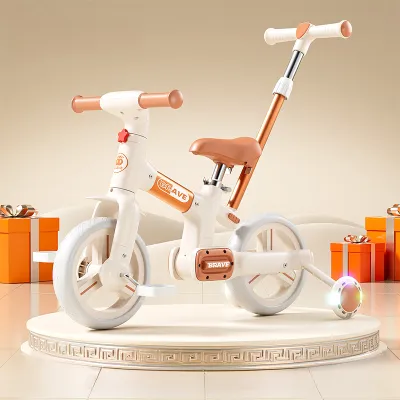
Prices are valid at publication and may change. Please refer to the product page for the latest price.

To measure your child’s total height, have her stand barefoot with her back flat against a straight wall. Ensure her heels, buttocks, and shoulders gently touch the vertical surface. Use a flat book or ruler placed flat on top of her head to mark the wall, then measure from the floor to that mark with a tape measure.
Measuring the inseam is even more critical because it dictates whether her feet can safely touch the ground when seated. Have her stand in the same position, but this time wearing the typical closed-toe shoes she will use for riding. Hold a hardcover book between her legs, sliding it up until it gently mimics the pressure of a bike saddle. Measure the distance from the top edge of the book straight down to the floor.
Keep these two numbers handy when shopping. When browsing local bike shops or online catalogs, you will compare these measurements against the standover height and minimum seat height specifications provided by the manufacturer.
Decoding Wheel Sizes and Frame Geometry
Unlike adult bicycles, which are categorized by frame dimensions, children’s bikes are classified by wheel diameter. The most common wheel sizes for young riders are 12-inch and 14-inch options. You can easily verify the wheel size by checking the raised lettering on the tire sidewall or reviewing the product manual.
While wheel size gives you a general category, frame geometry determines how the bike actually feels. Standover height is the vertical distance from the ground to the top of the frame’s top tube, right where the rider stands when not sitting on the saddle. There must be adequate clearance between this tube and your child’s inseam so she can stop and dismount without painful impacts.
Another key factor is the reach, which is the distance from the saddle to the handlebars. If the reach is too long, your child will have to lean forward excessively, putting strain on her wrists and making steering difficult. Look for models that offer adjustable seat heights and handlebar angles, allowing you to fine-tune the geometry as she grows.
In humid, tropical climates like the Philippines, look for frames with durable finishes or rust-resistant coatings. High humidity can quickly degrade exposed metal parts, especially if the bike is stored in a garage or outdoor utility area. Checking the material specifications for aluminum frames or high-quality steel with protective paint can save maintenance headaches later.
The Fit Test: Signs the Bike is Right (or Wrong)
Once you have a bike in front of you, performing a physical fit test is essential before letting your child ride. This hands-on evaluation ensures the theoretical measurements translate to real-world safety and comfort on the pavement.
Start with the flat feet test. For a beginner who is still learning to balance, she should be able to sit on the saddle and place both feet completely flat on the ground. This contact provides a sense of security and allows her to stop herself easily. For more confident riders who have mastered balance, having just the tiptoes or balls of the feet touching the ground is acceptable, as it allows for more efficient leg extension.
Observe her leg extension while she is pedaling. At the bottom of the pedal stroke, her knee should have a slight, comfortable bend. If her leg is completely straight or her hips rock side to side to reach the pedals, the seat is too high. Conversely, if her knees are bent sharply and pointing outward, the seat is too low, which can cause joint strain.
Check her posture and handlebar reach. Her arms should be slightly bent at the elbows, allowing her to turn the handlebars fully to the left and right without stretching her shoulders or hunching her back. She should be able to grip the handles firmly while maintaining an upright, relaxed posture.
Watch out for clear red flags that indicate a poor fit. If she constantly tips over when trying to stop, cannot reach the hand brakes comfortably, or looks intimidated by the sheer bulk of the machine, the bike is too large. If her knees hit the handlebars when she turns, or if she looks cramped, the bike is too small and will limit her control.
Safety Gear and Final Adjustments for Young Riders
A properly sized bike is only the first step; equipping your child with the right safety gear completes the setup. A well-fitted helmet is non-negotiable for every single ride, even if she is just practicing in a flat driveway or a local barangay park.
When choosing a helmet, ensure it sits level on her head, covering the forehead without tilting backward or sliding side to side. While budgeting for safety gear, expect to invest a portion of your budget (often starting around ₱500) for a certified helmet that meets local safety standards. Adjust the side straps to form a clean “Y” shape just below her ears, and tighten the chin strap so that no more than one or two fingers can fit underneath. Many modern helmets feature a rear dial retention system, which allows you to snug the inner cradle to her head shape.
Next, inspect the brake levers on the handlebars. If the bike uses hand brakes instead of coaster brakes (pedaling backward to stop), verify that the levers are designed for small hands. Some models feature adjustable reach screws that bring the levers closer to the grips, ensuring her small fingers can apply full stopping power without straining.
Finally, establish strict rules for riding attire. Always insist on closed-toe shoes, such as sneakers, to protect her toes from scrapes and prevent slips on the pedals. Avoid loose-fitting pants, long skirts, or dangling laces that could easily get caught in the chain or spinning spokes, which can cause sudden, dangerous stops.
Frequently Asked Questions (FAQ)
Should I buy a slightly larger bike so she can grow into it?
It is highly discouraged to buy an oversized bike with the expectation that your child will grow into it. A bike that is too large is heavy, difficult to steer, and hard to stop, which can lead to scary crashes and destroy her confidence. Prioritizing a proper current fit ensures she feels safe and enjoys learning to ride, even if it means transitioning to a larger size sooner.
Are training wheels necessary for a 4-year-old?
Training wheels are not strictly necessary and depend entirely on your child’s current balancing skills. Many parents now prefer starting with a balance bike (a pedal-less bike) to teach steering and balance first. If she is transitioning directly to a pedal bike, training wheels can help her get used to the pedaling motion, but they should be adjusted or removed once she demonstrates basic balance to prevent reliance on them.
Community discussion
Share your experience or ask a question. Comments are reviewed before publication.