
Flying an eagle kite with children is an exceptional way to combine outdoor play, physical coordination, and a touch of science. Unlike standard diamond kites, an eagle kite features a wide, bird-like wingspan designed to mimic the soaring, majestic flight of a real bird of prey. Watching the realistic silhouette of an eagle ride the wind currents brings a unique thrill to kids and adults alike.
Getting a large-winged kite into the air can sometimes feel challenging for beginners. Success relies on choosing the right environment, understanding how the wind behaves, and working together as a team. This step-by-step guide will help you prepare, assemble, launch, and control your eagle kite safely, ensuring a rewarding outdoor experience for the whole family.
What You Need Before Heading Out
Before packing up the car or heading to the backyard, take a few minutes to gather your gear and verify that your equipment is ready for flight. A standard eagle kite kit typically costs between ₱300 and ₱1,200 on local online marketplaces, making it an affordable investment for weekend family recreation. Ensure you have the complete kite sail, all structural rods (spars), and a high-quality flying line wound onto a sturdy spool.
Products mentioned in this guide
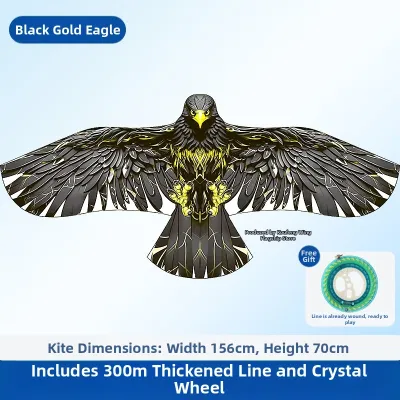
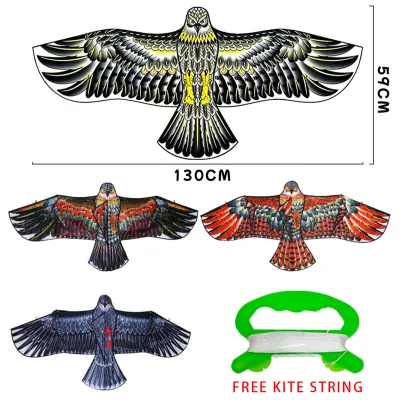
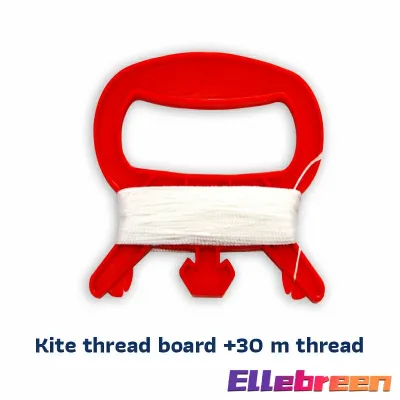
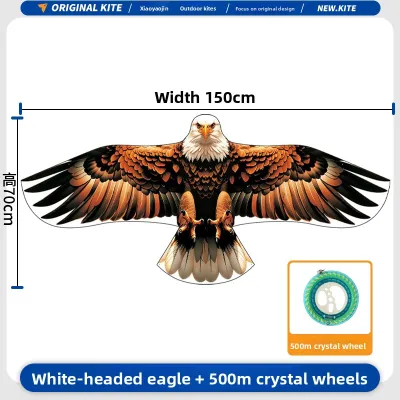
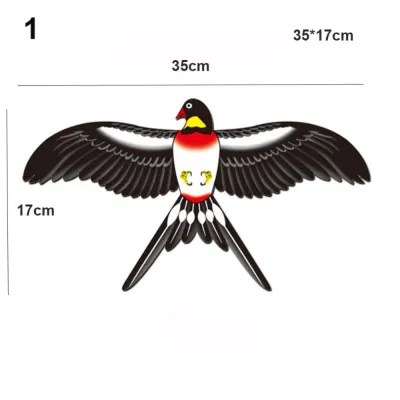
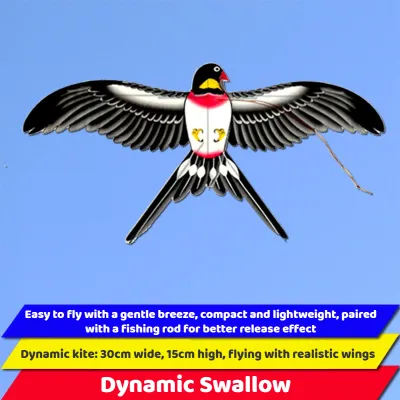
Prices are valid at publication and may change. Please refer to the product page for the latest price.
For children, a hoop spool or a small reel with a built-in handle is much easier to manage than a simple flat plastic winder. Look for a flying line with a breaking strength of at least 50 to 80 pounds to handle the extra pull that a wide-winged eagle kite can generate in a strong breeze. If you plan to fly the kite in brisk coastal winds, packing a pair of lightweight, rubber-palmed gardening gloves for the adult handling the line can prevent painful line burns.
Choosing the right location is critical for both safety and success. Look for wide, open spaces completely free of overhead obstructions. Local parks, school sports fields, and open beaches are ideal venues. Avoid areas with power lines, busy roads, tall trees, or buildings, as these structures block the wind and create turbulent, swirling air currents that make launching nearly impossible.
Instead of relying on precise weather apps, teach your children how to read the wind using natural indicators. Look at the leaves on the trees; if they are rustling gently and flags are extended, the wind is perfect. A steady, gentle breeze felt directly on your face is the ideal flying environment. If the wind is strong enough to whip dust into the air or bend large tree branches, it is too powerful for a safe family kite session.
Step 1: Assembling the Eagle Kite Together
Assembling the kite is an excellent opportunity to involve your children, teaching them basic mechanical skills and building excitement for the flight. Find a clean, flat patch of grass or lay down a beach towel to protect the lightweight polyester or nylon fabric of the kite sail from sharp twigs, stones, or dry burrs that could puncture the material.

Unpack the kite and lay it flat with the backside facing upward. Eagle kites rely on a central spine rod and one or two cross spars to stretch the wings and create the necessary aerodynamic curve. Carefully slide the cross spars into their designated fabric pockets at the wingtips, ensuring they are seated deeply and evenly. Secure the center joint or connector according to the manufacturer’s instructions, making sure the frame is perfectly symmetrical.
Once the frame is secure, locate the tow point or bridle loop on the front side of the kite, which is usually positioned near the eagle’s chest. Attach the flying line securely using a lark’s head knot or by clipping on a heavy-duty snap swivel. Double-check that the knot is tight and cannot slide along the bridle line, as an off-center tow point will cause the kite to veer wildly to one side.
Give your kids specific, age-appropriate tasks during this setup phase to keep them engaged. Younger children can hold the fabric flat against the wind, hand you the connector pieces, or help untangle the long plastic tail ribbons if your model includes them. Older kids can practice sliding the spars into the wing pockets and checking that the frame joints are snug.
Step 2: Launching the Kite in the Right Wind
Launching a kite successfully requires coordination and a clear division of roles. The most effective method for beginners is the two-person launch, where one person holds the spool and the other holds the kite downwind. For safety and control, the adult should initially hold the spool, while the child holds the kite.
To begin, stand with your back directly to the wind, facing downwind. Have your child hold the eagle kite by its outer wingtips or the lower frame and walk backward, away from you, for about 30 to 50 feet. As they walk, let the line unwind smoothly from the spool, keeping a slight amount of tension on the line without pulling the kite out of the child’s hands.
Instruct your child to hold the kite upright, facing you, so that the wind pushes flat against the underside of the eagle’s wings. Establish a clear launch command, such as “Let go!” or “Release!” When you give the cue, the child should gently release the kite upward into the air. Emphasize that they should simply let go of the frame rather than throwing it upward, as throwing often destabilizes the kite and sends it nose-first into the ground.
As soon as the kite is released, take a few deliberate steps backward while pulling the line smoothly toward your body to create artificial lift. If the breeze is steady, the eagle kite will catch the air and begin to climb. If the wind is light near the ground, continue walking backward slowly while letting out small increments of line to help the kite reach the steadier, stronger wind currents higher up.
Never attempt to force a launch if the air is completely still or if the wind is blowing in violent, unpredictable gusts. If the kite repeatedly plunges to the ground despite proper positioning, pause the activity. Waiting for a more consistent breeze prevents damage to the kite’s frame and keeps the experience fun and frustration-free for your children.
Step 3: Steering and Letting Kids Take Control
Once the eagle kite has reached a stable altitude of at least 50 to 100 feet, the wind is generally smoother, making the kite much easier to steer. Eagle kites feature wide wingspans that react differently than standard diamond kites; they require slow, deliberate inputs rather than sudden, sharp tugs on the line.
Teach your child the basic “pull and release” rhythm of line management. When you pull the line toward you, you increase the wind pressure against the sail, causing the kite to climb. When you release a small amount of line, the kite drifts back slightly and settles into the wind current. Keeping a gentle, steady tension on the line is the key to maintaining a stable, soaring flight path.
When your child is ready to take control, hand over the spool carefully. Stand directly behind them, wrapping your hands loosely around theirs so you can guide their movements. This positioning allows you to assist instantly if a sudden gust of wind pulls the spool or if the child loses their grip. Encourage them to feel the pull of the wind through the line, which helps build intuitive spatial awareness.
If the kite begins to loop or nosedive, children often panic and pull the line as hard as they can, which actually worsens the dive. Instruct them to do the opposite: let out a small amount of line or take two quick steps forward toward the kite. This action instantly reduces line tension, allowing the eagle’s aerodynamic design to self-correct, level out, and point its nose back up toward the sky.
Step 4: Landing Safely and Packing Up
Landing the kite safely is just as important as a successful launch. When it is time to wrap up your outdoor adventure, begin reeling in the line slowly and steadily. Avoid winding too quickly if the kite is actively resisting a strong breeze, as excessive tension can strain the line or warp the structural spars.
As the eagle kite descends and gets closer to the ground, walk slowly toward it while continuing to wind the spool. This reduces the physical pull on the line and keeps the descent controlled. Instruct your child or an assistant to stand near the landing area to catch the kite safely as it nears the grass.
When catching the kite, grab it by the central spine or the bridle assembly rather than grabbing a single wingtip or pulling hard on the flying line. Grabbing a single wingtip under tension can twist the frame and cause the fiberglass spars to splinter or snap. Once the kite is safely on the ground, wind the remaining line tightly onto the spool to prevent tangles during storage.
Work together to disassemble the kite by reversing the setup steps. Carefully slide the cross spars out of their wing pockets, roll the sail fabric gently around the rods to avoid sharp creases, and place all components back into the protective carrying sleeve. Involving your children in this process teaches them to respect and care for their outdoor equipment, ensuring it remains in excellent condition for your next outing.
Common Mistakes and Safety Rules to Keep in Mind
To keep your family outings safe and enjoyable, always establish clear safety boundaries before letting the kite leave the ground. Never fly a kite near overhead power lines, busy streets, highways, or active airfields. If your kite becomes tangled in a tree or a utility pole, do not attempt to climb or retrieve it yourself; leave it behind and contact local authorities or the utility company if it poses a hazard.
- Avoid Over-Steering: Constantly jerking or pulling the line causes the eagle kite to wobble, stall, or spin out of control. Encourage smooth, minimal hand movements.
- Manage Tangled Lines: If the flying line becomes twisted or knotted, do not pull it tight. Bring the kite down immediately and untangle the knot manually, as tight knots weaken the line fiber and can cause it to snap under tension.
- Mind the Sun and Heat: In tropical environments like the Philippines, always apply sunscreen, wear hats, and stay hydrated. Avoid flying kites during the hottest hours of the day to prevent heat exhaustion.
Frequently Asked Questions (FAQ)
Why does my eagle kite keep spinning in circles?
Spinning is typically caused by an asymmetrical frame, an uneven bridle attachment, or turbulent wind. Check that the left and right cross spars are pushed equally into their wing pockets and that the tow point is perfectly centered on the bridle. If the kite still spins, try flying it in a wider open space away from wind-blocking obstacles like trees or buildings, or attach a long tail to the tail loop to provide stabilizing drag.
What is the best time of day to fly a kite with kids?
The best times to fly a kite are mid-morning, from 9:00 AM to 11:00 AM, or late afternoon, from 3:30 PM to 5:30 PM. During these windows, coastal and inland thermal winds are generally steadier and more predictable. Additionally, the tropical sun is less intense during these hours, making the outdoor environment much more comfortable and safer for young children.
Community discussion
Share your experience or ask a question. Comments are reviewed before publication.