
Installing bike fenders is one of the most practical upgrades you can make to your bicycle, especially when preparing for sudden tropical downpours, muddy trails, or waterlogged city streets. A well-fitted set of fenders keeps road spray, grit, and dirty water off your body and away from your bike’s sensitive drivetrain components. However, because bicycle frames vary widely across road, mountain, and commuter categories, there is no single universal method for mounting them. Achieving a secure, rattle-free fit requires matching the correct fender style to your specific frame design and following a systematic installation process.
To complete this project successfully without damaging your frame, paint, or wheels, you must understand how your bike’s unique architecture interacts with different fender mounting systems. Commuter bikes often feature dedicated threaded eyelets that make installing full-coverage fenders straightforward. In contrast, performance road bikes and mountain bikes frequently lack these mounting points, requiring specialized clip-on models, frame adapters, or seatpost mudguards. By taking the time to assess your bike’s compatibility, gather the correct tools, and adjust clearances methodically, you can ensure a safe and quiet ride even in the wettest weather.
Tools and Materials Needed for Fender Installation
Before beginning the installation process, gathering all necessary tools and hardware will prevent mid-project interruptions and ensure a secure fit. Most standard bolt-on fender kits require a basic set of metric hex keys (commonly 3mm, 4mm, and 5mm sizes) to secure the mounting bolts. You will also need a small adjustable wrench or a set of open-end metric wrenches (typically 8mm and 10mm) to hold locknuts in place while tightening the stays. A Phillips or flat-head screwdriver may be necessary depending on the specific hardware supplied with your fender kit.
Products mentioned in this guide
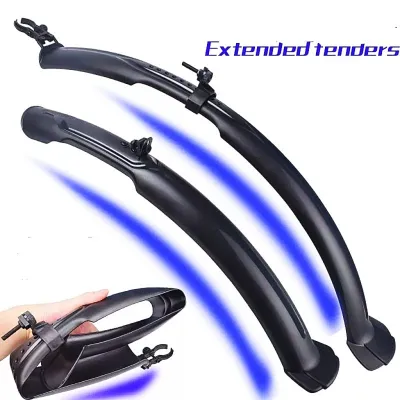
180 Lazada user ratings
Makes my bike look more stylish, Efficient protection against dirt and water,
🛠️Ease of Installation:madali ikabit pero bitin sa 29er pang-27 lng ito
Saves me from getting splashed, Excellent quality for the price,
Sturdy and durable material, Saves me from getting splashed,
basag Naman po kamalas pa ai
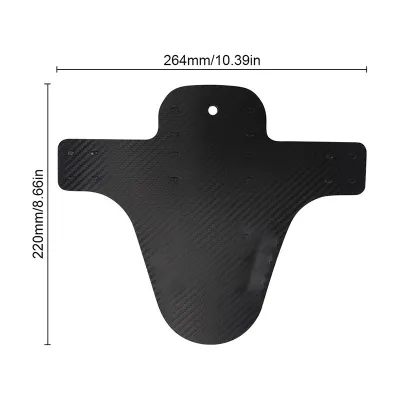
155 Lazada user ratings
Enhances the overall look of my bike., Foldable design, convenient for storage., Great for both MTB and road bikes., Sturdy plastic material…Read full reviewShow less
Enhances the overall look of my bike., Foldable design, convenient for storage., Great for both MTB and road bikes., Sturdy plastic material, durable for long-term use.,
maganda naman pero hirap ikabit sa road bike. Kung sa mountain bike, solid na soild to. Liit na kasi clearance sa road bike, sa gravel bike …Read full reviewShow less
maganda naman pero hirap ikabit sa road bike. Kung sa mountain bike, solid na soild to. Liit na kasi clearance sa road bike, sa gravel bike pwede to.
🔨Durability:Sturdy plastic material, durable for long-term use., 🔌Compatibility:Foldable design, convenient for storage., 🛠️Ease of Installat…Read full reviewShow less
🔨Durability:Sturdy plastic material, durable for long-term use., 🔌Compatibility:Foldable design, convenient for storage., 🛠️Ease of Installation:👍
Saktong sakto yung fit sa 38c na gulong ko. Mukhang madalingbmasira yung mount ng fender mismo, pero feel ko goods na sya for the price
Haven't Installed it yet, still I will rate it with 5 Star. I will update my review after installation.
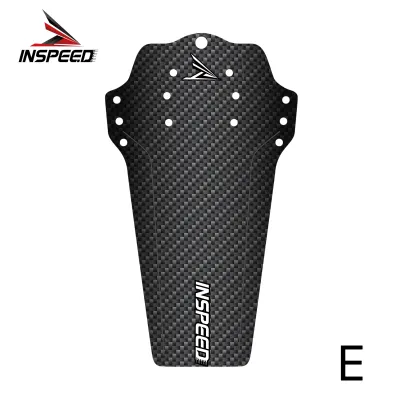
138 Lazada user ratings
Easy to install, hassle-free., Adds an extra layer of protection., Durable plastic material, built to last., Great design, adds a stylish to…Read full reviewShow less
Easy to install, hassle-free., Adds an extra layer of protection., Durable plastic material, built to last., Great design, adds a stylish touch.,
Great value for money, highly recommend., Durable plastic material, built to last., Adds an extra layer of protection.,
Great design, adds a stylish touch., Adds an extra layer of protection.,
Great value for money, highly recommend., Easy to install, hassle-free.,
🛠️Ease of Installation:
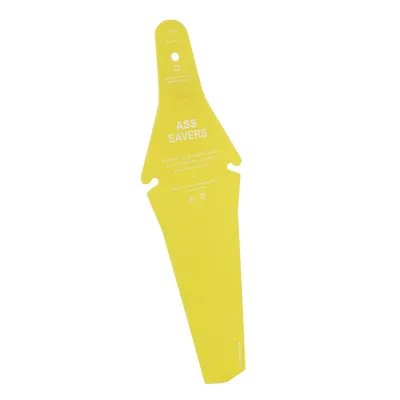
30 Lazada user ratings
Not yet tested under the rain with my bike. But it seems to be a Good quality, Lightweight design.
Fast shipping, Good quality, Perfect for rainy days,
Lightweight design, Easy to install,
🛠️Ease of Installation:ok
😃👍👌 Great ok nice.
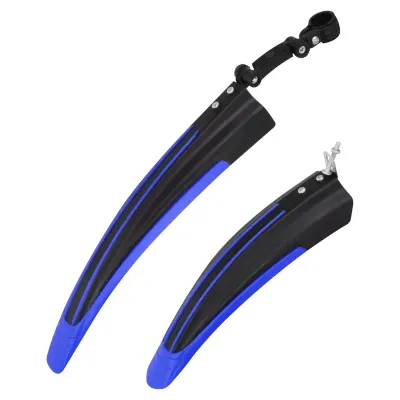
5,698 Lazada user ratings
Quality:nice Appearance:legit Performance:good job received delivery yesterday no damaged and good condition, tama po yong color n dumating …Read full reviewShow less
Quality:nice Appearance:legit Performance:good job received delivery yesterday no damaged and good condition, tama po yong color n dumating ganda ng porma astig yong mountain bike ko, thank you seller and lazada😘😘😘😍😍😍😍🤗🤗🤗🤗🤗🤗🤗🤗
maayos,maganda.,sulit sa presyo. mabilis pa deliver.. thanks seller. magagamit ko ngayom sakto mag tatag ulan na.. kapote nlng kulang hehe.
good na good ang item maganda cia bumagay sa bike q mukang matibay ang item sana lng tumagal 7 star ka sa akin
thank you seller Ang Ganda ng quality nya complete package perfect sa mga bike Ng kids order na kayu guy's
Perfect fit for my mountain bike, easy installation,as easy as counting 1, 2,3!
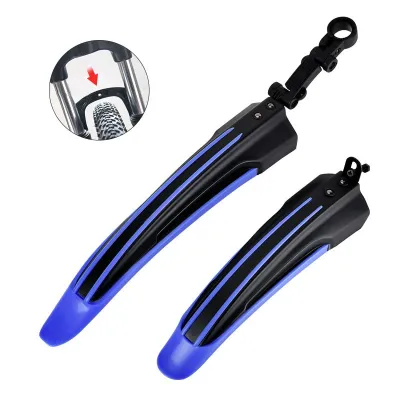
1,415 Lazada user ratings
received my mudguard order today, I get the right color, there is a Variety of color options, Flexible and adjustable,
ang ganda bumagay din sa bike ko,thank you seller at Kay ma'am na delivery rider😊
Quality:super ganda ng quality nya Appearance:maganda Performance:goods na goods
ang ganda maporma ang bike ko na pangkalakal salamat po sailor
Great mud protection, 🔌Compatibility:High-quality mudguards,
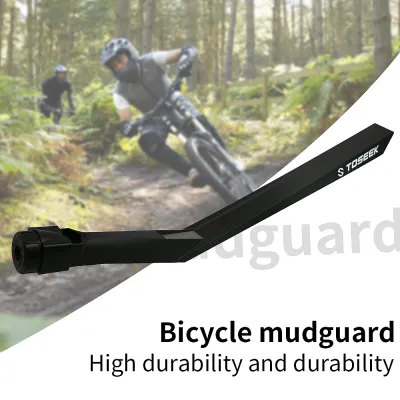
5,253 Lazada user ratings
Provides effective protection from mud and water, Adjustable to fit different bike frames, Convenient quick mounting and removal, Reflective…Read full reviewShow less
Provides effective protection from mud and water, Adjustable to fit different bike frames, Convenient quick mounting and removal, Reflective strip for better visibility at night, good dumating at maayos walang sira maganda sya murang halaga Lang at nakakatuwa Kasi Hindi na maputikan SA likod Yung asawa KO dahil SA tapaludo nabili KO masaya ako dahil Jan maganda ang reviews KO sayo good luck seller more benta to come
Quality:10/10 Appearance:10/10 Performance:10/10 High-quality product with a one-month warranty, Convenient quick mounting and removal, Stur…Read full reviewShow less
Quality:10/10 Appearance:10/10 Performance:10/10 High-quality product with a one-month warranty, Convenient quick mounting and removal, Sturdy and durable polypropylene material, Provides effective protection from mud and water, Easy installation, no tools required,
🔨Adjustable to fit different bike frames, High-quality product with a one-month warranty, Durability: good 🔌Compatibility:good 🛠️Ease of Inst…Read full reviewShow less
🔨Adjustable to fit different bike frames, High-quality product with a one-month warranty, Durability: good 🔌Compatibility:good 🛠️Ease of Installation:goodEasy installation, no tools required,
Sturdy and durable polypropylene material, Screw-on mounting system for secure attachment, Easy installation, no tools required,
Easy installation, no tools required, High-quality product with a one-month warranty, Sturdy and durable polypropylene material,
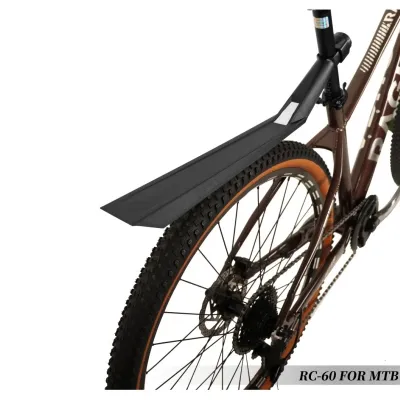
127 Lazada user ratings
🔨Durability:Easy to install quickly,
Lightweight polypropylene material,
perfect for my road bike
🔌Compatibility:good
Prices are valid at publication and may change. Please refer to the product page for the latest price.
In addition to hand tools, pay close attention to the hardware included in your kit. Standard installations utilize M5 bolts of varying lengths, flat washers to distribute clamping pressure, and lock washers or nylon-insert locknuts to prevent bolts from backing out due to road vibrations. If you are installing clip-on or temporary fenders, ensure you have the required rubber straps, zip ties, or hook-and-loop fasteners on hand. Because proprietary mounting systems and specialized hardware are common among premium brands, always review the manufacturer’s manual before starting to identify any unique tool requirements or specific torque specifications.
Pre-Installation Checks for Frame and Tire Compatibility
Before attempting to mount any hardware, conduct a thorough inspection of your bicycle’s frame and fork to determine which fender style is compatible. Look closely at the fork crown (the area just above the front tire) and the seatstay and chainstay bridges (the small frame tubes connecting the rear stays) for pre-drilled, threaded mounting holes. Next, examine the dropouts near the wheel axles for dedicated fender eyelets. The presence or absence of these threaded points will dictate whether you can install traditional full-coverage fenders or if you must use clip-on alternatives.

Tire clearance is the next critical factor to evaluate. Measure the physical gap between the top of your tire tread and the underside of the fork crown, seatstay bridge, and brake calipers. Full-coverage fenders typically require at least 10 to 15 millimeters of clearance to fit comfortably without rubbing against the tire or trapping road debris. Additionally, consider how your braking system affects stay routing. Rim brakes often require brackets that mount directly behind the brake caliper, while disc brakes require fender stays to clear the bulky caliper bodies on the left side of the frame. If your frame completely lacks mounting eyelets and your chosen fender kit strictly requires them, do not attempt to force the installation; halt the process immediately and consult your frame manufacturer or a professional bike mechanic to explore compatible adapter options.
Installing Fenders on Commuter and City Bikes
Commuter and city bikes are generally designed with utility in mind, making them the easiest candidates for full-coverage fender installation due to their pre-drilled frame eyelets. Begin with the front fender by aligning the main mounting tab with the hole in the fork crown. Insert a bolt equipped with a flat washer through the tab and into the fork crown, tightening it only finger-tight to allow for later adjustments. Next, extend the lower metal support stays down to the threaded eyelets near the front axle dropouts. Thread the bolts through the stay ends and into the eyelets, ensuring you use washers to distribute the pressure evenly across the frame surface and protect the paint.
Moving to the rear of the bicycle, locate the mounting point at the chainstay bridge near the bottom bracket. Secure the lower attachment point of the rear fender here first, using a bolt and washer. Next, attach the upper mounting tab to the seatstay bridge. Once the main body of the fender is loosely suspended, route the rear support stays down to the eyelets on the rear dropouts. Take extra care to ensure these stays do not interfere with the movement of your rear derailleur, chain, or cassette. Always use washers at every contact point to prevent the hardware from gouging the frame or the fender material.
To achieve a perfectly aligned fit, follow a strict tightening sequence. Keep all bolts finger-tight as you gently wiggle and center the fender over the tire. Once the fender is visually centered and maintains a uniform distance from the tire tread, gradually tighten the bolts in a cross-pattern or from the center outward. Start with the fork crown or seatstay bridge bolt, then move to the lower dropout stays. Applying final torque only after complete alignment prevents the fender from twisting or binding, which can cause persistent rubbing during your ride.
Mounting Fenders on Road and Mountain Bikes
Performance road bikes and mountain bikes present unique installation challenges because they rarely feature traditional mounting eyelets and often have highly restricted frame clearances. For mountain bikes with front suspension forks and active rear suspension triangles, traditional full-length fenders are generally incompatible. Instead, opt for specialized clip-on mudguards, seatpost-mounted rear fenders, or downtube guards. These models typically secure using heavy-duty rubber straps, zip ties, or expanding collet plugs that fit inside the bottom of the fork steerer tube, providing excellent mud protection without interfering with suspension travel.
If you are fitting fenders to a road bike that lacks eyelets, you can utilize aftermarket p-clips or specialized rubber-padded frame adapters. P-clips wrap around the fork blades or seatstays, creating a synthetic threaded eyelet to which you can bolt standard fender stays. When routing these stays on modern road or gravel bikes, you must carefully navigate around disc… brake calipers and hydraulic brake lines. Ensure that no metal stays press against or pinch the flexible hydraulic hoses, as constant friction from road vibrations can wear through the protective housing over time.
Working with high-end materials requires extreme caution. When mounting p-clips, metal brackets, or strap-on adapters directly onto carbon fiber frames or forks, never overtighten the fasteners. Carbon fiber is highly sensitive to localized crushing forces. Always place a layer of protective rubber padding or thick electrical tape underneath any clamp or strap to protect the clear coat and distribute the clamping force. Refer to your frame manufacturer’s guidelines for maximum torque limits on frame tubes, and if you feel any resistance or hear cracking sounds, stop immediately to avoid causing structural damage to the carbon layup.
Adjusting Fender-to-Tire Clearance and Alignment
Once all components are loosely mounted, the critical task of adjusting the fender-to-tire clearance begins. Visually inspect the bike from both the front and rear to ensure the fender is perfectly centered over the center line of the tire tread. If the fender sits crookedly, loosen the stay bolts slightly, adjust the angle of the stays, and hold the fender in the correct position while retightening. The gap between the tire and the inner surface of the fender must remain consistent along the entire arc of the wheel.
Refer to your fender manufacturer’s manual for the recommended minimum clearance gap, which is typically around 10 to 15 millimeters. If the metal or plastic support stays are too long, causing the fender to sit too far from the tire or unevenly, you may need to trim them. Use a pair of heavy-duty wire cutters or a hacksaw to carefully shorten the stays, taking care to file down any sharp edges left behind. Many modern fender kits feature adjustable sliding joints or eyelet hardware that allows you to slide the stays in or out to fine-tune the height without cutting. Once the desired clearance is achieved, secure all adjustable sliding joints firmly, checking that the fender does not flex excessively or rattle when you apply light physical pressure with your hand.
Final Tightening and Post-Installation Safety Testing
Before taking your bicycle out onto the road or trail, perform a comprehensive safety check to verify that the entire assembly is secure. Use a torque wrench or hand tools to perform a final torque check on every mounting bolt, stay joint, and clamp. Ensure that all locknuts are fully engaged and that no hardware is loose enough to back out during a ride. A loose fender bolt can cause the fender to drop suddenly onto a spinning tire, leading to an immediate wheel lockup and a potential crash.
With the bike secured in a work stand or lifted off the ground, spin both wheels freely. Listen closely for any scraping, rubbing, or rattling noises. Watch the tire as it rotates to ensure there is no contact with the fender body, stays, or mounting brackets, even when the wheel flexes slightly. Next, check for any interference with your disc brake rotors or calipers. Squeeze the brake levers and shift through all gears to confirm that the fender hardware does not impede the movement of inner cables, outer housings, or hydraulic lines. If you experience persistent alignment issues, tire rubbing, or frame compatibility conflicts that you cannot resolve safely, do not ride the bike. Instead, seek professional assistance from a qualified bike shop in the Philippines to ensure your bicycle is safe for wet-weather riding.
Frequently Asked Questions (FAQ)
Can I install full-coverage fenders on a bike with suspension?
Full-coverage fenders require fixed, stable mounting points on both ends of the fender. Because suspension forks and rear shocks compress and change the physical distance between the frame and the wheel, mounting a rigid fender across these moving parts is highly unsafe. Doing so can cause the fender stays to collide with the frame, tires, or brake components during suspension compression, potentially leading to a sudden wheel lockup or structural damage. For suspension-equipped bikes, it is best to use short, flexible mudguards that zip-tie directly to the fork arch, or seatpost-mounted rear fenders that hover above the rear wheel without touching the moving suspension linkage.
How do I prevent fender bolts from rusting in wet weather?
Riding in wet tropical conditions, especially during the rainy season in the Philippines, exposes your bike’s hardware to constant moisture, humidity, and road grime. To prevent fender bolts from rusting, consider replacing low-grade steel bolts with high-quality stainless steel or titanium hardware. During installation, always apply a thin layer of bicycle grease or anti-seize compound to the bolt threads to create a barrier against moisture and prevent the bolts from seizing inside the frame eyelets. Additionally, make it a habit to clean and dry your bike thoroughly after riding through heavy rain or standing water to wash away corrosive road salt and grit.

Community discussion
Share your experience or ask a question. Comments are reviewed before publication.