
Installing bicycle pedals correctly requires understanding one fundamental rule: the left and right pedals thread in opposite directions. This design prevents the natural rotation of your feet from unscrewing the pedals while you ride. If you force a pedal into the wrong side or cross-thread the delicate aluminum threads of your crank arms, you can permanently ruin your crankset, turning a simple maintenance task into an expensive replacement.
To complete this installation successfully, you must identify which pedal belongs on which side, prepare the threads with proper lubrication, and start the threading process entirely by hand. Using tools prematurely is the primary cause of stripped crank arms. By following a systematic approach, you can secure your pedals safely, protect your equipment, and ensure a smooth, creak-free ride through any terrain.
Whether you are upgrading to clipless pedals for weekend climbs or replacing worn-out flats on your daily commuter in a humid climate, taking your time during this process pays off. High humidity and frequent rain make proper installation even more critical, as moisture can easily lead to seized components if the threads are not prepared correctly.
Products mentioned in this guide
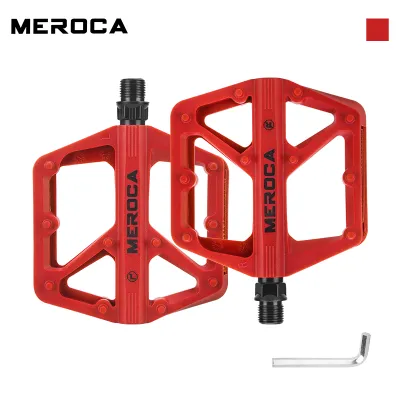
3 Lazada user ratings
Solid product! Nice moisture!
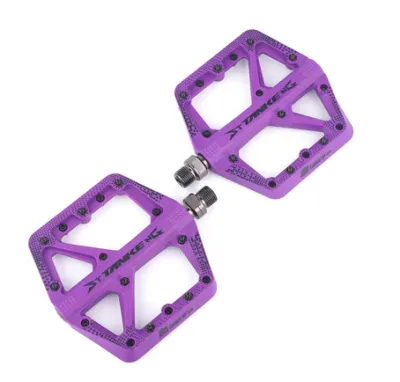
60 Lazada user ratings
Non-slip surface improves safety,
🔨Durability:10 👐Grip:10
Malaki pla to😥
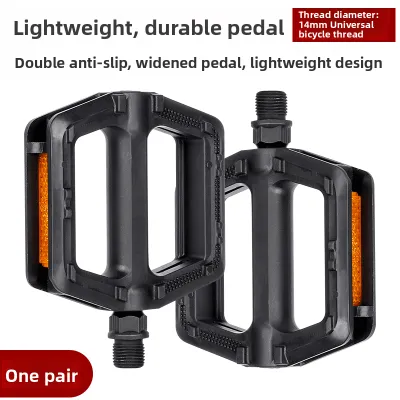
64 Lazada user ratings
The service was excellent, I had picked the wrong size before and contacted customer service for a return and exchange, and the footrest is …Read full reviewShow less
The service was excellent, I had picked the wrong size before and contacted customer service for a return and exchange, and the footrest is also really great.
The delivery took a bit longer than expected, but the package arrived at my door promptly after reaching out to customer service.
🔨Durability: 10/10 Maganda siya at mukang matibay.. Fast delivery, thanks to seller and to the delivery man..
Much better than the original, and I'll replace it with an even better one once it wears out.
👐Grip:ok ⚖️Weight:ok 🔨Durability:ok
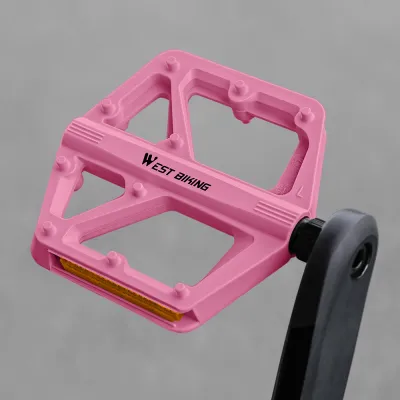
45 Lazada user ratings
It's okay, fits well for the price.
Secure grip, Reflective safety,
🔨Durability:good items
Safe night ride,
Great review!
Prices are valid at publication and may change. Please refer to the product page for the latest price.
Tools and Preparation for Pedal Installation
Before you begin the installation process, gathering the correct tools and preparing your workspace will prevent unnecessary frustration and protect your bicycle components. Depending on your specific pedal design, you will need either a dedicated 15mm pedal wrench or a high-quality hex key (typically 6mm or 8mm). A standard open-ended wrench from a general hardware store is often too thick to fit into the narrow gap between the pedal body and the crank arm, which can lead to slipped tools and scratched components.
Cleaning the crank arm threads is a critical step that many home mechanics overlook. Use a clean rag, an old toothbrush, or a small wire brush to thoroughly clean out the internal threads of both crank arms. Removing old grease, road grit, and metal shavings ensures that the new pedal threads can engage smoothly without grinding. In tropical climates where road grime and salt air can accelerate buildup, this cleaning step is essential to prevent microscopic debris from binding the threads.
Once the crank arms are clean, inspect the internal threads carefully under a bright light. Look for any signs of flattening, cross-threading, or stripping from previous installations. You should also inspect the threads on your new pedal spindles for any manufacturing defects, burrs, or shipping damage. If you detect any damaged threads on either the crank arm or the pedal spindle, do not attempt to force them together, as this will ruin the components permanently.
Identifying Left and Right Pedals and Threads
Distinguishing between the left and right pedals is the most important step in the entire installation process. Because the left pedal is reverse-threaded, trying to force it into the right crank arm will instantly strip the softer aluminum threads of the crank. Manufacturers place clear markings on the pedals to help you identify them, usually in the form of an “R” for the right (drive-side) pedal and an “L” for the left (non-drive-side) pedal.

These markings are typically stamped onto the wrench flats of the spindle or etched directly onto the end of the threaded axle. On some pedal models, you might also find a series of small ridges or knurling on the spindle of the left pedal to provide a quick visual indicator. Always locate these markings before placing a pedal near your crank arms, and never assume that the pedals are identical.
The threading directions are designed to work with the forward rotation of your bicycle’s drivetrain. The right-side pedal uses standard right-hand threads, meaning you turn it clockwise to tighten it. The left-side pedal uses reverse left-hand threads, meaning you turn it counterclockwise to tighten it. A simple and reliable memory aid to keep in mind while working on either side of the bike is that both pedals tighten when turned toward the front wheel and loosen when turned toward the rear wheel.
Installing the Right Drive-Side Pedal
To begin installing the right drive-side pedal, start by applying a thin, even layer of bicycle-specific grease or anti-seize compound to the clean threads of the pedal spindle. This lubrication serves two vital purposes: it allows the threads to glide together smoothly during installation, and it prevents the steel spindle from fusing to the aluminum crank arm over time. In highly humid environments, skipping this step can lead to galvanic corrosion, making future removal nearly impossible without damaging the crank.
Hold the right crank arm steady with one hand, and align the right pedal spindle (“R”) perfectly perpendicular to the crank arm opening. Insert the threaded end of the spindle into the crank arm and begin turning it clockwise strictly by hand. You should be able to spin the pedal spindle several full turns into the crank arm without encountering any significant resistance.
Using your fingers for the initial stages of threading is a mandatory safety check. If the pedal does not turn smoothly or feels tight after just one or two rotations, stop immediately. Hand-threading allows you to feel the precise alignment of the threads; if you feel any binding, it is a clear warning that the pedal is cross-threading. Never use a wrench to force a stubborn pedal, as the mechanical leverage of a tool will easily cut new, destructive paths through the soft aluminum threads of your crank arm.
Installing the Left Non-Drive-Side Pedal
The installation of the left non-drive-side pedal follows a similar preparation process but requires a completely different physical motion. Apply a thin layer of bicycle grease or anti-seize compound to the left pedal spindle threads, ensuring complete coverage without over-applying. This protective barrier is especially important on the non-drive side, which is often exposed to road spray and puddles during wet-season commutes.
Position yourself on the left side of the bicycle, align the left pedal spindle (“L”) perpendicular to the left crank arm, and insert it into the thread opening. Begin turning the spindle counterclockwise by hand to engage the reverse threads. Remember the golden rule of turning the spindle toward the front of the bicycle to tighten it, which on this side means rotating it counterclockwise.
As you turn the spindle, pay close attention to how the threads feel as they engage. The spindle should glide in smoothly and evenly with minimal effort. If you experience a gritty sensation, sudden resistance, or if the spindle sits at an angle, stop turning immediately. Back the pedal out by turning it clockwise, inspect the threads for any trapped dirt or misalignment, and try again with a gentle, patient hand.
Final Tightening and Post-Installation Checks
Once both pedals have been threaded completely into the crank arms by hand until the shoulders of the spindles sit flush against the crank faces, you can proceed to the final tightening. Position your pedal wrench or hex key so that you have comfortable leverage without risking your knuckles hitting the chainrings or frame if the tool slips. If you are using a hex key from the back of the crank arm, remember that the rotation directions will appear reversed from that perspective, so double-check your orientation before applying force.
To ensure the pedals remain secure during high-torque efforts like climbing steep hills, refer to the manufacturer’s specifications for the correct torque values. While a professional torque wrench is the most accurate way to verify this, a general guideline is that pedals should be snug and firmly tightened, but not excessively forced. Avoid using your full body weight or hammering on the wrench, as over-tightening can deform the threads and make future removal extremely difficult.
After tightening both sides, perform a quick physical inspection to verify the quality of your work. Spin each pedal manually to ensure they rotate smoothly on their internal bearings without any binding, grinding, or rough spots. Grab the pedal body and try to wiggle it side-to-side; there should be absolutely no lateral play or movement between the spindle shoulder and the crank arm face. If you notice any gap or play, loosen the pedal, check for debris, and re-tighten.
Troubleshooting Thread and Alignment Issues
If you encounter resistance while trying to thread a pedal by hand, do not try to push through it. The safest course of action is to back the pedal out completely and clean both sets of threads again. Sometimes, a tiny grain of sand or a microscopic metal burr can block the thread path, and a quick wipe with a clean rag can resolve the issue immediately.
Cross-threading occurs when the pedal spindle enters the crank arm at a slight angle, forcing the hard steel threads of the spindle to cut across the softer aluminum threads of the crank. You can identify cross-threading if the pedal becomes difficult to turn after only one or two rotations, or if the pedal body visibly tilts away from a perfect 90-degree angle relative to the crank arm. Forcing the pedal with a wrench at this stage will permanently strip the crank arm threads, requiring a costly repair or a brand-new crankset.
If you suspect that the threads in your crank arm have already been damaged or stripped, stop your DIY efforts immediately. A professional bike shop can often salvage a damaged crank arm using a specialized tool called a tap to clean up the damaged threads, or by installing a threaded insert known as a Helicoil. Attempting to ride with loose or damaged pedal threads is highly dangerous, as the pedal can suddenly detach from the bike under load, leading to a loss of control and potential injury.
Frequently Asked Questions (FAQ)
Can I install bike pedals without a specialized pedal wrench?
Yes, many modern bicycle pedals are designed with a hex socket on the back of the spindle, allowing you to install and remove them using a standard 6mm or 8mm hex key. If your pedals do not have this hex socket, they will feature flat sections on the spindle that require a 15mm wrench. While a standard open-ended wrench from a general tool kit can sometimes work, it is often too thick to fit into the narrow clearance space between the pedal body and the crank arm. Using an ill-fitting or overly thick wrench increases the risk of slipping, which can round off the spindle flats, scratch your crank arms, or cause painful hand injuries if the tool suddenly releases.
Do I need to grease bike pedal threads before installation?
Yes, applying a thin layer of bicycle-specific grease or anti-seize compound to the pedal threads is a mandatory step for any successful installation. The steel spindle of the pedal and the aluminum or carbon fiber of the crank arm are dissimilar metals, which can cause them to chemically bond over time through galvanic corrosion. This risk is significantly higher in humid, tropical environments or when riding in wet conditions. Grease acts as a protective barrier that prevents this seizing, seals out moisture and road grime, and ensures that you can easily remove your pedals in the future for maintenance or travel without damaging your components.

Community discussion
Share your experience or ask a question. Comments are reviewed before publication.